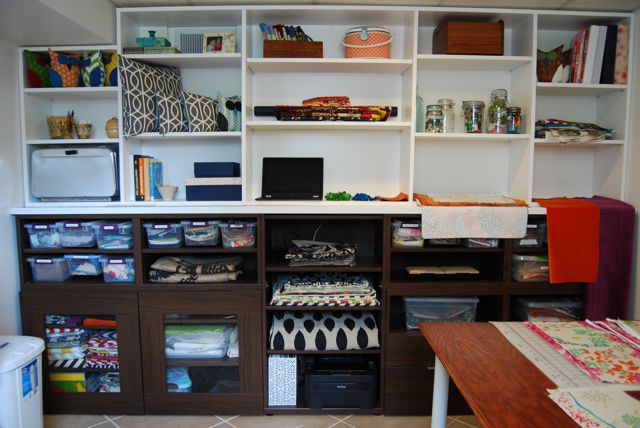
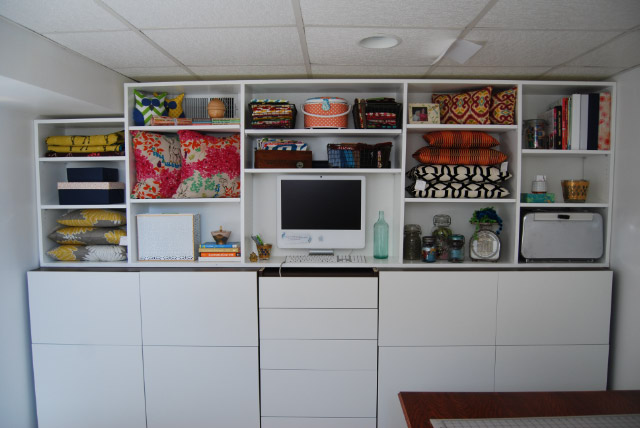
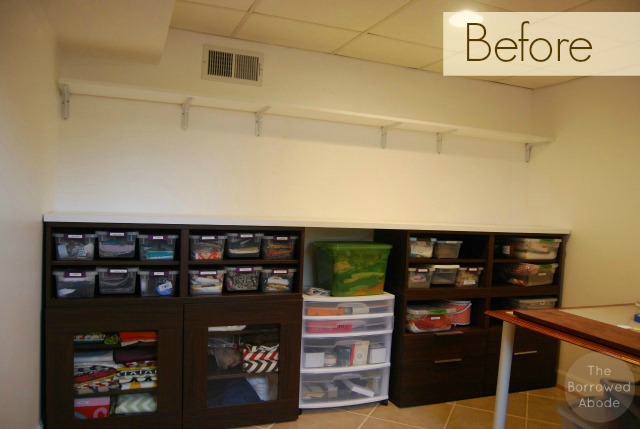
I am happy to tell you that the Janery Sewing Studio Makeover is back in full swing! When we last talked about the space, I’d completed building my storage shelves, which were my attempt at imitating built-in cabinets in a rented space. So, being real . . . I was trying to complete this space in the month of September. I lost a little momentum when Art on the Avenue neared, but that’s life. . . I guess there are always obstacles that can pop up and derail the best of projects, so I just have to forgive myself for not completing it in September and just move on. I’m trying to share it in real time, because OMG – do you ever feel completely incompetent when you see other bloggers whip out a totally fab room makeover in like 3 or 4 days? I know I do. When you last saw the space, it looked like this:  The doors and cabinets had looked so nice and tidy in my office (when it also doubled as a sewing room), but I needed to add drawers (for storage). I couldn’t get matching brown drawer fronts, because IKEA has discontinued this color brown. I chose white simply because it would be calm and simple and bright in the small space.
  So far I’m liking the overall progression of this wall. What drives me crazy, however, is how imperfectly the Ikea cabinet doors hang when you install them. It’s nearly impossible to get them all aligned so the tops and bottoms of each door line up perfectly. Seeing imperfect “seams” between the doors bugs me, but oh well. Next up: I’m DIYing some door handles and pulls inspired by our mid-century modern TV cabinet. It’s a crazy cheap idea I have. . . so fingers crossed that it works. Also, I need to finish off the middle shelf that separates the cabinets from my built-in shelves. The old one had to be removed for structural reasons. Regardless of how slow my baby steps may be, it’s a big improvement from what I first did to this wall!
 In case you’re new here:
Before & After, Sewing Studio


6 Comments
Looking great!
What are you planning do with the middle shelf?
The gaps don’t look like different sizes from the photos – so you’re doing pretty well. 🙂
[…] what was lacking: I originally had cobbled together a wide shelf with a lip to sit across my bottom IKEA cabinets. I didn’t remove that before building the top shelving unit, but I should have. When I […]
[…] Studio Makeover, Part 9: Unifying the Cabinets […]
[…] Studio Makeover, Part 9: Unifying the Cabinets […]
[…] Studio Makeover, Part 9: Unifying the Cabinets […]
[…] bottom half is Ikea Besta cabinets that I already had, and the top half is a freestanding 10-foot-wide adjustable shelf unit that I […]