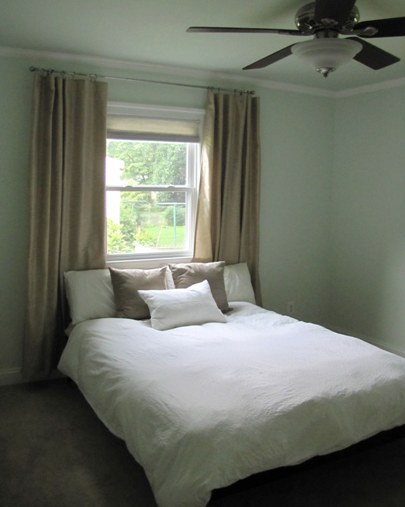
I finally have a bedroom before and after to share with you all: my new handmade curtains are finished!
Here’s a reminder of where we were: When I last left off, I had just shared the fact that I was wrestling yards and yards of fabric, but I didn’t share which fabric we eventually chose.
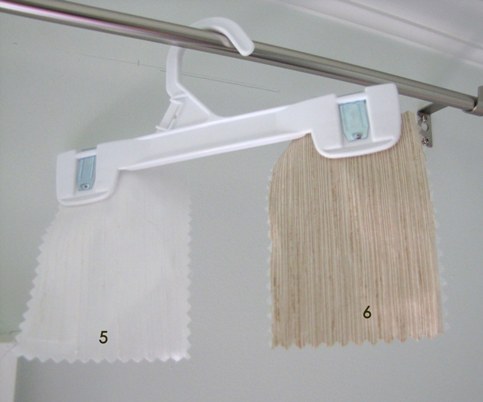
After a week of pondering, we chose the Shantung Bangalore Tan (#6) – which was plain, with a subtle striped color variation when viewed up close.
I know several of you were voting for others, including my beloved Barber Taupe Robin, but Ryan vetoed that completely (which is unusual for him), declaring it to be an “old lady fabric.” So I let it go, because I definitely want this room to be a space that he and I have created together.
So here I am now, ready to share the results of all our “hemming” and hawing. Pun intended.
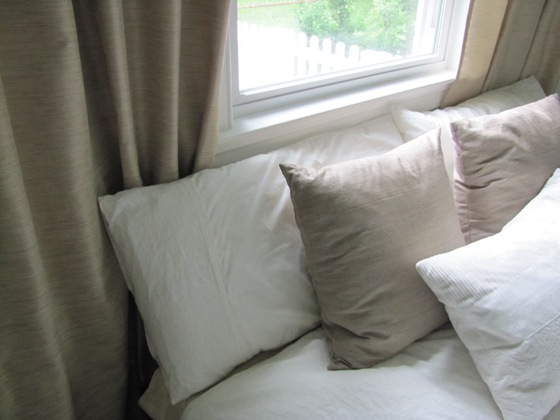
I can’t begin to describe the joy that filled me as I finished the curtains, and started to hang them. I immediately loved how perfectly they coordinated with my cheap Ikea pillows.
Then my heart plummeted to the floor with disappointment. The damn things wouldn’t hang right on the rods.
I’d purchased several types and sizes of clip-on curtain rings, because I wanted a cheap and easy solution that I could remove later if I decided to convert the curtains to pinch-pleat drapes later on. But no matter what rings I used, the curtains just hung there awkwardly, refusing to hold my carefully-placed folds. Every time I thought I had them positioned right, I’d step away to admire my handiwork – only to have the ornery things fall out of place immediately.
What I do like, however, is how the curtains frame the platform bed. Hooray for small victories!
Have any of you fought with clip-on curtain rings? It’s my first time using them and dammit, they are frustrating me. Maybe I should convert the drapes to pinch-pleat, but for now I just want to move on. Time to finally finish the nightstands, hang the bedside lamps, and then do the most fun part of all – accessorizing!


13 Comments
Jane-
Measure out exactly, so they are spaced evenly… then do the same on the rod, I just make pencil marks on the rod and made sure a ring was on each one… Make sure you have a clip at the very ends and then move in towards the middle. This seemed to make them took more uniform and even. Good luck!
Stacey
looks much better 🙂 love it.
WAY TO GO!
I know what you mean about those clip-on rings. They are pesky little buggers aren’t they? Your curtains look awesome! Great job!
THEY LOOK AWESOME! Makes the room look ‘finished’ now…
I love the curtains; they really add to the space!
That looks fantastic! Great job on the curtains – the new paint and curtains really punch up the wow factor in that room. Just wait till you accessorize! 🙂
~Chelsea
I love how they turned out! It looks awesome! Also, the way you hung them was perfect too! not too high or too low. Great job!
I am having the same problem with our bedroom curtains. They are 100% cotton, from Ikea, and I was simply assuming they weren’t hanging right because the material is too thin. Definitely post if you come up with a simple solution!
[…] bedroom makeover continued into July, when I finally sewed drapes for the […]
[…] can be used in so many ways around the house – from dressing up a bedroom to hiding the cat litter. But they can do so much more than the basics – like […]
[…] but it started when we removed the too-dark nightstands that we built. Then I reluctantly removed the curtains that I had sewed, because without a headboard for the bed, the curtains got tangled on Ryan as he slept. […]
[…] (when you factor in your time) and can make a room look completely different! This shot taken by The Borrowed Abode shows what a difference curtains can make in a […]