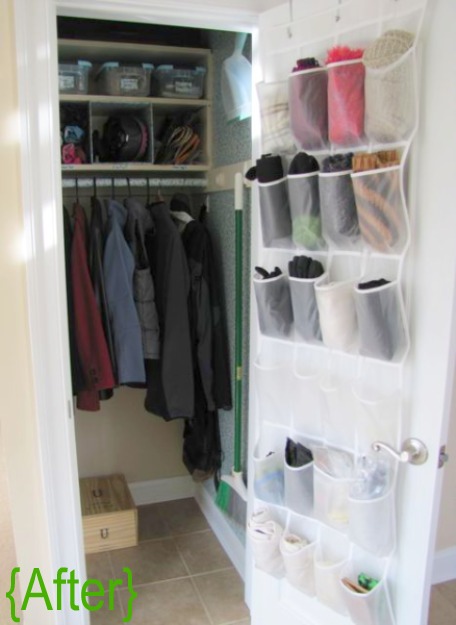
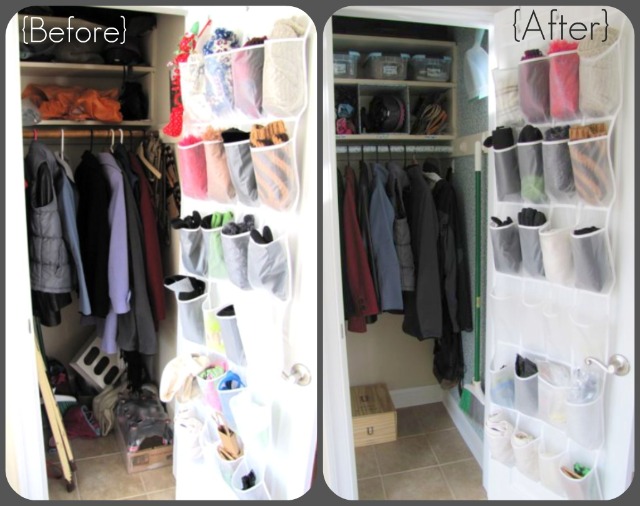
Let’s follow-up yesterday’s closet “wallpapering” post with a closer look at the storage solutions I whipped up for the small space. It was easily transformed, with just a few hours’ work (ok, 6 hrs), to look like this:
 Remember, before my overhaul it was this embarrassing:
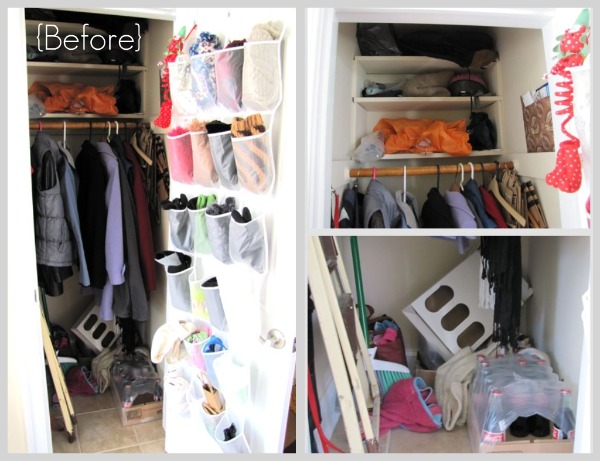 After temporarily “wallpapering” the side walls with contact paper, I was on a roll.
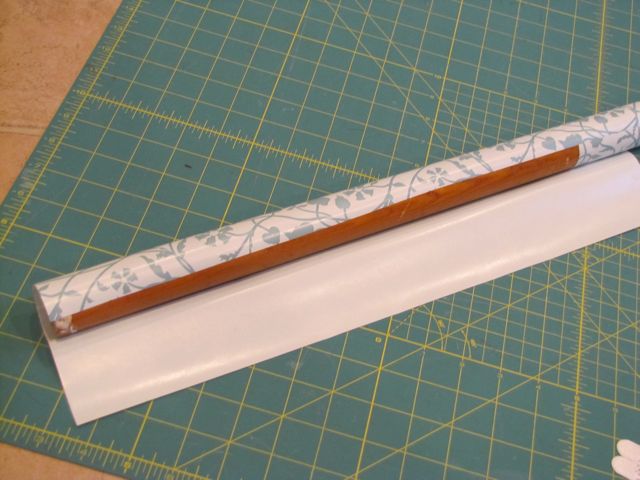
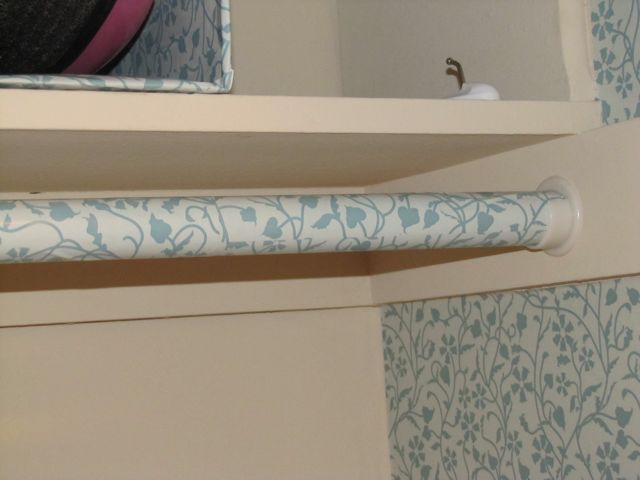
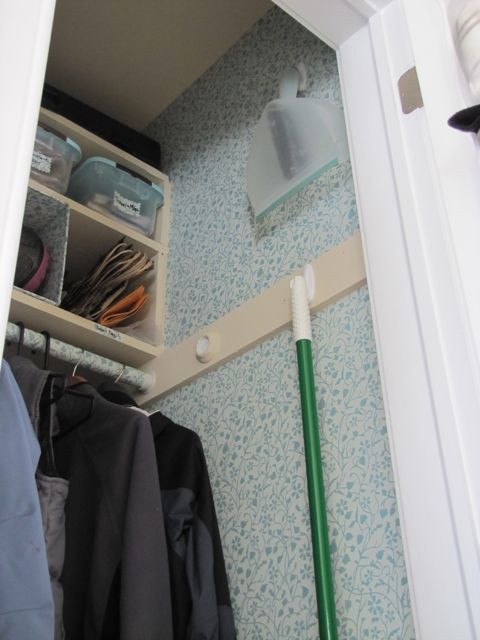
The closet bar got a little update (as one astute reader, Loren, pointed out in yesterday’s comments.) I covered the splintery old closet bar with some contact paper just to keep the splinters under wraps. . . literally. 🙂 I also bought a new set of rod holders so that I could move the bar to the back of the closet and free up more of the front space for hanging storage, etc. on the sides.
Doesn’t the bar look so much nicer now?
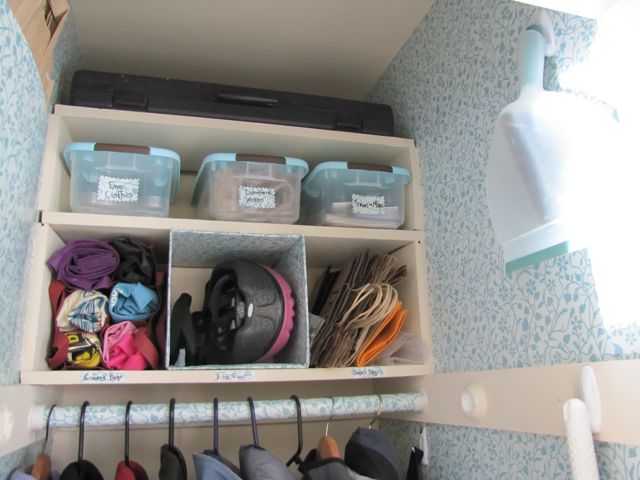
Above the bar I created some shelf storage. After living with my mess for so long, I’d realized that the simple open shelves invited messiness. The space needed to be broken up into assigned sections.
- My huge toolkit slid perfectly onto the top shelf for easy access (although Ryan pointed out that it’s not ideal to store a heavy toolkit so high up).
- Three inexpensive storage bins fit the shelf perfectly, providing space for dog clothes, my fancy cashmere wraps, and travel booklets & maps. Better yet, their blue covers coordinated with the walls! ($2.50 each, Home Depot)
- The bottom left cubby holds the extra reusable grocery bags, which are each rolled up and stashed inside a compartment in a small, divided “wine bottle” shopping bag.
- The middle cubby, which I created from a cardboard box covered in contact paper, holds the helmet and the fanny pack I wear when I bike. Yes. I said fanny pack. Worse yet, I wear it. Teehee.
- The bottom right cubby holds my small handled shopping bags, which I use for taking lunches to work, etc.
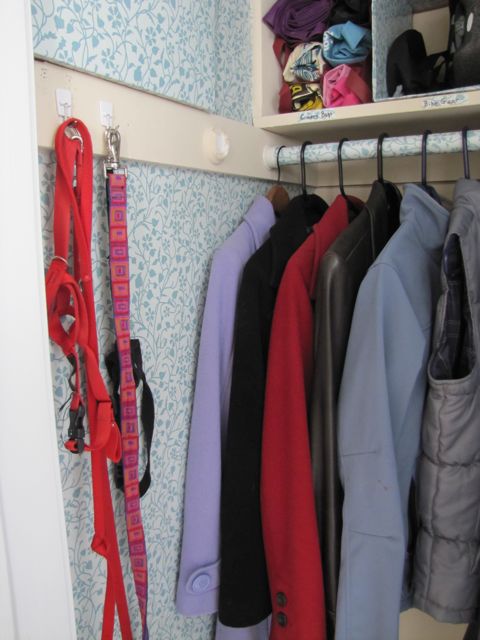
You may notice the closet bar brackets on the board. They were caked in years of paint, so I installed new ones further back in the closet. This freed up the side walls for hanging storage, like our broom and dustpan.
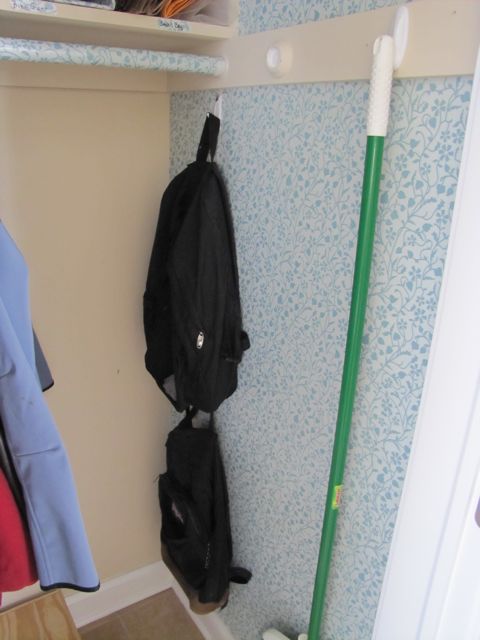
Further back on the wall, hidden by the hanging coats, are two hooks for our backpacks. Just in case we get a hankerin’ to go to school. In reality, they’re used when we bike or walk to the grocery.
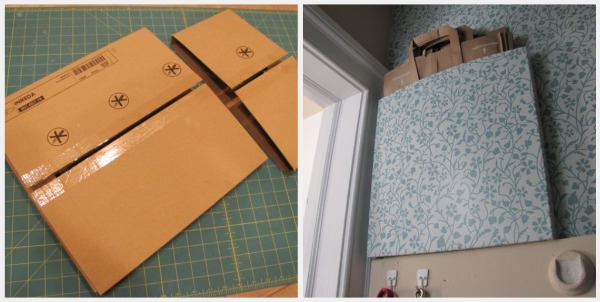
Speaking of side storage, I’m pretty pleased with myself. I snuck a camouflaged storage option onto the top left wall, so that I could store my large paper grocery bags (which I use whenever I forget my cloth bags at the grocery, shame on me).
Right below the paper bags are two hooks for our dogs’ primary leashes and gentle leaders.
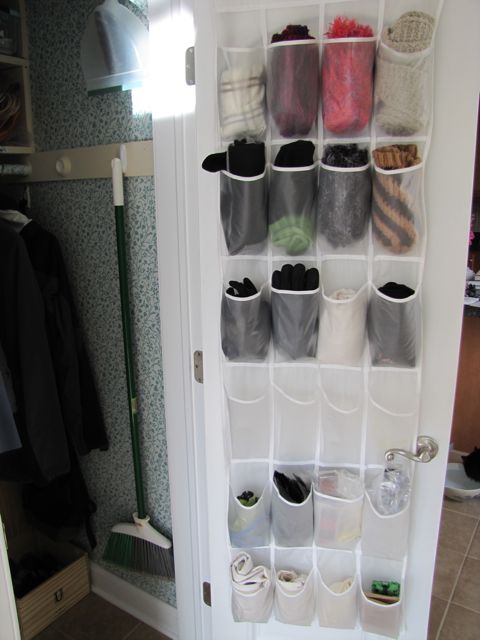
Our other dog-walking accessories, as well as the backup leashes and collars, are stored in the pockets of our over-door organizer. Also housed there are winter hats, etc. as well as our plastic dog doo bags and my reusable produce bags.
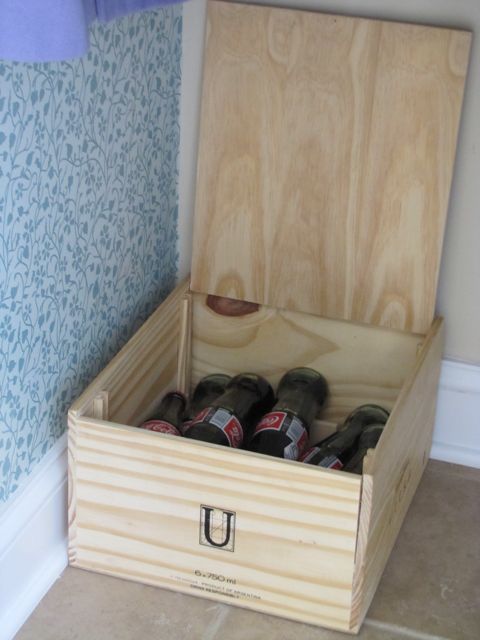
Finally, Ryan’s Mexican Coca~Colas got a housing upgrade, as they were relocated into a lovely wooden wine crate.



10 Comments
Love the makeover. The wall paper is awesome.
So funny. I have that same over the door organizer in our coat closet. I love your idea of storing extra doggie bags and leashes there. It’s not something I’d considered. I’ll have to do that.
Christina @ The Scrappy Housewife
This is amazing – and I love that it was done on the cheap. Great job!
I told you to never blog about my Mexican Coke habit!
Los Federales! Run!
Your paper bag storage is so clever. I think I’m going to have to whip up something like that for our pantry.
[…] destined for my recycling bin, and covered the exposed sides in the contact paper leftover from my coat closet “wallpapering” project. It's a […]
[…] was sorting and organizing a bunch of older photos, when I came across a pic I snapped during my Coat Closet Makeover project in the […]
[…] Oh my gosh, how did I forget my Coat Closet Makeover, complete with my {successful} attempt at temporary wallpaper using contact paper?? This was […]
[…] smelled, felt, and adhered just like the much cheaper shelf contact paper I got at Home Depot and used on the walls of my coat closet. But most contact paper in the stores is neither modern nor attractive, unlike the many awesome […]
[…] years ago, in March 2011, I set about organizing our disastrous coat closet. Six hours and two home depot trips later I finished. . . having gone a little overboard, […]