Happy Friday, y’all! This week has been all about my sewing studio/office/dressing room makeover, and I’m finishing off the week with a project that I’ve been dying to spill the beans on for months now!
That’s right, months. This baby was the result of my first ever trash-on-curb-rescue, and as a matter of fact – it was the inspiration behind Ryan’s “What the Hell” posts.
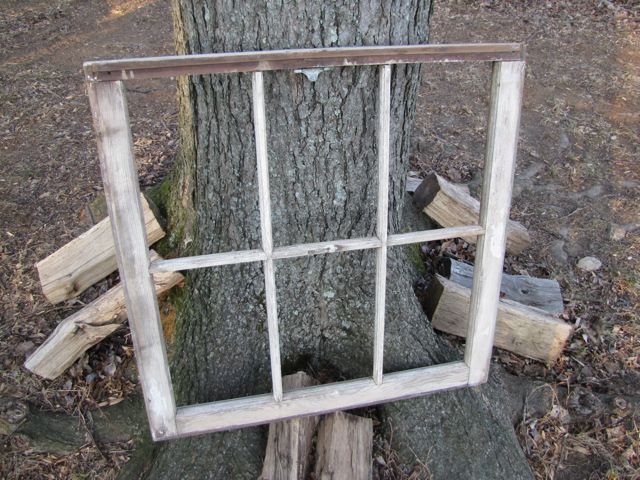
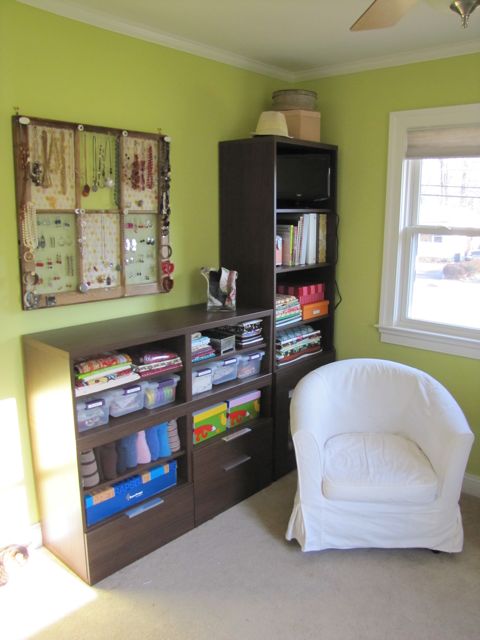 What’s that on the wall? If you’re thinking it’s an old wooden window-turned-jewelry-display, you’re right! Oh, the day I proudly lugged not one, but two of those peeling, rotting windows across the street and into my condo, Ryan’s eyes rolled back in his head and he groaned in disbelief. And despite Ryan’s . . . um. . . “encouragement,” I’ve finally made it into a fabulous piece of decorative jewelry storage.
I forgot to take a true “before” photo, but here’s what it looked like after a ton of sanding.
The work was totally worth it. Every time I pick out what jewelry to wear with my outfit, I feel like I’m shopping! Gotta love storage that gives you that kind of a thrill. It’s much more cost-effective than hittin’ the mall.
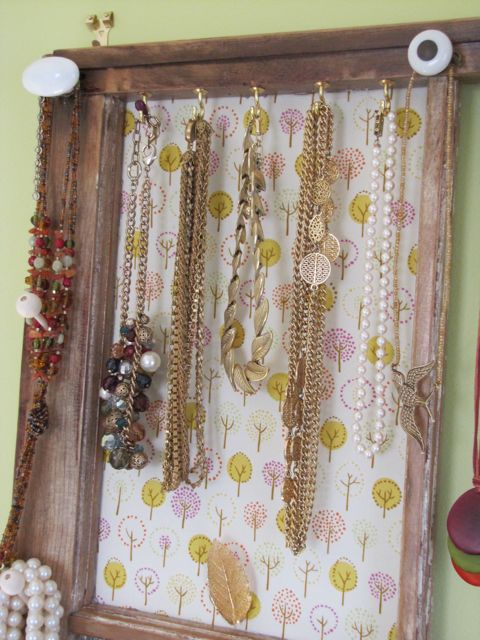
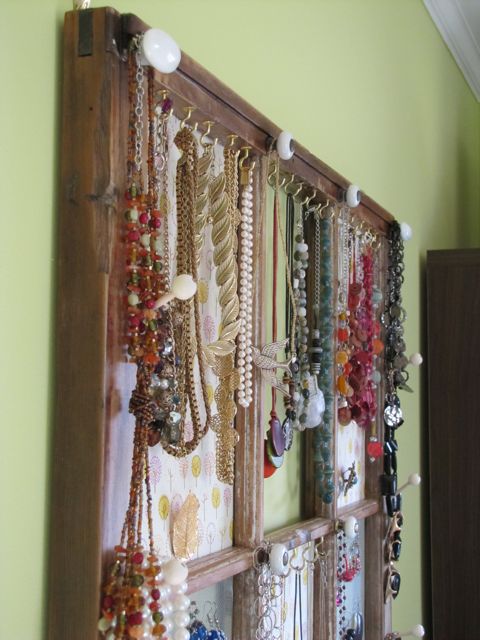
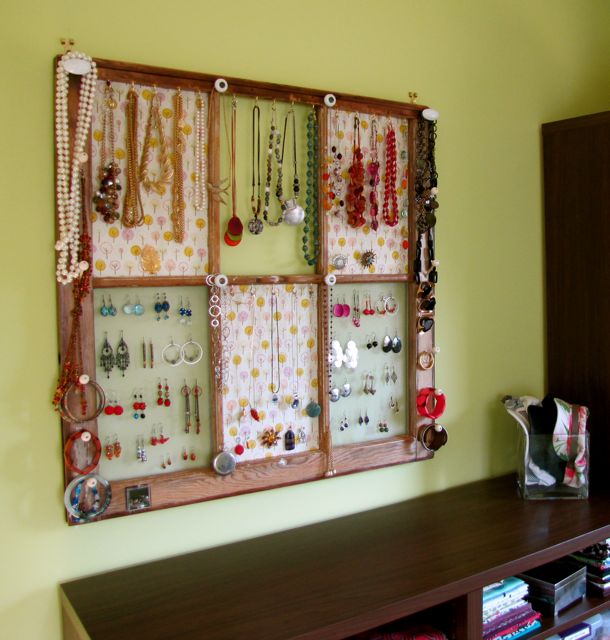 I backed three of the window pane sections with coordinating Erin McMorris Wildwood fabric (you saw it earlier on my custom dry erase board) just for fun. Most of the necklaces dangle from little cup hooks, but a few are strung over the old knobs that I picked up at the Habitat for Humanity ReStore on the cheap.
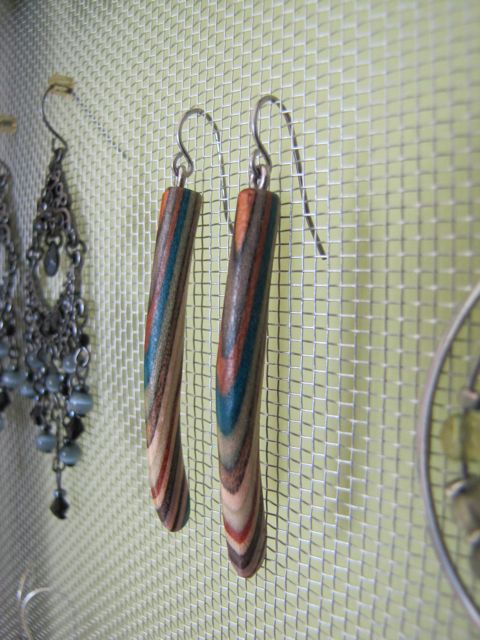
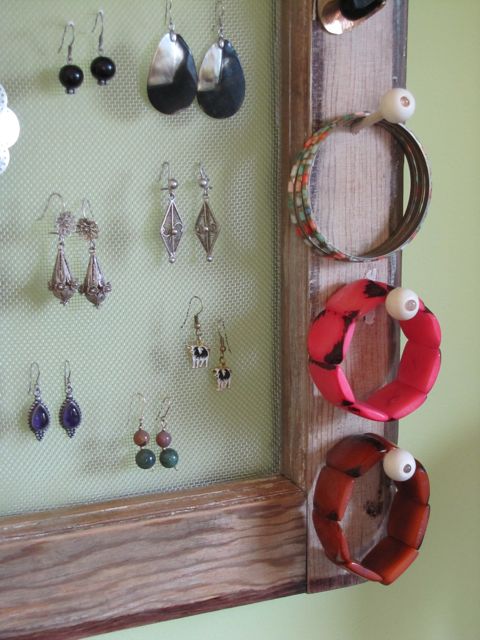
 Two of the bottom panes got a fresh piece of screen so that all my hook earrings would have a place to dangle.
 And some simple wooden dowels added more chunky necklace and bracelet storage on the sides of the window.
So what was the cost of all this? Honestly it wasn’t much. The window itself was free, and I already had the sandpaper and polyurethane on hand. All in all, it came to about $15. For something that stores ALL your jewelry that well? I’d say that is one seriously awesome deal.
So that’s my big fancy-schmancy idea that I’ve been carrying around with me for almost a year. Next week I’ll share a step-by-step tutorial on how I made it. In the mean time, have a great weekend – and don’t forget, if you’d like some [free] advice on how to tackle a decorating challenge in your rented space, drop me a line!
PS: If you’ve ever wanted to be able to hang long curtains without putting holes in the walls, be sure to check back Monday! I’ve got a rental – friendly solution that I’m 99.5% sure is going to totally rock!
Update: You can find the tutorial here.



46 Comments
Awesome look you have here…great idea!
Blessings,
Linda
Okay, two brilliant ideas in one day! I’m so impressed! This is awesome, and I think Ryan has this all wrong. He should be GRATEFUL that something so inexpensive makes you feel like you’re shopping. So much less money is spent this way. Maybe that’s just how I justify projects to Chris. Hmmm :).
You should sell those in your Etsy shop 🙂
That is all kinds of awesome!
Wow, I love it! Seriously, it looks great. I can see how it would feel like shopping! Definitely loving your taste in jewelery as well. =)
This is AWESOME Jane, great job!!! I LOVE it!
As I already said on Facebook, I love love love this!! Need one! My jewelry is all over the place because I just don’t have a good (and large enough) place to put it all. Off to rummage through other people’s trash now….
total awesomeness. for real. I’m so glad you’re sharing it at all the parties!!
xo
Wow! What a fantastic idea, and so well-executed. Looks great. You’ve also got some awesome jewelry.
Excellent transformation- from junk to functional art! Keep that up and soon Ryan will learn never to question your infallible judgment.
In Sam’s case, I think he just got sick of arguing with me.
Super Cute!!! I’m in the middle of greating something similar myself with an old cork board. I like your reused knobs! I may use that idea too, since I have a bunch out in the garage! I’ll have to send you a pic when I get mine done! Great job!!!
Linked up from Finding Fabulous, and I found fabulous!!! I have made these jewelry holders from frames and never thought of using an old window. I just so happen to have one in the garage and I plan to make it into a jewelry holder, and when I do I will give you credit on my blog http://122designs.blogspot.com/
Thank you so much for posting!!!
~Kelly
That is SO SO SO awesome! I would love to have that hanging on my wall!
What a great makeover I love being able to reuse items that were destined for the trash. A true trash to treasure makeover.
Oh wow! Jane this looks amazing!!
Love that idea. The rustic look of window frames combined with the funkiness of your jewelry made for a really great look.
Looks great–and super organized!
Thanks for leaving such a sweet comment at my blog. It must’ve been fate because I have desperately been looking for a site geared toward rental space living! I love your jewelry storage and I’ve got an idea in my head for something similar for hair accessories in my bathroom. Also, I checked out your thread storage post and it was such an “AH HA!” moment. I was just whining to the hubs that I needed something to corral all the thread I’ve acquired! I’ll definitely be checking out your blog more often and adding it to my feed!
I wanted to comment that this is a great idea for an old window! I did a whole post on what I did with old windows. I used them for our wedding, putting photos on the glass of us through the years. But I love this idea as well! Thanks for sharing! Check out my blog, I have a giveaway going on!
I like your way of organizing your jewelry. Can you please say something about how you hung the window frame on the wall? I can see some sort of hangers in the photos, but I don’t know what they are.
ahhhh! I’m so behind!
Jane this flipping rocks! I love love love it! =) Can’t wait to see more up close and personal with the tutorial! <3
This totally kicks the ass of anything I’ve come up with for the same purpose. Tell him he needs to hold the eye-rolling until the actual finished project.
P.S. I love those layered wood (Dymondwood?) earrings. My knitting needles are like that, but more of a bright rainbow-y palette. 😛
Oh wow, this is really neat — something like this would be ten times more functional than cluttered little jewelry box I’m using, and as an added bonus it’s pretty enough to hang on the wall like a piece of art. Nicely done and thanks for sharing!
Ooh-la-la…so beautiful & functional at the same time…love it! I have an old window pane (free also) waiting for some TLC like that. Hopefully I can do something as cool with it as you have done.
Joy!
Jennifer
I love it! I’ve always loved old windows so that makes it even better. If I come across an old window, I might just make one. I have storage for my earrings that I love, but my necklaces and bracelets are a mess.
That is awesome Jane!
I NEED this! I can’t find ANYTHING cute to display all my necklaces. LOVE IT!
Oh yeah, this is amazing! I’ll either be looking for something like this in my ReStore or a thrift store or I’ll have to draw up a plan to build this myself. Thanks for sharing….absolutely awesome!!
That is a fantastic jewelry storage solution! Good job! And yes, i can imagine you “shopping”!
Patsy from HeARTworks
Oh daamn, that looks good. And a trash refurb! Hoorah!
You weren’t kidding, this is totally awesome! Seriously, made my heart skip a beat, in a great way!
Plus, I am uber envious of your awesome collection of bangles… sigh!
I am inspired! I have had a plan for my jewelry for too long that I have been putting off… thanks for that I push I needed!
xoxo!
[…] {Before & After} Seriously Awe… […]
[…] Borrowed Abode has a tutorial for this awesome jewelry display using an old window […]
[…] The Borrowed Adobe made a seriously awesome jewelry holder […]
[…] meeting my needs and it was over stuffed and frankly I needed a better solution. I saw this post on the The Borrowed Abode and thought – I can do that and that would totally solve my […]
I made one of these after being so inspired by yours! I just posted on my blog: http://thecountrychronicles.blogspot.com/2011/04/jewelry-display.html
Thanks for sharing this creation and letting the rest of us in on the fun!
Great work! I’ve done mine with an old lace lingerie “thing” I had cut up and tacked onto a pinboard with the skirt hanging underneath – my non-backed earrings go on the lace through the holes, and the ones with backs get put on the skirt bit at the bottom for easy access – what do you do with your earrings that have backs and can’t be “hung”?
Hi, thanks for commenting! For the earrings that have backs, I only have a
few pairs – so I store them in a little container on the shelf below the
window. That reminds me, I need to share that in my final segment covering
this room makeover 🙂 I’m a little behind on that!
[…] I’m sure you can tell from the photo above that the jewelry is stored on an old wooden window frame. It was a heck of a project and I just love how it turned out. Now all my jewelry is perfectly […]
[…] – and a great reason to tread the line between planning ahead and hoarding. Thus, my window frame jewelry display came to life, and has rocked my world ever […]
Awesome cute! I’ve made individual picture frames with screen to hang earrings, etc. but this goes way beyond that! Love, love, love it!!!!
thank you so much!!
love this! thinking of making one myself with an old window I have laying around!
Love this – I’ve been searching all day on line for a “jewelry holder”. This is just what I was looking for! I have windows in my garage, so can get started this weekend. Thank you for sharing!
I have an old window outside that made my husband roll his eyes. Now I know its future!