Hi guys! I’m hard at work tackling that huge to-do list I created for my holiday break . . . and just as I feared, things are going so much slower than I’d like! But Sunny bugged me about sharing a sneak peek, so here goes.
The first thing on that list? Painting my office to match my new fabric. A few weeks ago I shared the color palettes I was considering – and here’s what I chose:
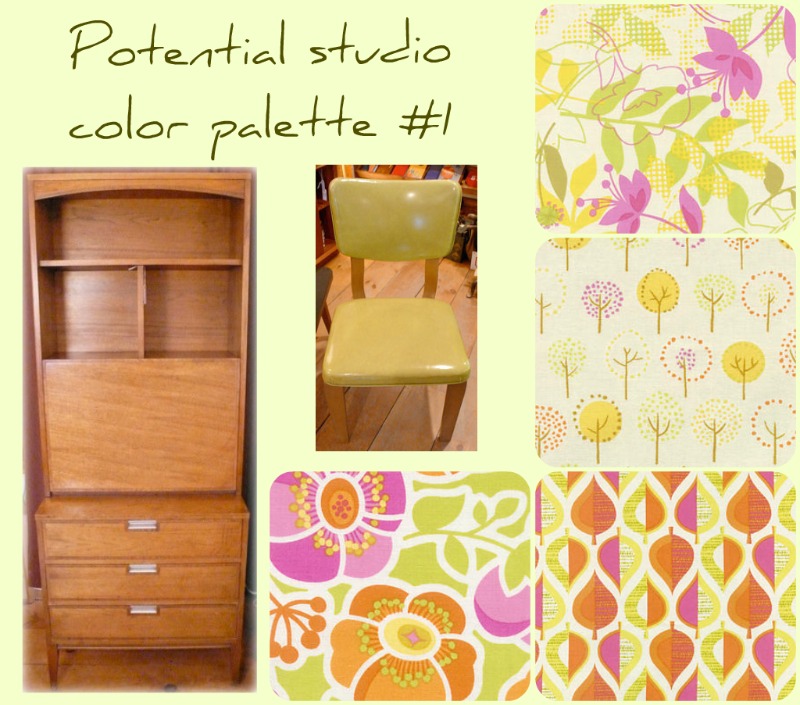 My next dilemma: choosing the paint color for the walls. It was tough, because I wanted to match the walls to the lightest yellow/green (chartreuse?) in the orange/green leaf print fabric. None of the paints at Home Depot (Behr, FreshAire, Glidden, Martha Stewart) had the right combo of yellow/green. Neither did Benjamin Moore – which was too bad because I’d been wanting to try their Aura (low VOC) paint that Jeannine consistently raves about. Finally I turned to my Sherwin Williams color deck, and sure enough, there was a set of colors just perfect for my room.
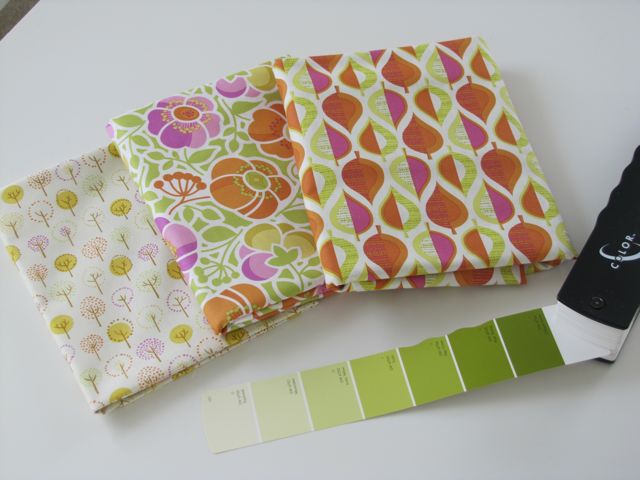 It was a toss-up between shade #3, Lively Yellow, and shade #4, Frolic. I loved the name Frolic, but knowing that paint always appears darker and brighter once it’s on all the walls, I chose the lighter of the two.
Then I cleared out the room to make the painting, shelf installations, and other projects as easy as possible.
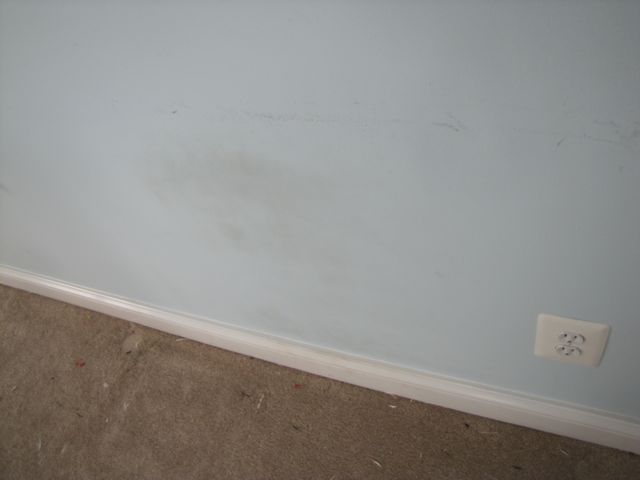
 Next it was time to tackle the Spackle. And to peel off all the painters’ tape that I’d used months ago to map out my plan for the walls. FYI, after months of being on the walls, the tape was reluctant to peel off. I was surprised also to see that the paint under my mirror and jewelry boxes was a lot darker than the rest of the walls – it had faded that much after only 8 months. Another surprise? The dirty smudges my feet left on the wall below my first desk! Gross!
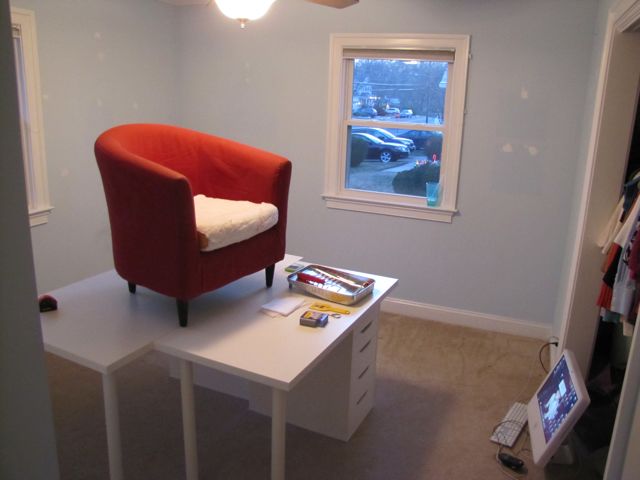
 After everything was moved out, the room was cleared, and the walls were spackled (this all took much longer than expected, of course) it was time to channel my inner Dexter and Jane-proof the space to protect from paint disasters. I love to use the cheap and totally washable cotton canvas drop cloths to protect the whole floor, then use plastic to cover the tables and closets. It’s a lot cheaper to buy a few extra drop cloths to cover your surfaces than to reimburse your landlord for paint stains on carpets.
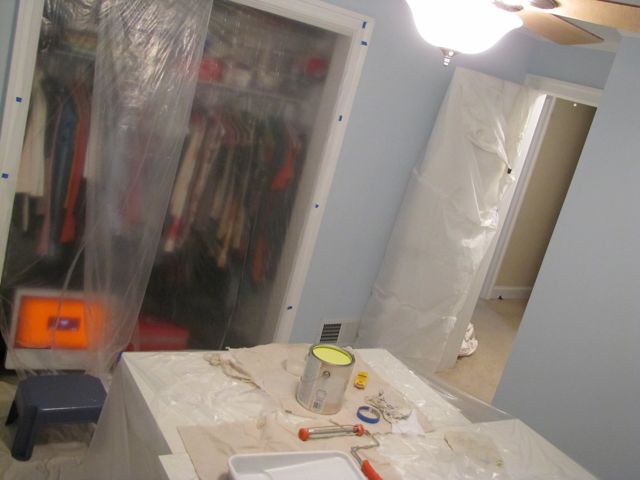 Finally I set about painting. At the recommendation of the guy at Sherwin Williams, I was going to apply one coat of primer (to cover the baby blue walls) and then one coat of paint. He’d tinted the primer to 75% of the paint shade to help make the most of the primer coat. The actual paint was their low-VOC “Harmony” brand.
Let’s talk details. Instead of the monotonous process of putting painters’ tape up everywhere, I used my high-quality synthetic bristle angled paintbrush (Purdy Brand – still made in the USA!) to cut in the primer and paint to the molding and corners. It was slow going, but I was mostly happy with the result. In the future I think I’ll tape only the molding on the bottom of the room (to protect from drips and to get a cleaner line), but I like how it worked around the windows, doors, and ceiling molding. And it seemed a lot easier than dealing with the blue tape.
It took about 6 hours to get the primer and paint up, finishing around 2 am. Whoa. Who said paint was a “quick fix?”
This morning the color is a bit . . . bright. I like it, but I do think I could have gone even a shade lighter than I did. But once I hang everything on the walls (they’ll be pretty full), the color will be toned down a bit. So no worries there.
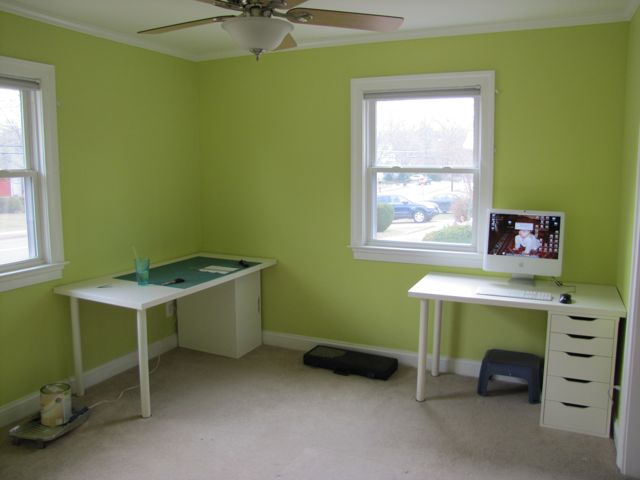 Well, it’s back to work for me. I’m off to hang some shelves and build a storage solution.
In the mean time I’m curious. Do you prefer the painters’ tape method, or the cutting-in-carefully-with-a-brush method?
PS: Shared at Domestically Speaking’s Power of Paint party!


14 Comments
Love it!! I think it will look so great with all of the wonderful fabrics you’ve chosen. I hate taping, but I have to do it. I just have no patience to go slow and steady with a brush, so taping saves me from my sloppiness.
I think you’re right…once the fabric is up, it’ll look bright and cheerful. It looks great!
FYI, the Sherwin Williams and Benjamin Moore guys always seem to have each others’ formulas. I’ve “cheated” on one to get the other’s paint before. 🙂
Looks amazing!
First, I absolutely think it’s okay for you to call it your studio … it’s what it is! 🙂
Second, I really like the color — it’s so cheery.
Third, I always laugh when people say painting is quick. Maybe it’s because I’m such an amateur, but painting take me forever! And, I never tape … ugh! Tedious! I definitely prefer cutting in with a brush.
Looking forward to seeing the final product of all your hard work.
I think the color is perfect! I can’t wait to see the final room!!
This color is very happy – I love it & cannot wait to see the completed room:)
I prefer the cutting in with a brush…painters tape can be annoying to me. Great work, girl! And Happy 2011!!!
I love the color! But then you know I’ve been agonizing over greens for weeks. That shade is just beautifully bright and cheerful, very energizing.
[…] made both a fabric-covered cork board and a fabric-covered whiteboard for my studio. Despite my best attempts at organization, when I’m working on a project I always have […]
Whoa! What a difference! Looks great!
[…] Friday, y’all! This week has been all about my sewing studio/office/dressing room makeover, and I’m finishing off the week with a project that I’ve been dying to spill the beans […]
I LOVE this color! So pretty! It looks great with your white furniture. I love the color palette you chose as well. I’m a new follower!
[…] had left scratches on the previous wall color, so when I was moving my desks back into place after painting the walls, I grabbed a glue gun and some […]
[…] just realized I never shared the rest of my completed studio/office makeover! So without further ado, let’s take a look at all the function and storage in the sewing corner […]
[…] New to the blog? You can check out the beginning of my studio makeover, find details on the patterned dry erase board and cork board, and see how I […]
[…] stop on the office/dressing room makeover? My closet area. Because it’s not just a sewing room & office, it’s also my […]