Last week I revealed the finally completed studio shelves. You may have also noticed that I added gold cabinet hardware to the base cabinets.
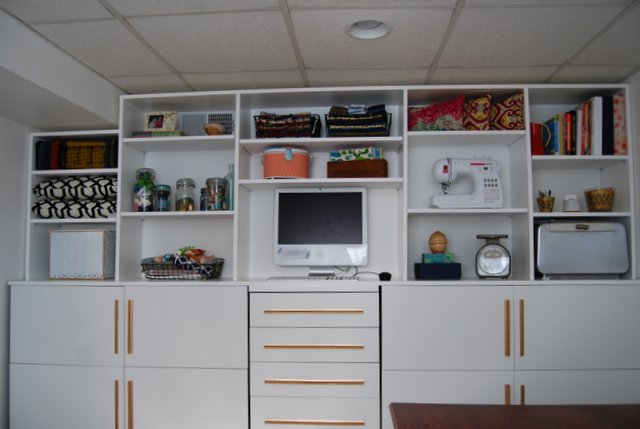
I knew I wanted streamlined and modern gold hardware to make the base cabinets look more polished and to break up all that white. I didn’t want to install heavy duty cabinet hardware, because I didn’t need it (the doors are all spring loaded), I didn’t like the cost, and I didn’t want to drill holes in the cabinet doors yet.
Looking around our house, I found inspiration on the basement TV console – which is a mid-century buffet cabinet.
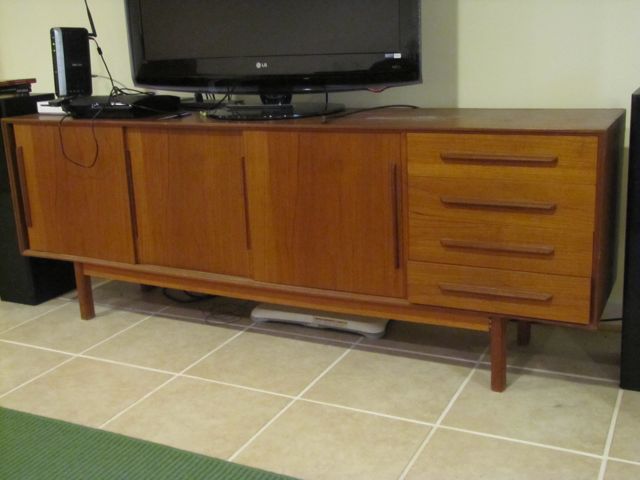
The drawer and door pulls on this are small, triangular strips of wood, and I like how low profile and modern they look. They reminded me of wood molding, so I looked for the closest fit in the molding and trim section at Home Depot. (We probably could have made something using a router, but I wanted a quick and easy solution.)
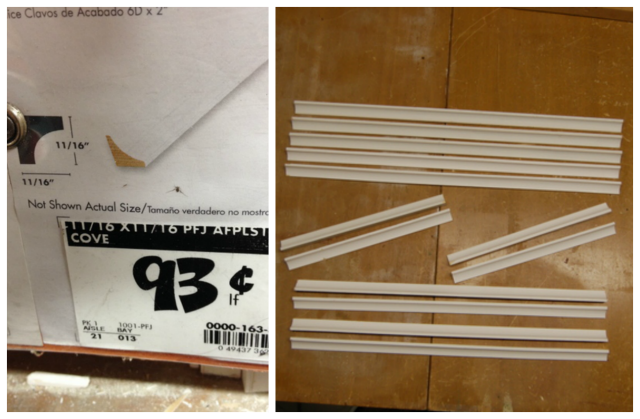
This molding was the closest match to my TV console, and the price was right, so I went for it.
After cutting the molding down to size and coating each piece in gold leaf paint, it was time to attach them to the cabinets. I used Liquid Nails for a strong adhesion that didn’t require drilling holes. If I become sure I want this long term, I’ll add screws or nails if I need to.
Using a level and a light pencil line, I marked the spots where the hardware would go. Then I attached each handle with a thin bead of Liquid Nails. I used painter’s tape to hold them in place while the adhesive dried overnight.
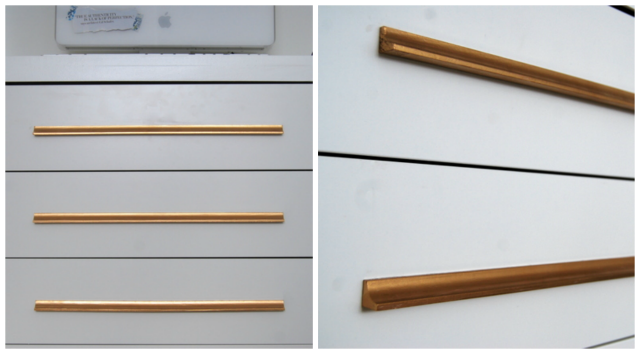
Sorry about the smudges. My camera is doing this to every photo I take, so I think it needs professional help
I’m very happy with the result. This hardware is definitely more cosmetic than functional, but I didn’t need super strong handles because the drawers and doors are spring loaded and open with a touch of the finger. I really just wanted to add hardware to make the base cabinets a little more glamorous and polished looking.
Total cost: $18. You really can’t beat that price for 13 pieces of gold cabinet hardware.
In case you missed it:
- Studio Makeover, Part 1: Removing Temporary Wallpaper
- Studio Makeover, Part 2: Embrace White Paint
- Studio Makeover, Part 3: A Shelving Fail
- Studio Makeover, Part 4: Shelving Dilemma
- Studio Makeover, Part 5: Another Shelving Fail
- Studio Makeover, Part 6: Custom Shelving
- Studio Makeover, Part 7: Shelving Progress
- Studio Makeover, Part 8: Completed Built-Ins
- Studio Makeover, Part 9: Unifying the Cabinets
- Studio Makeover, Part 10: Perfecting the Faux Built-Ins


4 Comments
I can’t believe how incredible this all looks. I also can’t believe your attention span. An 11 part series gets some sort of super blogger award. I bow down to your blogging dedication! 🙂
[…] 10-foot-wide adjustable shelf unit that I built and then slid into place. I trimmed up the unit and DIY’ed some decorative gold hardware for the bottom cabinet doors, just to make it a little less Ikea and a little more custom […]
Hi! Love this!!! I was wondering what gold paint you used. I tried a hundred different kinds of gold but I keep getting disappointed. I love the gold color you used for your handles. Nice work!!
Hi Susan! Thanks for the compliment 🙂 I used a tiny jar of gold leaf paint from the craft store. It’s not regular paint. If you go to your local craft store and ask for “Liquid Leaf” gold leafing paint they should be able to help you. Good luck!