My favorite DIY project for our entire wedding was our window frame escort card display, and doesn’t it just figure that I have Ryan to thank for it.
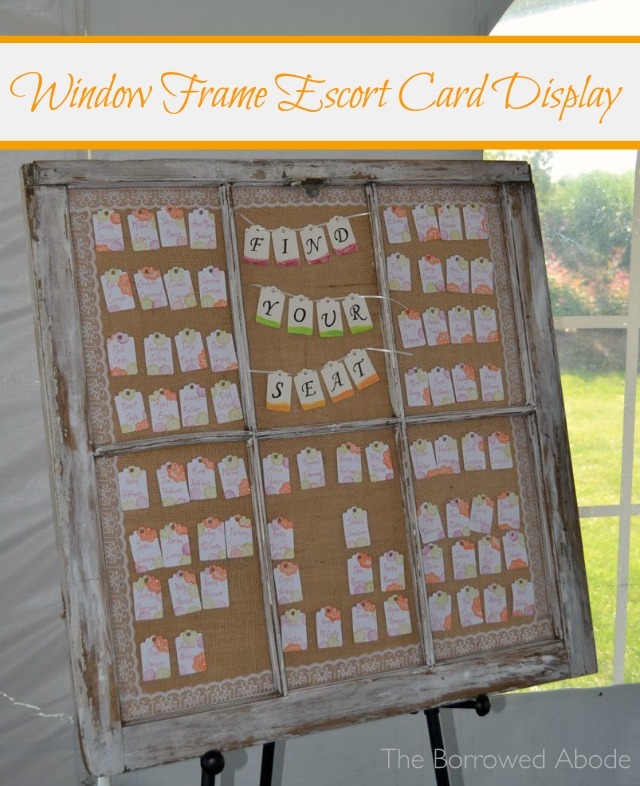
Early on in the wedding planning process, I knew that I wanted an awesome escort card display. (FYI, escort cards are the little items or cards that tell you, the guest, what number table you’re sitting at.)
I had inspiration photos torn out of old wooden ladders or rustic boards used as card displays. But at our wedding planning meeting Ryan suddenly suggested we “repurpose” the other old window frame we had on hand. I was so proud. 🙂
Back in the beginning of our relationship, he was there when I completed my first successful trash haul: two weather beaten old window frames which had clearly seen better decades. Despite Ryan’s skepticism, one turned into my popular jewelry display frame, and the other languished in our shed, despite Ryan’s begging me to “just get rid of it.”
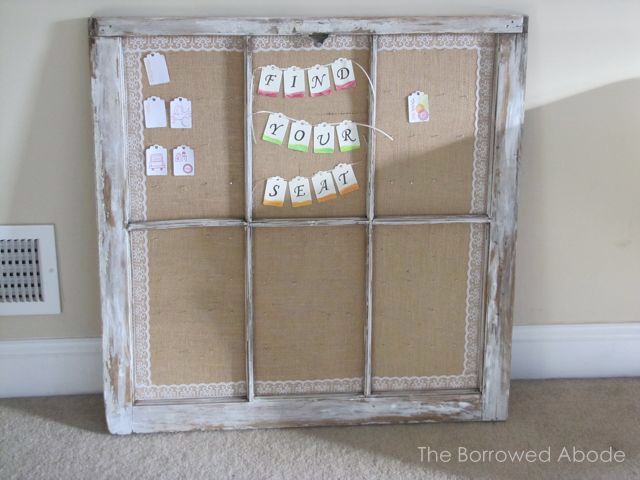
But not anymore! Here’s how I turned that languishing window frame into a rustic-but-not-splintery escort card display.
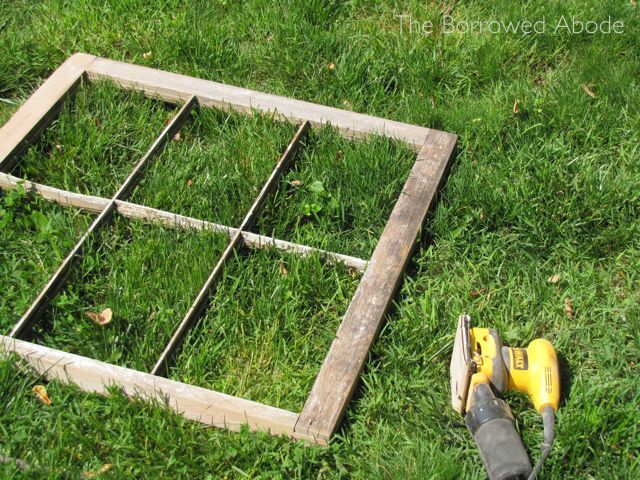
I sanded down the frame to remove splinters and rubbed a small bit of white paint on – very unevenly – to keep it rustic.
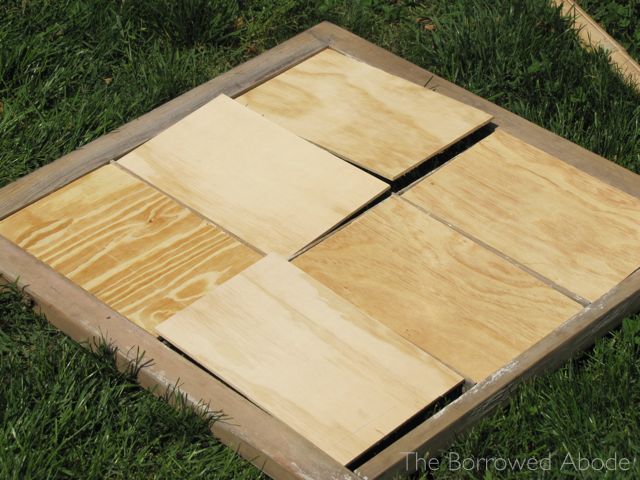
I cut thin plywood boards to fit each window opening, wrapped the boards in burlap, and glued and stapled them into place.
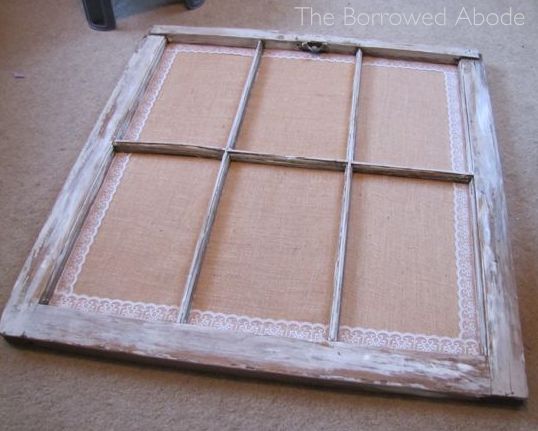
I lightly glued lace trim around all the outer edges, because I love lace on burlap.
Finally, I measured out how many cards I had to hang, then hammered in tiny nails for the cards to hang on. Needle nose pliers came in handy so that I didn’t hammer my fingers.
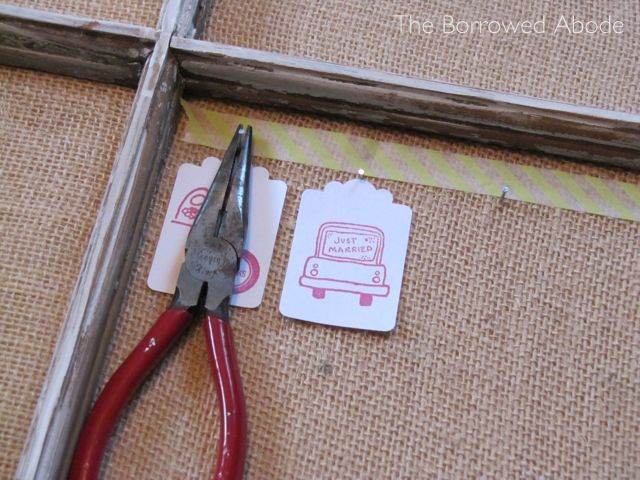
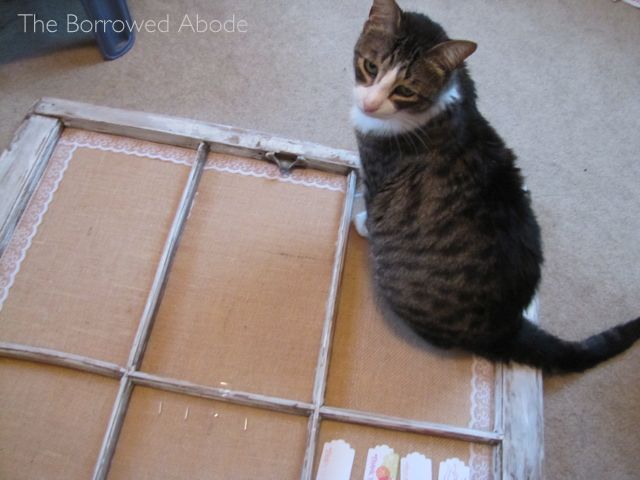
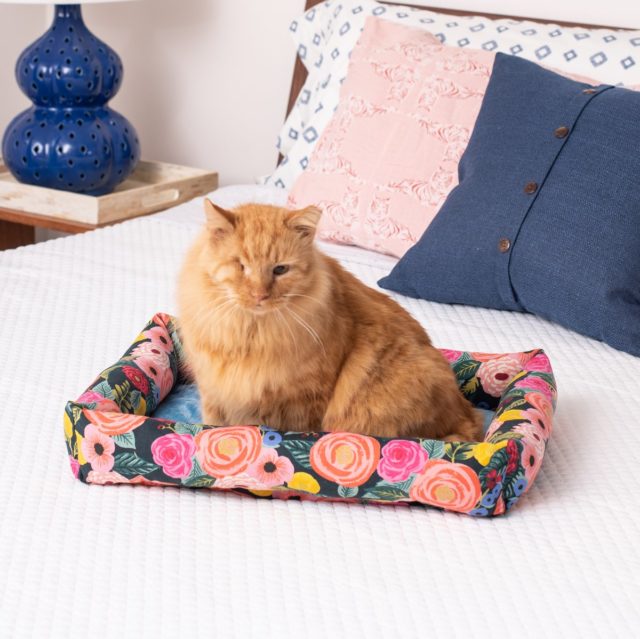
I received a lot of help from the cat.
(Maybe he wanted to get hammered?)
When all the little nails were in (a rather tedious process!), I made tags that spelled out “Find Your Seat”. It was easy to get perfect letters – I mocked up the phrase in black and white on my computer, then printed it out in exactly the size I wanted.
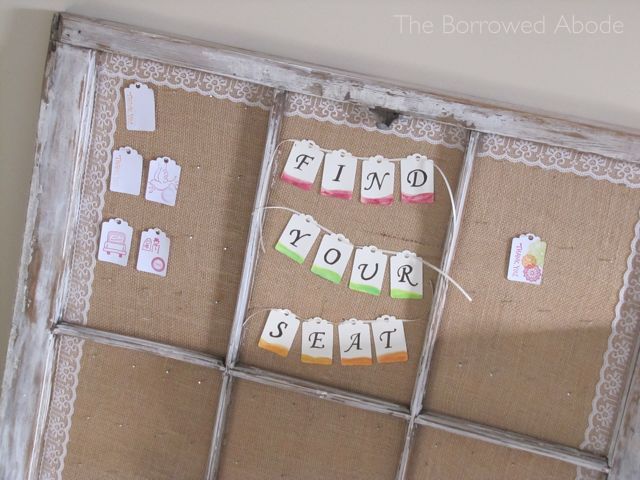
Then I placed each card over the printed letter and traced the outline, then colored it in with marker. (Does this make any sense?) As a final touch, I added some watercolor to the bottoms.
Escort Cards
Using a craft punch (found at any crafting store), I cut more decorative tags from white card stock. I carefully wrote the names of each guest on the front, and stamped the table number on the back. Then I stamped the edges with mini lace stamps that I found on Etsy. I told myself that I was cleverly combining the lace part of the theme with the Caribbean aspect by doing the lace stamps in fuchsia, lime, and orange.
They looked awesome, but I didn’t photograph them well ahead of time.
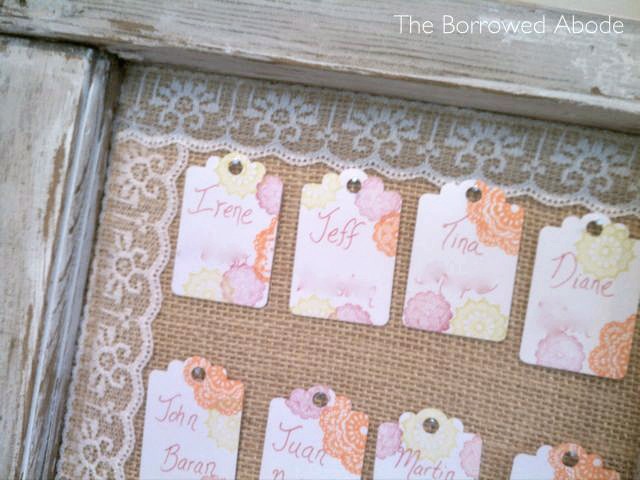
Names have been blurred so that no one has to admit they’re associated with this crazy blogger. 🙂
After all this work, I didn’t even get to see the finished product displayed at the wedding reception. In fact I didn’t see much of my decor at all. The whole night went by in a blur. But either way, I love how it turned out!


3 Comments
Loving all the follow up wedding posts. So fun to be able to keep enjoying the beautiful planning and fulfillment of your wedding dreams. Hooray.
[…] I created the tags using a “thank you” stamp and the same lace stamps used on our escort cards. The tags were cut with a die cutter from the craft […]
[…] note that part of this was done before the wedding, to turn it into an escort card display. All I had to do to convert it was remove the little nails from the burlap-covered boards. […]