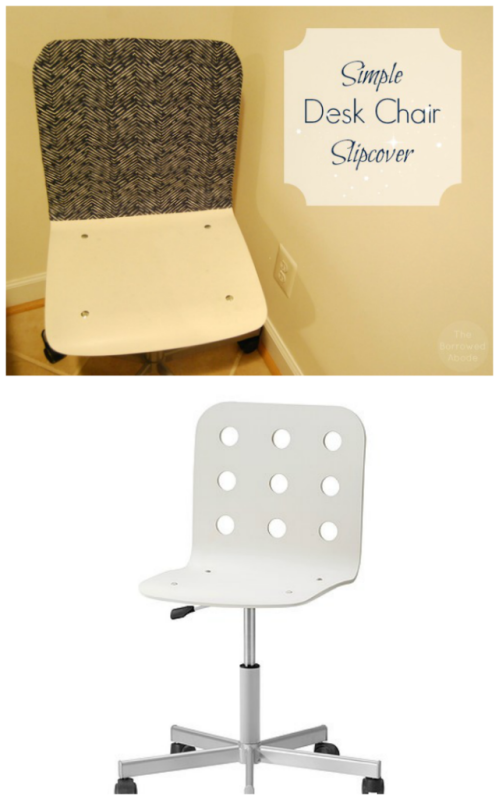
When I completed my Janery Studio Makeover, I did a lot of simple projects to make the space look and feel a little more finished. One was the simple slipcover I created for my Ikea Jules desk chair that I use when I’m sewing.

The swiveling wheels and the $39 price tag made this a great find for the sewing studio, but the aesthetics of the chair left a bit to be desired.
All the chair needed was a more decorative cover for the back, and with its simple lines I knew I could easily make a cover to slip right over it.

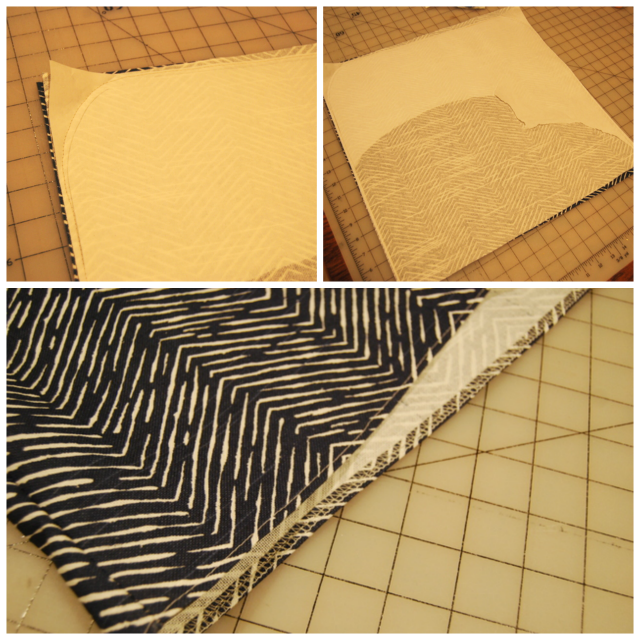
- First, I hemmed a piece of fabric that was a little more than 2 x the width of the chair back.
- I traced the outline of the back of the chair onto wax paper to create a template.
- I folded the hemmed piece of fabric in half, wrong sides out, and then ironed that waxed paper onto the two layers of fabric.
- I then used my machine to sew through the paper and the two layers of fabric – sewing about 1″ wider than the line I had traced on the waxed paper. (If you sewed right on the line your slipcover would end up too tight to fit on the chair back.)
- Then I cut around the seam I sewed, leaving about 1/3″ between the seam and my cutting line.
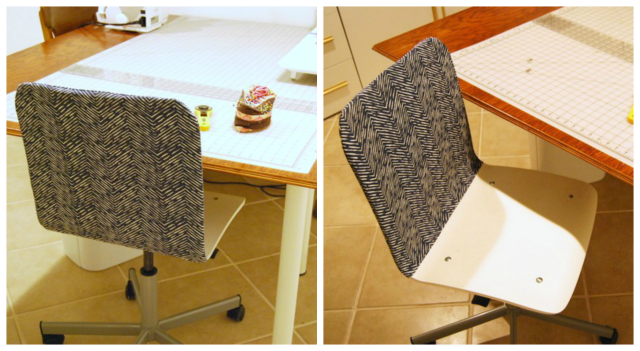
- I peeled off the waxed paper, turned the cover right side out, and slid it over the back of my chair.
Voila! In under 30 minutes I had a simple cover that made my simple desk chair look a lot nicer in the studio.
 It’s always nice to have such a quick and easy DIY project actually work out. 🙂


1 Comment
What a pretty and simple way to update your chair. It really changes the look of it completely in such a nice way.