
One month before Ryan’s birthday I decided to make him a quilt out of vintage wool suit pieces; a rather ambitious goal considering that I’d never made a quilt before in my life (but have always wanted to).
It was most definitely a learning process. 🙂

“How hard could it possibly be to join squares of fabric together,” I thought?
It turns out that joining the squares to make the quilt top isn’t difficult at all, unless. . . you use stretchy woven fabrics, such as old suits.
Some of the squares I cut stretched both ways, others stretched only one way, and still others didn’t stretch at all. The patterned ones like the red & black tartan were the worst. And when your quilt pieces stretch as you sew them, that makes for blocks that don’t line up correctly.
Designing the Quilt:
It helps to hang the quilt batting on a wall so you can put the squares on it to play around with pattern. Or make a design wall like this.
Putting the Quilt Together:
Once, I had a finished quilt top, I underestimated how hard the finishing process would be. I managed to knock it out in a few hours, but it wasn’t fun. At 5 feet, the square quilt was wider than my massive sewing table, so I had to assemble it on the floor.
First, I taped the quilt top to the floor, wrong-side-up, so it couldn’t shift.
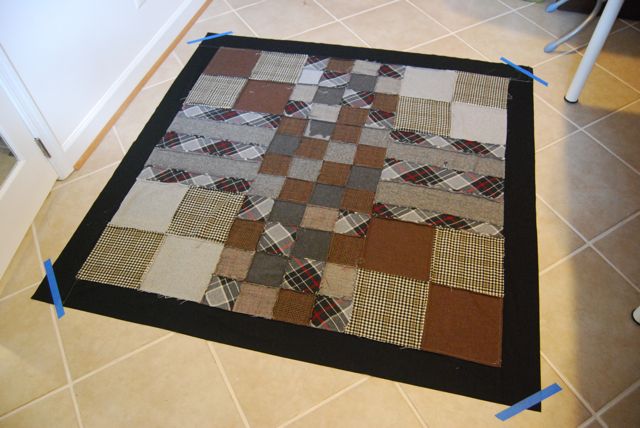
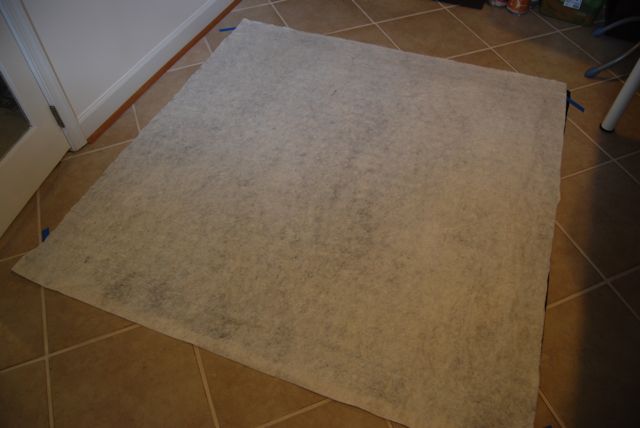
The batting went down next. I used Fusi-Boo batting, hoping it would help the assembly process because it’s supposed to adhere to the quilt when you iron the assembled layers.
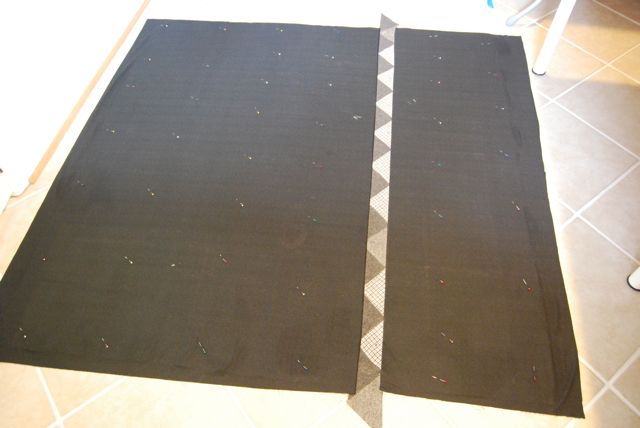
Finally, the quilt back went down, right-side-up. Since the quilting cotton I chose wasn’t wide enough, I joined two pieces using a quilted strip made from suit scraps. I love the back.
Since the quilt was assembled on the tile floor, I set about ironing it to get the batting to adhere to the fabrics. I ironed from the middle, moving in an outward direction carefully, so that there wouldn’t be any wrinkles in any layers.
The fusible batting didn’t fuse to either side. I tried again, this time using more steam. Still no luck. So eventually I gave up and just pinned all the layers together.
The Quilting Process:
The actual “quilting” process, sewing all the layers together, was the trickiest part. I started from the middle, sewing one straight seam out towards a side while following the seams of the blocks. To fit it in the machine I had to carefully roll up half the quilt.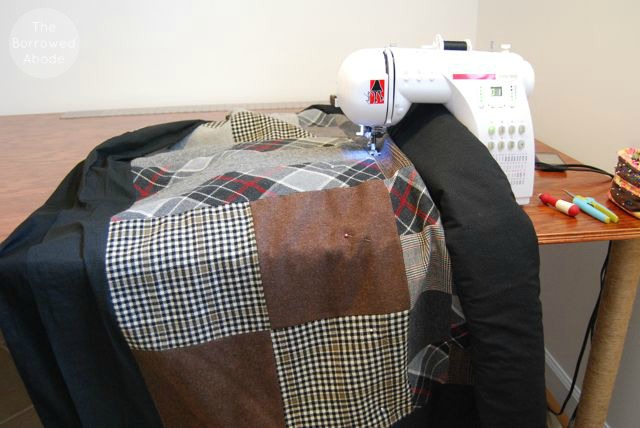
I repeated the process, starting from somewhere in the middle and sewing out to an edge multiple times until each quarter of the quilt had equal amounts of “quilting”. The backing wrinkled a little in the process.
Binding the Edges:
Not wanting to belabor the process any more, I used store-bought black blanket binding to bind all the edges of the quilt. It was tedious, but simple. Pin binding on, then sew with machine. Some people hand-sew the binding so that no seams are visible, but I do not have the patience for that.
Finally, it was done!
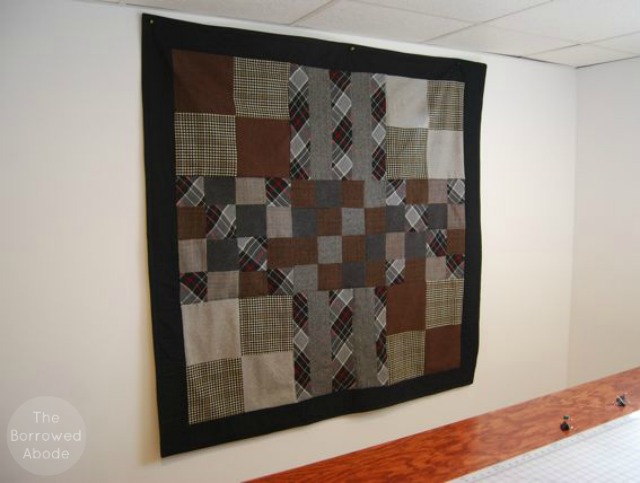
The quilt wasn’t finished until two months after his birthday, partly because it was taking longer than planned but also because I procrastinated when I felt discouraged. Also, it takes a heck of a lot of space to make a quilt, especially if you care about things like laying out the squares and playing around with the pattern they are set in.
Keeping the Quilt a Surprise:
I had not yet moved my sewing studio into the old guest room, so my work space was on my sewing table in the large basement TV room. There’s no way to keep a secret in a large shared space like that, so I had to warn Ryan not to come downstairs whenever I was “working on his present.”
However, I thought that would make it obvious that I was sewing a gift, so to throw him off the scent I would occasionally go into the work room and turn on the compound miter saw and saw through a small scrap of wood, then hammer it a little. This way I knew he wouldn’t guess it was just a quilt.
Insane? Maybe a little. But later, when he asked why I kept using power tools in the work room when I was making the quilt, I gleefully explained my supreme powers of deception. 🙂


6 Comments
This is awesome! I, too, have no patience (or skill) with hand sewing binding . . . maybe someday. Working with vintage sheets (something I like to do) can be really fiddly when quilting too, but the end result is worth it. I hope he loved this gift. I think you did a great job. Also, I totally laughed about you tricking him with the use of power tools. Hilarious!
I really got way too much enjoyment out of tricking him with power tools!
Good to know about vintage sheets! I’m looking forward to ordering a big jelly roll or fat quarter pack with some favorite *new* fabrics and just going to town with it for my next quilt. It’s official, I’m hooked. 🙂
I should have warned you, but I hadn’t sewn the washed wool quilt together before either. Not fun, and I’m an experienced quilter, or so I thought. Yours is beautiful! Mine is more primitive.
No worries, I figure it was so annoying to work with the stretchy and finnicky wool that it will only make my next (normal cotton) quilt all the more fun and easy! 🙂 Thank you for the wool scraps and the compliments!
The other material you want to avoid when making a quilt – is silk. I tried that once – completely hideous and had to scrap the whole idea. You did a great job with the quilt, and getting around the trickiness.
My vague memories of flatting with a craft teacher/quilter was that she sewed the wool square onto cotton squares with 2 diagonal lines to stop the stretching – but we’re talking 30 years ago so I could be very wrong.
I love patchwork – although my big plan is to make a quilt cover rather than as a quilt itself.
That’s good to know, thank you!!