I’m really excited about the reclaimed wood desk I’ve been building for my office; so excited, in fact, that I had to haul it up to my office before staining it just to see how it would look.
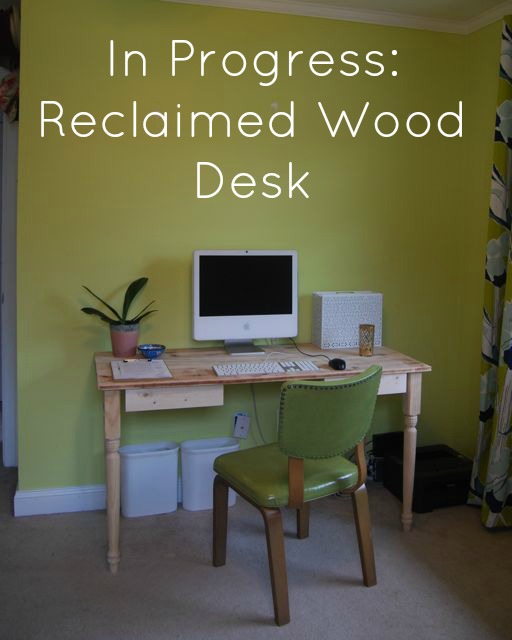
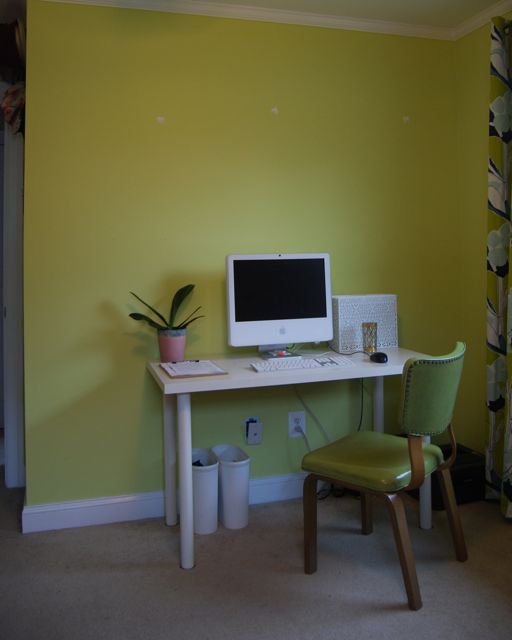
Even though it’s not stained and sealed, it’s already a huge improvement from the plain white Ikea desk that I’ve been using for the last few years.
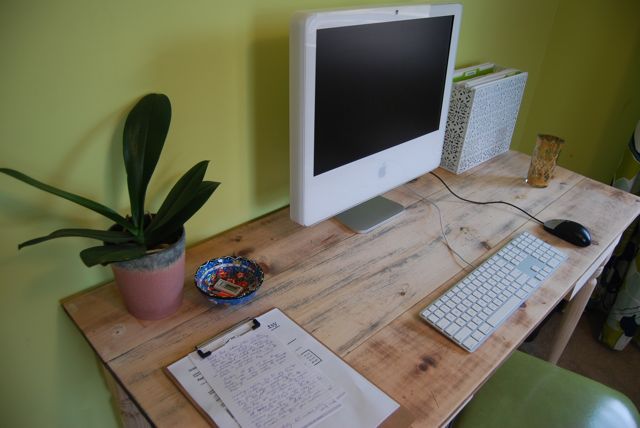
I love how the top turned out after I joined the old boards and sanded them down. I’m reluctant to stain it, but at the same time I think I need to bring it closer to the other wood tones in the room. Plus, if I ever want to get this weathered look again, I can just sand the new coat of stain off. 🙂
 It’s only about 5 inches wider than the old desk, but it feels so much more spacious.
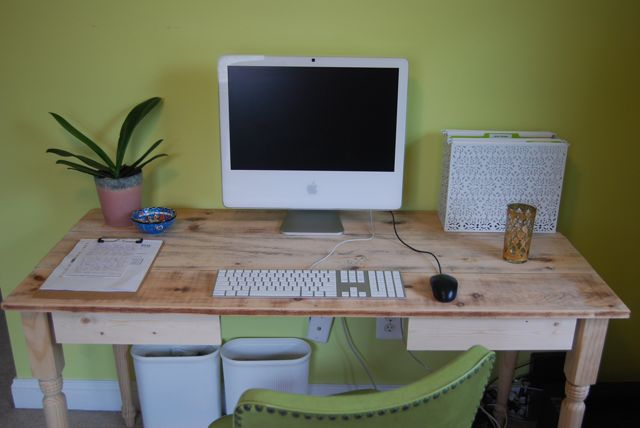 In addition to staining it, I want to add a false drawer front to the space between the two drawers, so that the front of the desk looks more polished. I know nothing about furniture design, so this has all been about figuring things out as I go.
As soon as the desk is done, I need to figure out a good solution to keep the cords corralled behind the desk. I may even build a matching little printer cabinet to sit beside it.



15 Comments
It looks awesome! Reminds me of my desk, actually. Though mine isn’t a DIY piece. Where did you buy the legs for yours? Were they expensive?
Hey! I got the legs at Home Depot. They weren’t as cheap as I would have liked, they were $15 each, but they look so much nicer than if I had just used a square board instead, you know? I think it was worth the splurge.
Ooh, can you use the space behind the false drawer front to coral the cords? Maybe even mount a powerstrip in there.
Also, I need you to teach me furniture building. As an architect/artist, it’s embarrassing for me to admit that everything I build ends up with gaps and crappy joints. Let’s blame it on our junky tools…
That’s a really good job. I will look at it closer when I am working on it today. If you have ideas for building something, talk to me and we can figure out how to avoid crappy joints, etc!!
This looks fantastic! It’s such an improvement from the IKEA desk and I’m surprised it’s only 5 inches bigger – it looks way bigger than that. Great job! 🙂
Thanks Jenn!
I’m soooooooo jealous you built that one your own. I seriously missed on the diy/crafting gene!
You’ve done a fabulous job on this! (would wax/oil keep the weathered look while tying in the colour?)
I can imagine that you’re going to love using it. 🙂
Hey Kiri – Thanks for the idea. Here’s my thoughts: I tested some teak oil on it and it did nothing to alter the color. The other furniture is so much darker that I think I need to just put some stain on it. On the up side, at least I know that I can give it this weathered look again simply by sanding off any stain that I do apply. I’m not a trained designer so I have no clue what the guidelines are for mixing wood tones in a room, (and I’m not good at following rules) but my gut feeling is that I want to make it more coordinated. I tend to get paralyzed by indecision so I need to just go for it, I guess 🙂
the desk looks absolutely amazing!!! Can’t wait to see even more progress! And good obs on the drawers!!!
Thanks Ashley! Can’t wait to be done with it 🙂
I love the new desk Jane! I completely agree with even a few more inches of desk space making a world of difference in feeling like you have more space to work. Can’t wait to see more of the progress! 🙂
Thanks, Robin! I am finishing it up today, I think. 🙂
I seriously love this desk! It may sound crazy, but I even like it as-is with the unfinished wood. Can’t wait to see how it turns out!
[…] of the lackluster white Ikea desk in my office, I decided to DIY my own farmhouse-style desk, inspired by the Pottery Barn Printer’s Desk. I didn’t have plans, I didn’t […]