Remember that time I subjected my dogs to my trash-picking habit, when I found some Danish Modern chairs on the side of the road? 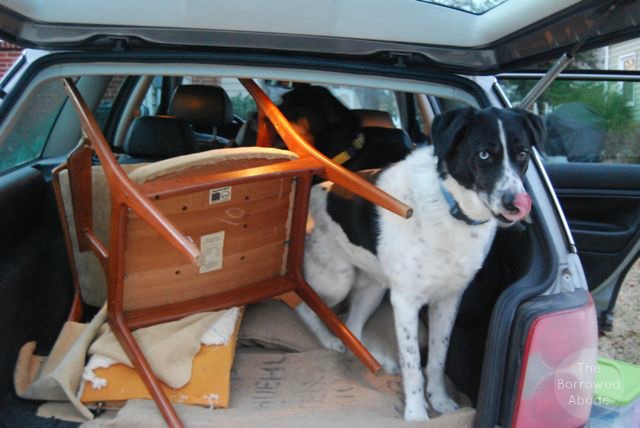
It was on the way home from an out-of-town wedding. I saw these three “beauties” set out for the trash collection, and I knew they deserved a second chance.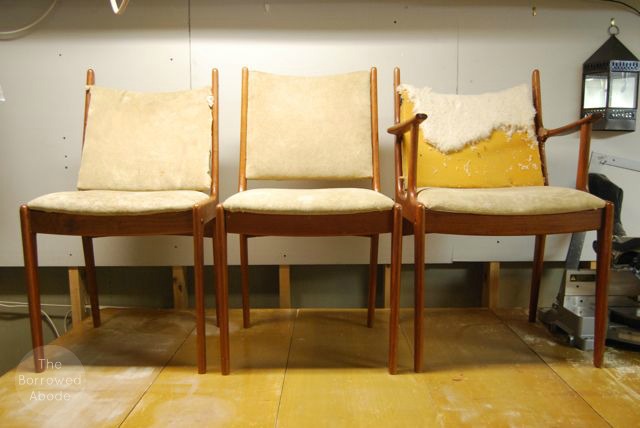
Turns out it was worth it, to us humans at least, because these chairs were a collectible Danish modern brand from Denmark. More importantly than any financial value, they were the perfect style for our dining area.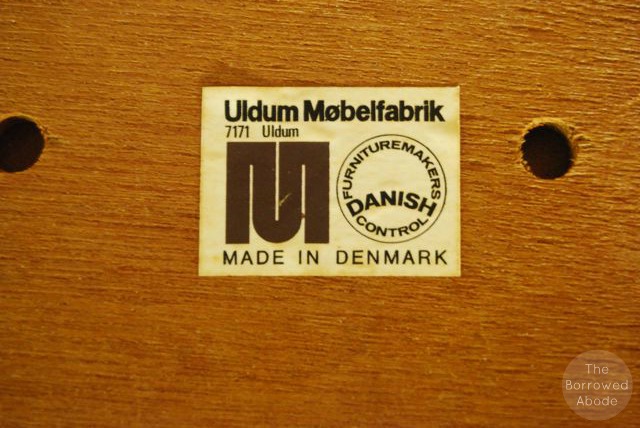
Once I removed the upholstered seats and backs, the chair frames showed years of failed DIY repair attempts by the previous owners.
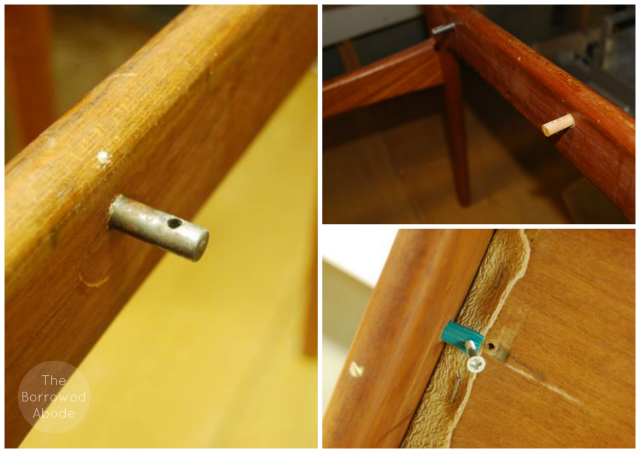
The photo above shows the part of the chair that held the seat. From L to R:
1. The photo on the left shows the original hardware. The left and right side rails each were supposed to have two metal pins sticking out of them. The seat cushion would sit on top, and a screw would go through the metal pin and up into the bottom of the seat cushion.
2 & 3: Someone tried to use both wooden dowels and hard plastic tubes in place of some of the metal pins.
Fortunately I was able to steal enough metal pins (and other hardware) from the armchair (which turned out to be beyond repair) so I could fix the two no-arm chairs.
LESSON LEARNED: If you’re rescuing furniture from the trash, take all the pieces including the ones beyond repair, so that you can harvest parts from them.
Moving on to the rest of the chair frames. . .
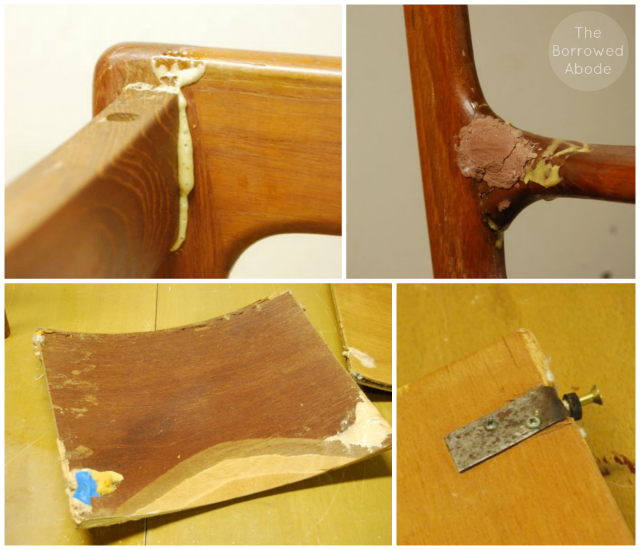
In the photos above, the issues are as follows (clockwise from top left):
Top 2 Photos Above: The armchair was a lost cause, with serious structural damage “repaired” with clumps of glue and plastic wood filler.
Bottom 2 Photos Above: The seat backs were held into each frame with wooden dowels and/or screws. However, the holes that held the dowels were so shattered that the owners had tried to repair them with huge clumps of plastic wood, painter’s tape (???!!) and bent metal plates.
I decided to strengthen all the holes by sandwiching them between flat metal plates, held together with nuts and bolts. There’s no way a screw can rip through them when too much pressure is applied by the seat-sitter. 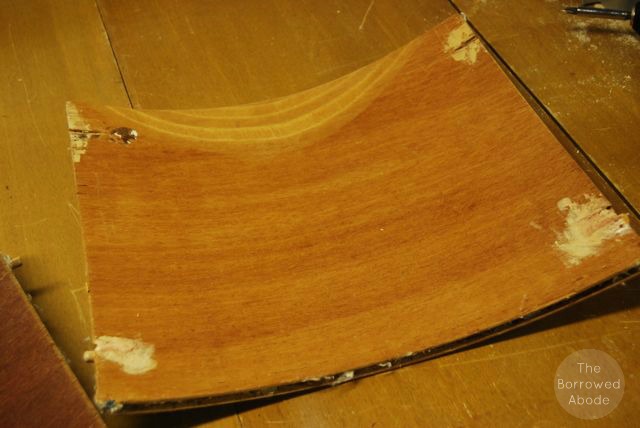
After sanding the backs down, I screwed one plate onto the “front” side, and the screws went through far enough that I was able to attach a plate to them on the back side too. I secured the plate on the back with nuts.
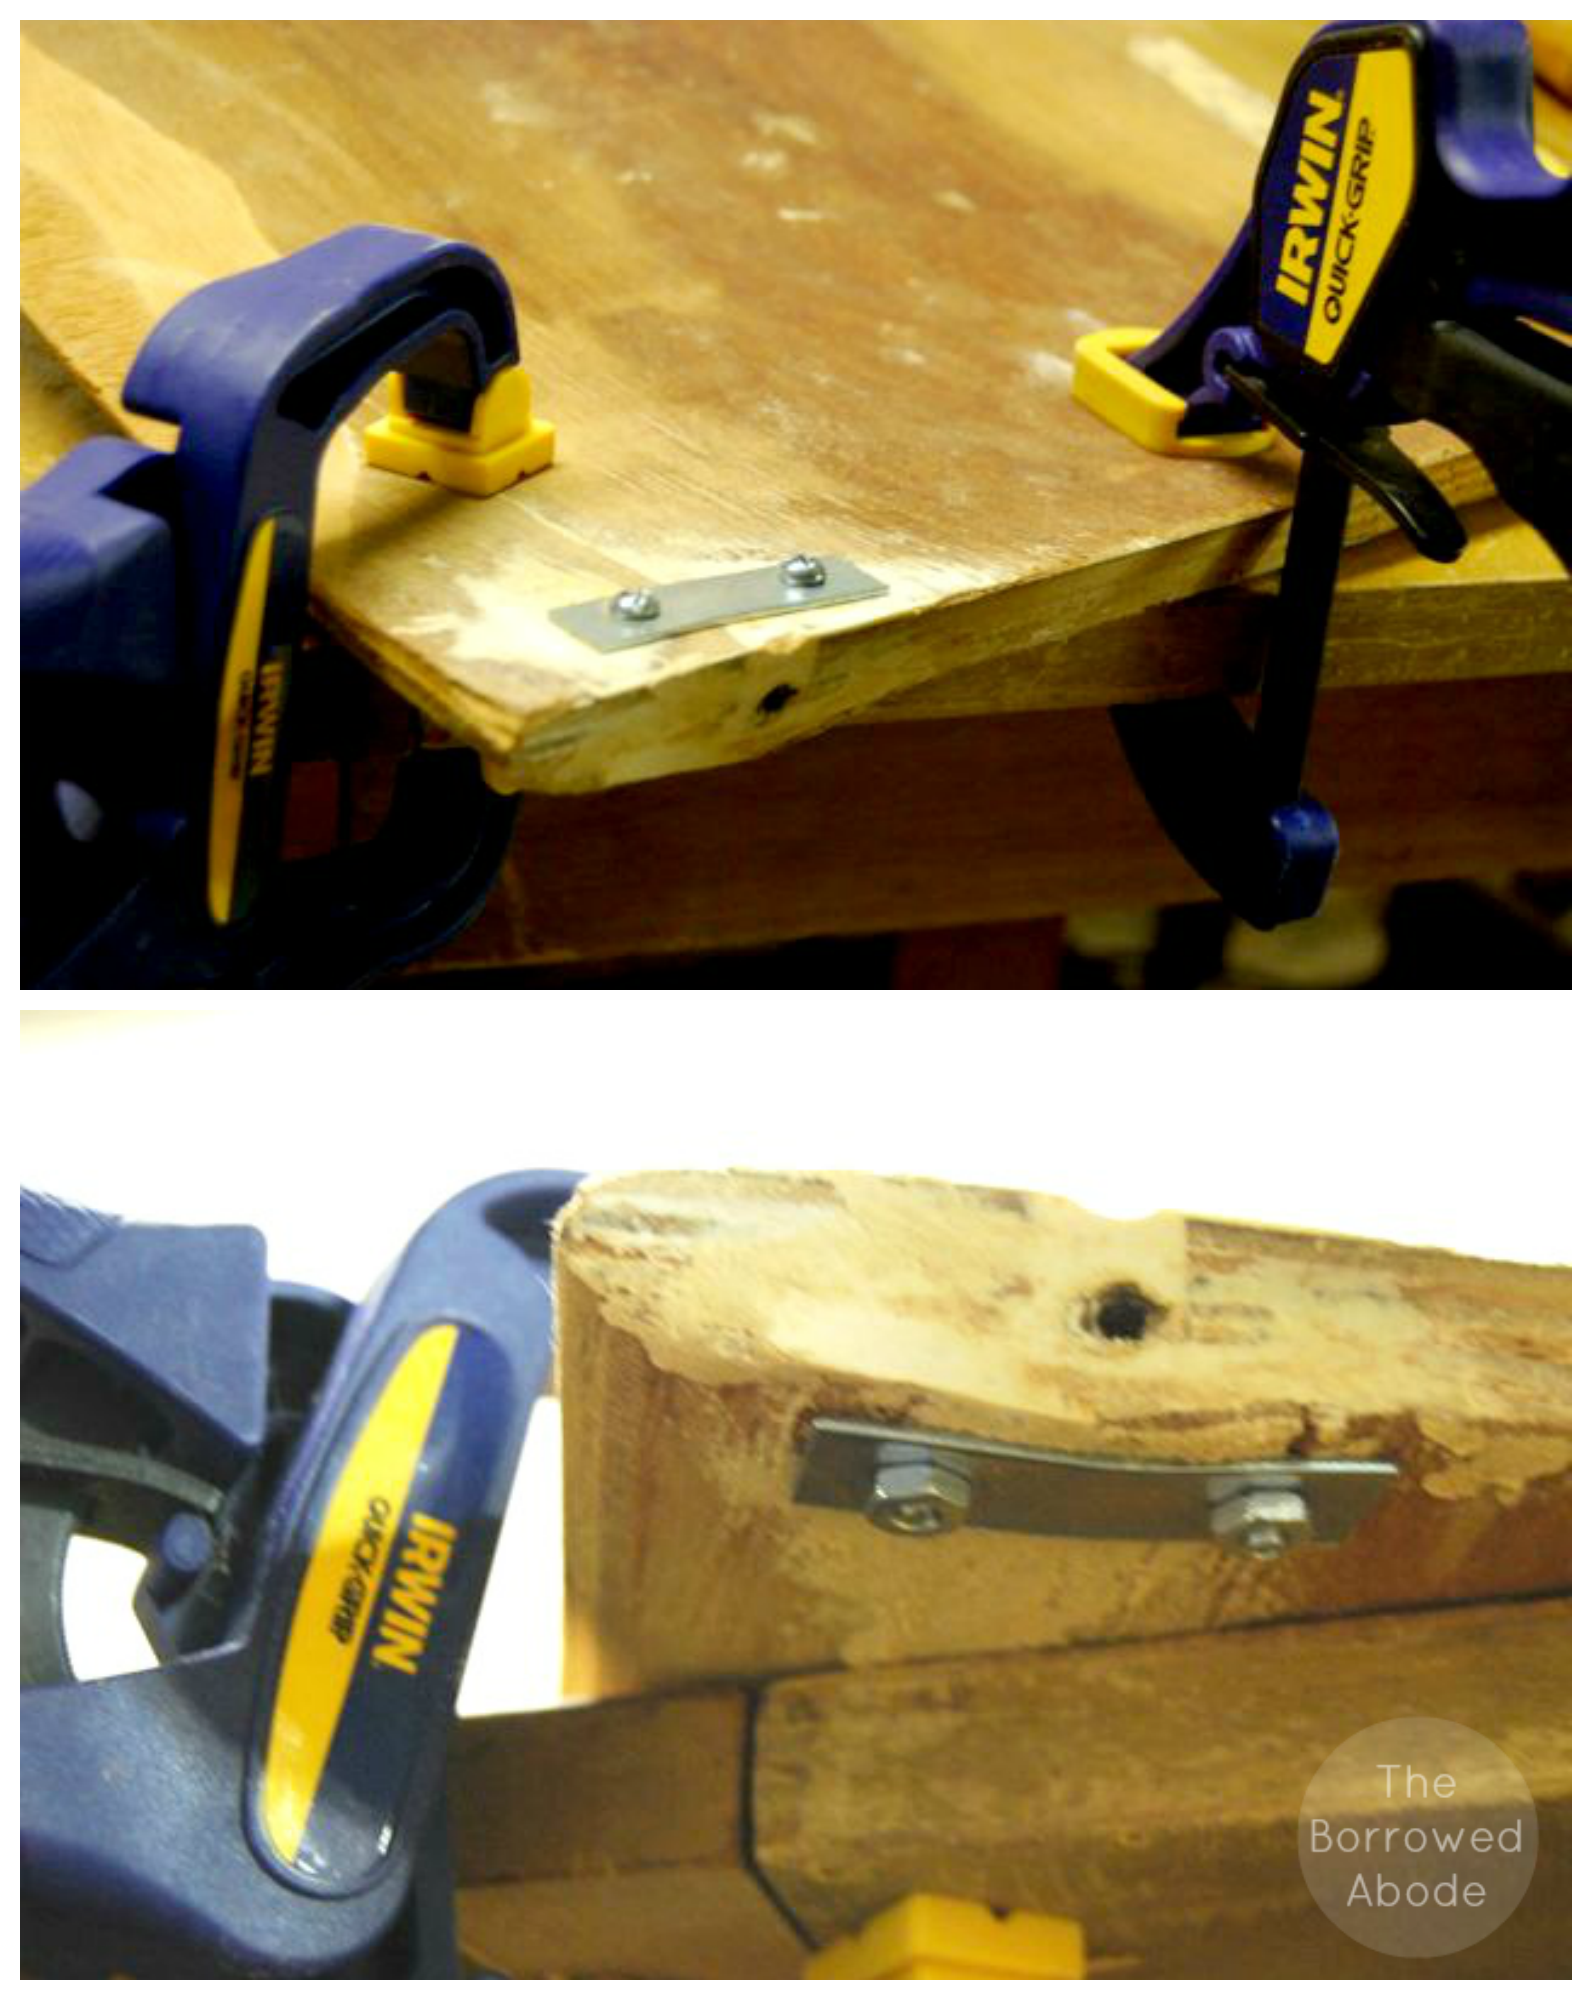
I repeated the process with all four holes on each of the two seat backs. When I was done, the holes where the seat backs would be screwed into the chair frames were seriously secure.
Time to refinish the frames! I sanded them down and then rubbed on a few coats of teak oil. I just love refinishing old wood. 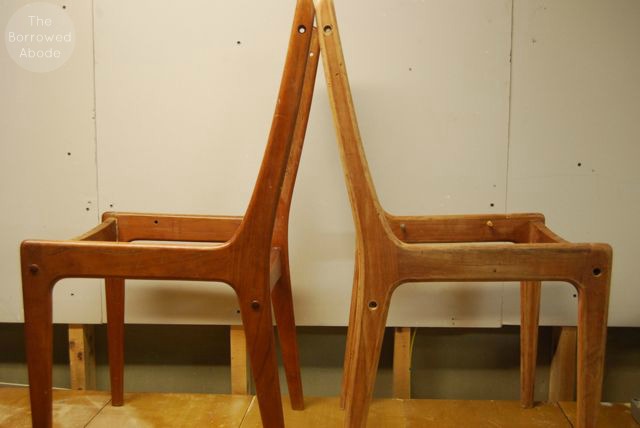
Left: After Right: Before
I’m not an upholstery expert, so I sort of winged it on the reupholstery. I simply wrapped the existing plywood frames first in thin, 1/2 inch foam, then covered that with a layer of quilt batting. I stapled it all in place.
Then the seats got wrapped in a plush silver velvet, and that was stapled to the bottom.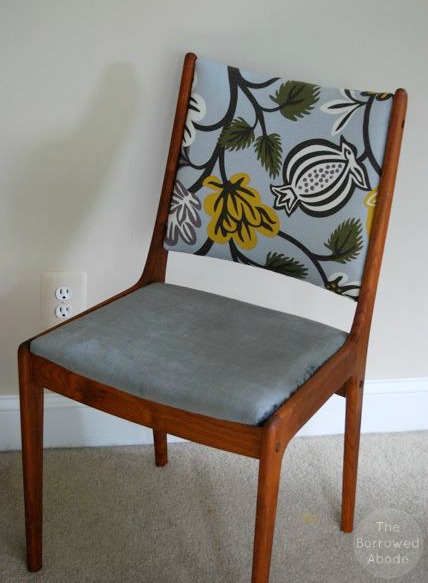
The backs got wrapped in Robert Allen Freja Floral fabric. They were a bit trickier because only the sides would be hidden from view. So I wrapped the seat backs, and made sure I folded the edges of the fabric in a tidy way along each side before stapling. The bottom of each seat back had a groove in it, so for the final seam I tucked the loose ends in, folded them under neatly again, and stapled.
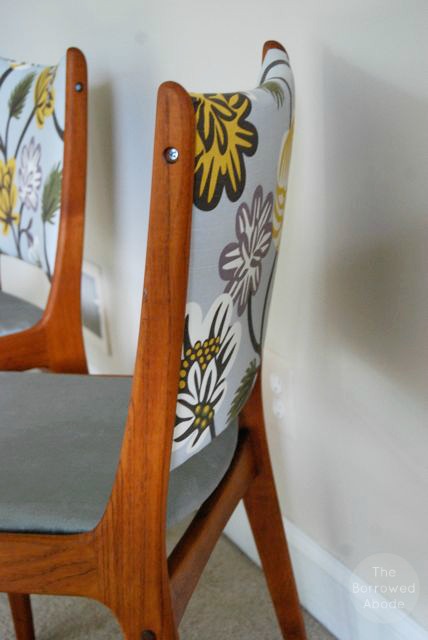
In the photo above, you see that screws hold the top of the seat back to the frame. The bottom of the back is held with a wooden peg. I still need to find wooden plugs to fit the holes and cover the screws.
After the reupholstery, I found the spot in the seat back where the peg should go, then tore the fabric a little and wedged the wooden peg in. I sealed the fabric around it with FrayCheck.
In retrospect I should have put the pegs in before reupholstering, but this worked.
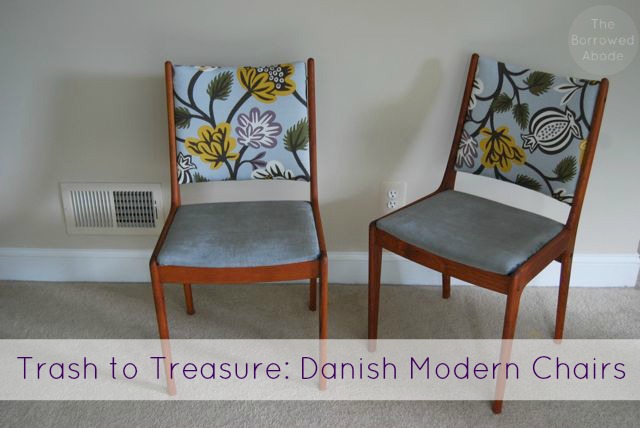
Now I have two lovely mid-century dining chairs at our dining table. Because I used fabric I already had, the project cost me less than $30.
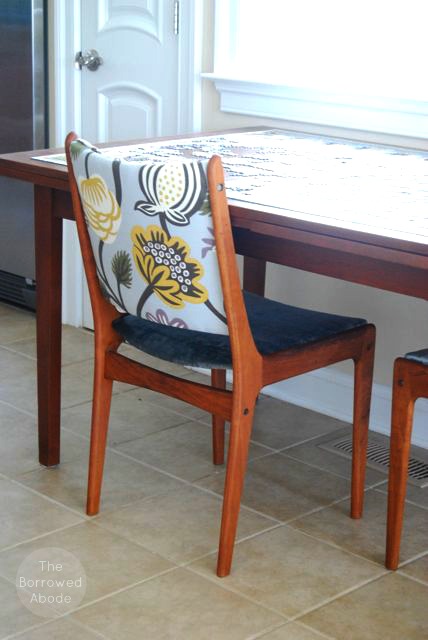
When people come over, I proudly say to them “Let me show you the chairs I found in the trash!” I have never been ashamed to bring new life to old, discarded furniture.



17 Comments
I can’t believe someone threw them away! They are so awesome!!
Wow you are so handy!!! The chairs look beautiful!! They look great with your table! 🙂
These chairs are seriously gorgeous! I still can’t believe you found them for FREE! I love free furniture. =) You did such a great job restoring them too. The fabrics you chose work perfectly with that gorgeous wood. Nice job!
I’ve been waiting to see what you were going to do with these. Turned them into absolute treasures! They look great, I’m so impressed.
[…] homeowners) on a budget can really help a space come together by incorporating thrifted, or even trash-salvaged, finds. My home wouldn’t be as well-furnished or decorated if I only bought things brand new. It […]
Where can I find the metal pin and screw that the seat bottom sits on??
Hi Rod – Honestly, I’m not sure. Because I found three chairs, but only two were structurally sound, I was able to take the pins from the bad chair and use them to replace the missing pins in the good chairs. If you can’t find replacement pins, what you could do is get small metal dowel rods from the hardware store. Put them in where the pins should be, and rest the seat cushion on that. then, to secure the seat, use a pipe clip shaped sort of like this (http://goo.gl/yzhWfI) to secure the seat to the rod. Alternately, maybe you could find a source for replacement parts. I haven’t spent much time looking for that, but there’s got to be something. . . good luck!!
[…] repaired, refinished, and reupholstered a pair of valuable Danish Modern dining chairs that I found discarded on the side of the road, and […]
I got 4 very similar chairs on craigslist. Probably better shape structurally, but the fabric is just as worn and grimy. I am recovering them now and I can remove the back from the frame, but I cannot remove the pegs from the chair backs. Any suggestions? Also two of the pegs are missing. Can you tell me where you found replacements?
Thanks. Your chairs look lovely!!
Hi Robin,
I actually didn’t find replacements for my chairs – I just used parts from the third chair I found, because its frame was too ruined to fix. However I would suggest taking an existing peg (if its metal) to your local hardware store to see if they could cut pieces of similar metal dowels for you. If you email me a picture of the chair backs I’d be happy to suggest ideas (if I can!) on how to get the pegs out. Good luck!
Hi there! I can’t believe I came across your post! I am helping a friend reupholster her 6 diningroom Danish chairs exactly like yours! I am hoping you might have an answer for me on this. The chairs we are working on still has the pegs in the holes holding the backs of the chairs. Any suggestions how to remove the pegs without damaging them?
My friend has the whole set – tables, chairs and cabinets and is the original owner from 40 years ago. They are truly back in style!
Ei
Hi Eileen – that’s so awesome! The pegs that you’re talking about – are they wooden ones? If they’re really stuck (maybe glued in?)I would probably just cut them off, and drill the holes out. The hardware store sells replacement wooden pegs, they’re called Wooden Dowel Pegs or something like that. So they’re easy to replace. That’s my 2 cents. I would love to see photos when you’re done!
Working on a similar project but my problem is the seat bottoms and the holes in the sides where the dowels go that support the seat bottom. Trying to use the metal dowels but wondering what will help get them snug in the hole which is bored out over time. Trying wood glue now but not sure it is going to work.
Great point. Try getting really good epoxy at the hardware store. The trick is to fill the old holes with the epoxy, let it dry, and then drill new holes the correct size in it. Let me know how it all turns out! Good luck!
I have 6 of these chairs, at least. They were my mother’s dining chairs and they are still upholstered in the original brown weave which is in good condition. Still, I feel I need a change and am considering having them reupholstered in different bold colors.
That’s awesome! I think bold colors would be a ton of fun 🙂
Hi! I am also looking for the wooden plugs to cover the screws. Did you have any luck finding them? Grtz from Holland