I’m trying to get an earlier start than usual on making a few little holiday gifts. One idea I had was to make some fun fabric scrap bookmarks for people who still read from real, paper page books.
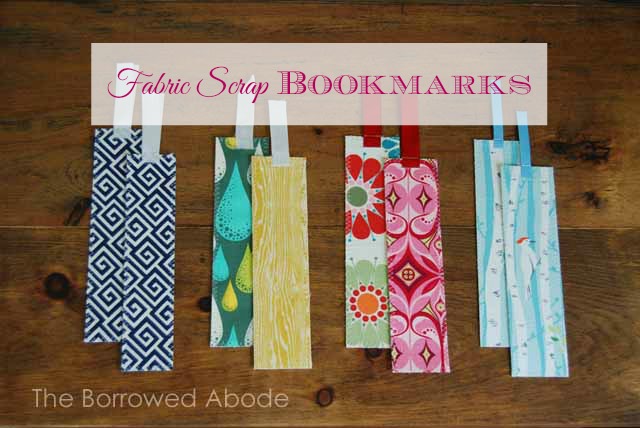
I gave it a try and it was just as easy as I’d hoped it would be! This project can be done in under an hour if you have the supplies ready to use.
Supplies Needed:
- Fabric Scraps – at least 2″ x 5″ in size
- White card stock paper
- Ribbon or Yarn – pieces at least 4″ long
- Spray Adhesive
- Fray Check – optional
- Old newspaper or a drop cloth
- Scissors – or a rotary cutter
- Sewing machine optional
How To Make Fabric Scrap Bookmarks
Here’s the basic overview: You’re going to use spray adhesive to adhere the fabric scraps to both sides of the card stock. Next you’ll cut it into bookmark strips – about 2″ x 5″, or larger. Then you’re going to cut a little slit near the top of the bookmark. Slip a piece of ribbon through the top slit. If you sew, finish off with a decorative stitch around the entire bookmark, and also where the ribbon attaches. Voila!
1. Figure out what scraps you’ll use. I decided to use scraps that covered the entire 8 x 11 sheet of card stock, so my bookmarks would be 8″ long. Some of my bookmarks have the same fabric both sides, others are different on each side. 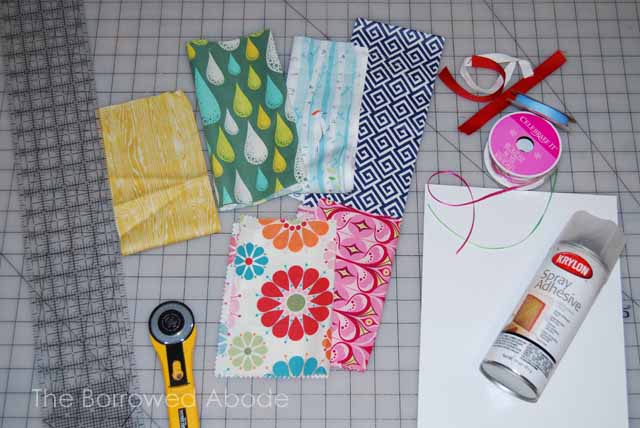
2. You’re going to spray adhesive, so you need to cover the space. Spray adhesive seems to get all over, so I always cover a much larger surface than the actual spot that I’m spraying. Lay out your drop cloth or newspapers.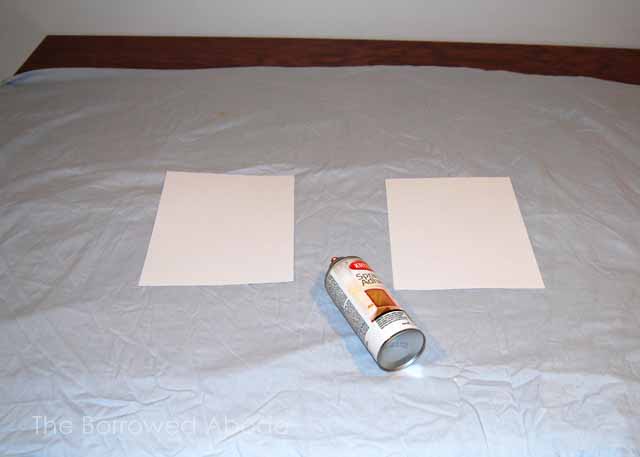
3. Set out your card stock pages and spray one side with adhesive. Set your fabric scraps on them, and smooth out any wrinkles. I usually start from the middle and smooth out to the edges. It’s easy to reposition the fabric if you need to.
4. Flip the card stock over and figure out what fabric you’re putting on the other side. Spray the adhesive again, and smooth fabric over it again.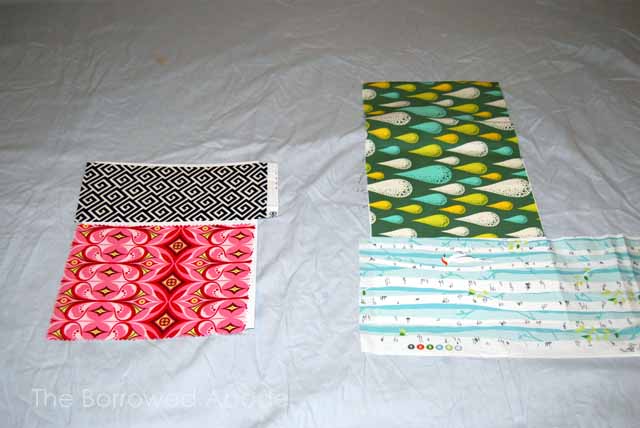
You may want to trim the excess fabric off the card stock before continuing. 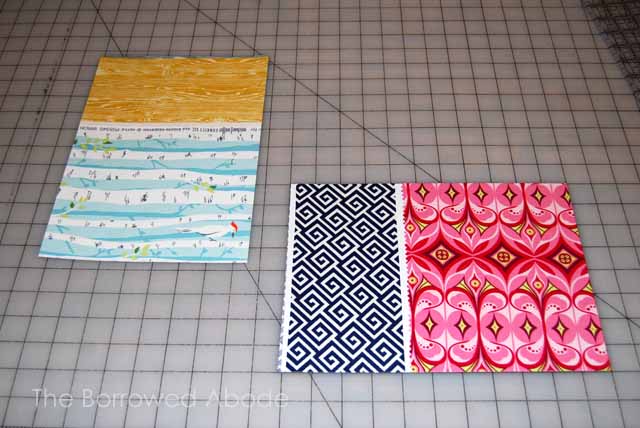
5. Cut your bookmarks out of the card stock. I cut mine in 2 inch strips, so that they were 8″ long.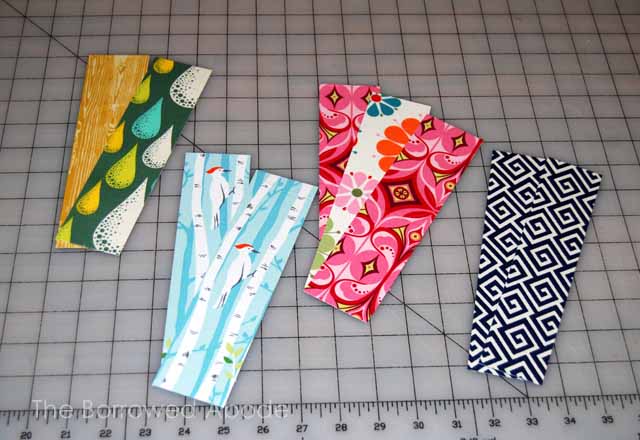
6. Cut a small slit near the top of the bookmark, then slip a 4″ ribbon or piece of yarn through the slit.
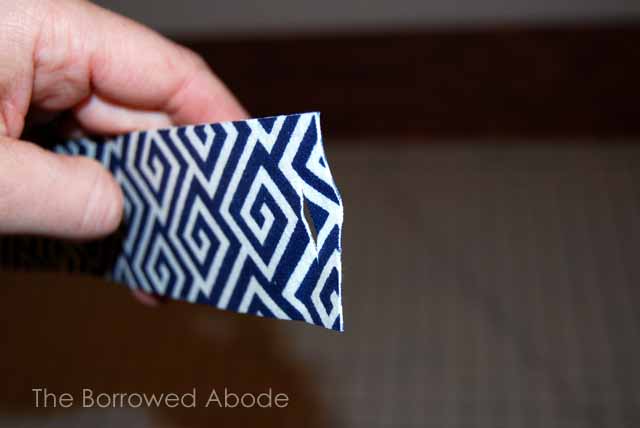
 7. Use a zig zag stitch to sew the edges of the bookmark. Fold the ribbon out of the way so you don’t sew over it, then start sewing at the top, where the ribbon will be.
8. Use a zig zag stitch to sew over the ribbon and the slit . This will hold the ribbon in place. Then use a straight stitch to sew the ribbon to itself at the top of the bookmark.
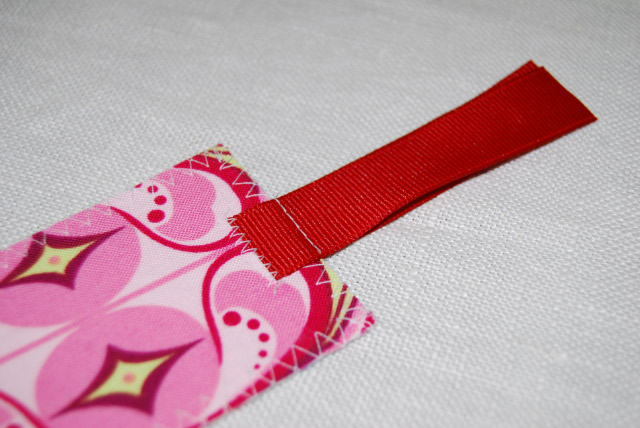
10. Seal the edges of the ribbon with Fray Check or some clear glue.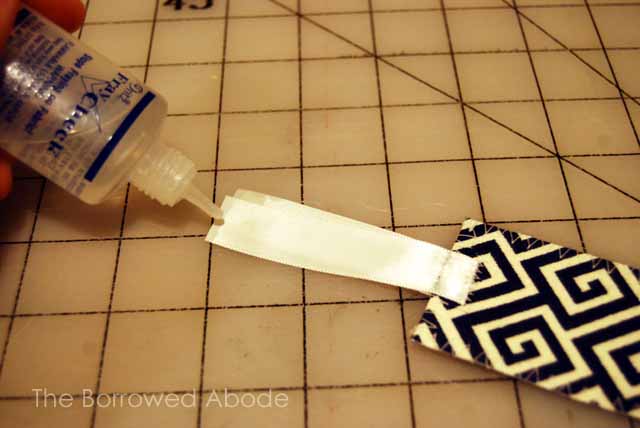
Voila!
Some thoughts if you don’t sew:
If you don’t use a sewing machine, you could still do this project. You may want to use extra strong spray adhesive, or mod podge, or you could get some mid weight double-sided fusible interfacing and use that between the two fabrics instead of the card stock. You just want to be sure that the fabric is well-adhered to the middle piece, whatever it may be.
For securing the ribbon at the top, a drop of glue or hot glue would work fine.
Happy scrap-busting!
PS: Here are some easy handmade gift ideas I shared in the past.


2 Comments
[…] Get the free sewing tutorial here […]
[…] Handmade Stocking Stuffer Gift: Fabric Scrap Bookmarks […]