When I came home from taking care of my mom in Delaware, I was itching to do a good hands-on DIY project. It may sound weird, but that’s how I unwind and gather my thoughts, and process things like stress.
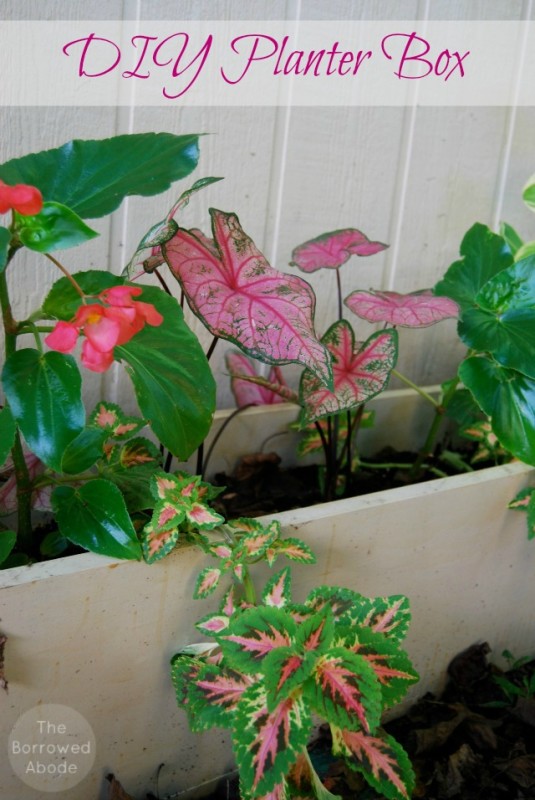
My 10-foot planter box project was just what the doctor ordered, though it didn’t turn out as I’d hoped..
See these sheds? We have one on either side of the back of our yard, and since that’s our hangout area (with a hammock, firepit, etc) I thought the sides of the sheds could use some dressing up.
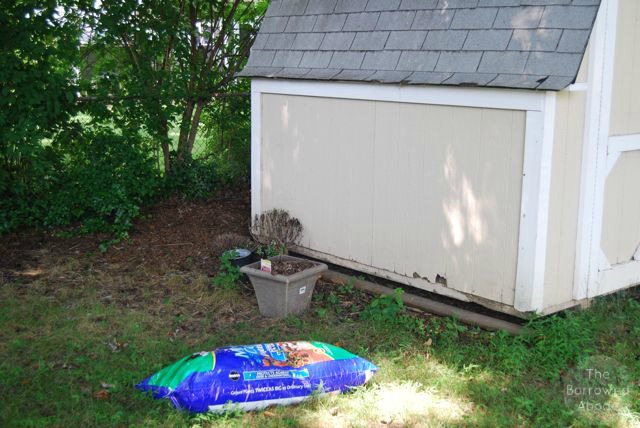
Because we rent, I decided to build long planter boxes to run the length of the sheds, rather than landscaping a garden around each. 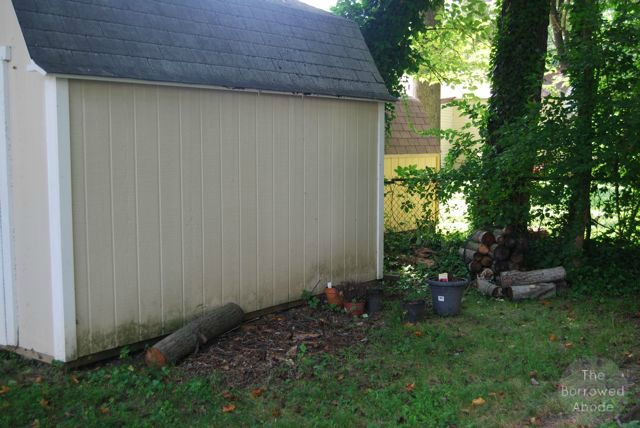 So, my first weekend back home, I raced out to the hardware store and bought all the supplies. This was a project I’d been thinking about for over a year, so I had it pretty well organized in my mind.
At Home Depot I looked at the planter boxes they were selling, but buying enough to run the length of two very long sheds would have been expensive. Off to the lumber aisle I went.
I bought six rough pine 10-foot boards that were about 9 inches wide. I bought one 6-foot board that was also 9″ wide. I also bought a can of outdoor Spar Urethane for sealing them. The total cost was about $100, which was more than I had wanted to spend, but seemed the cheapest way to do this.
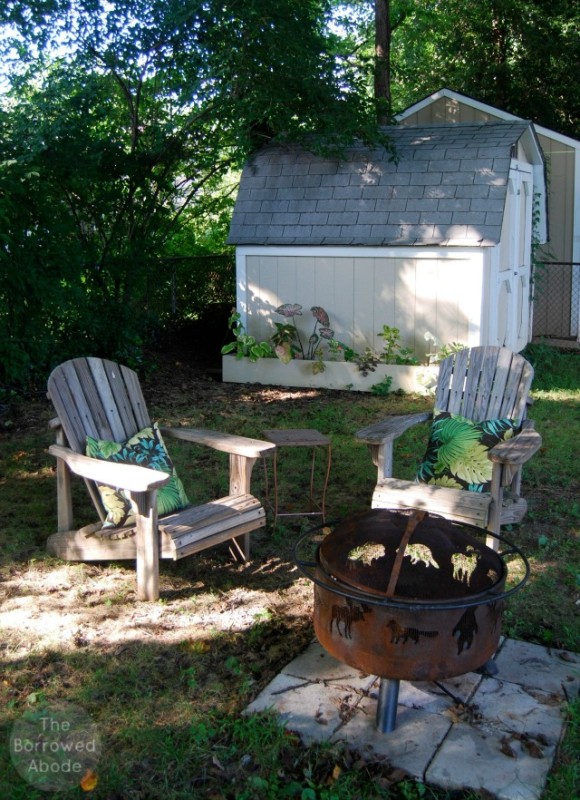
I didn’t photograph the building process, because it was simple, but here’s how I did it:
- Buy three boards all the same size. These boards will be the front, back, and bottom of the planter.
- Join the boards using screws. I countersunk my screws and screwed in from the outside. It’s the easiest way and is ok if you’re painting the boxes.
- Measure the size of the ends, then cut a spare board into pieces that will fit to cap off the ends. Attach with screws.
- Drill large holes in the bottom of the planter box for drainage.
- Paint, then apply 2 layers of Helmsman Spar Urethane (or other outdoor waterproof sealer) to seal it up.
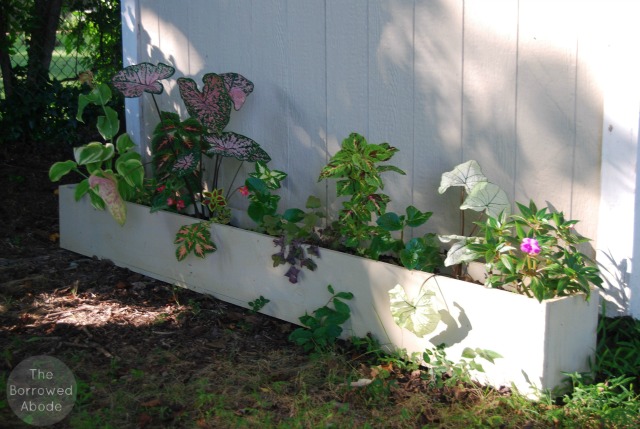 As you can see from the photos, the ground around the sheds is rough with weeds and twigs and dirt – no nice clean grass growing there right now. I am hoping that it will be nice and grassy by next spring.
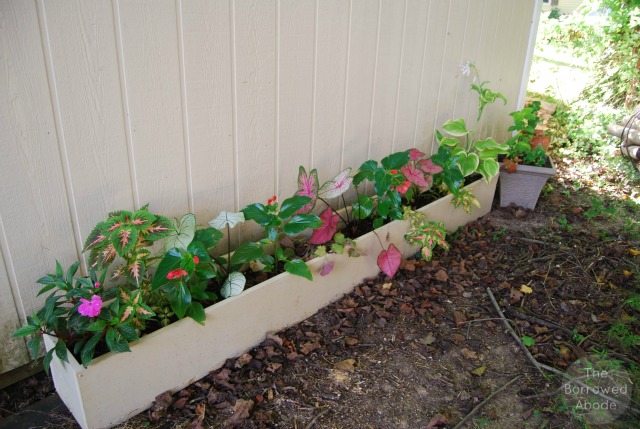
Now that the project is complete, I have to say it doesn’t have the “wow” factor that I was hoping for. Considering it cost about $200, I don’t think this project was worth it. It might have been better to get two awesome flowering trees in large pots, or something like that.
Plus, there’s other projects that would have been more deserving of that chunk of change. But what’s done is done, so I’ll enjoy the planter boxes and my shade gardens as much as I can.
I do think that planter boxes are a great way to add some color and life to an outdoor space, but they’re only cost effective in small doses, and probably are best suited for small spaces.


7 Comments
I think they look great, but I agree that it’s a big chunk of money. But, on the plus, side, you can take them with you and you probably won’t dig up plants during a move.
You’re totally right, I can take them when I move. And that will be good, since some of the plants I added are perennials.
They do look tidier than the base of the sheds, though. What about a piece of pretty trellis in the centre to grow a flowering climber? That might give you the wow factor you were hoping for.
Lori, I love this idea and it’s perfect for the space! I’m not going to start it now (too many other projects unfinished!) but definitely will save this idea for the spring. Thank you so much!!
Yeah, trellis! Came here to say that. Maybe when those plants grow up a bit more and fill out the space, it’ll be more what you’re looking for. Nothing is instant when it comes to living decor.
[…] water my 10-foot planter boxes. They are flourishing! Working lunch: Leftover okra and zucchini topped with my Cabernet Chicken, […]
maybe a different color for planter would make it pop against the building , instead of blending in with it. just my 2 cents worth.