Shhh. Keep it down. You’ll get me in trouble.
She’s away for the weekend at her girly blogger conference and I thought I’d show you all some real DIY.
I see a lot of bloggers go for the “safe” projects. Like… “here is a pedestal I made for my embalmed cats, Viscount Gregory Wyndham and Admiral Westinghouse!”

They look so realistic!
Source: http://www.apartmenttherapy.com
But I don’t go for that.
So you may have heard that she won some award for sticking a branch on the wall. Think that’s cool? Thanks to the snowstorm we had yesterday I have PERFECT opportunity how to show you how to mount a real branch on your wall.
Ingredients:

So, Command Strips, what do I get for using this?
Source: A Tree. Our yard.

I also listen to “Sledgehammer” by Peter Gabriel while using it. It helps!
Source: http://www.crazy4bargain.co.uk

So much better than that Slo-Crete I bought.
Source: http://www.fdsons.com
This is also a perfect opportunity to sneak in a few tools that you don’t need for this project but you wanted to get anyway. (But really, what project isn’t a great opportunity to do this?)

Living things are tools too.
Source: http://www.zmescience.com
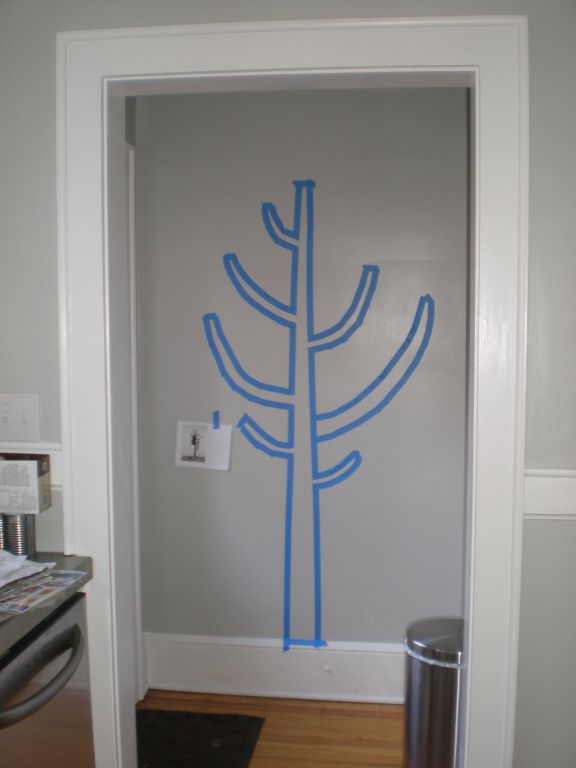
Now what you first need to do is carefully mark out where the branch is going to go. Some people may have hung the branch parallel to the wall but in my projects I find it very important to create a textured result with some depth. So I’m going to mount this perpendicular. That’s right. 90º angle. I feel that it really pulls the room together and defines the area.
It’ll look like this:

Like this, but bigger and a bit awesomer.
Source: http://honeymoonphase.files.wordpress.com
And about 15x the size. And sticking straight out of the wall. And probably through the next wall too.
After marking out the area, it’s time to use the sledge hammer to knock out the appropriate size piece of the wall. I generally use the 6:1 rule of thumb. For every 1 inch of space you need, I take out a 6 foot chunk of wall. If you do it right it should look something like this. Notice the clean lines.

Clean lines.
Source: Rafah Kid
That’s all for now! For those following along at home, just throw up a dropcloth over the work area and we’ll be back next month to learn how to finish!
SNEAK PREVIEW: It was too large to fit through a door so I had to get creative. It turned out amazingly though. Imagine wowing your neighbors with something as fashionable as THIS!

It now also pulls your front lawn together and defines the area of your driveway.
Source: http://www.baltimoresun.c
Liked this? Check out Ryan’s other posts here. Go on, you know you want to!


11 Comments
Ryan, goddamnit, you owe me a computer screen! There’s a HUGE amount of shiraz sprayed on mine!
Ahem. *throw
So, I see you’ve modeled your project on our parent’s backyard. I am quite concerned by your use of a velociraptor as a tool! There are some documentaries by Ian Malcolm that may shed some light on to why it is bad to redecorate with them.
Ryan, I LOVE YOU. And you are AWESOME.
But please don’t take liberties with the decorating when I’m out of town. Call me crazy, but I’d like to still have 4 walls and a roof when I return home.
Keep being awesome.
xoxo,
Jane
Ryan, I got to say I liked Jane’s branch more. At least your staying with the theme of “the outdoors inside” hehe
Heh. That was pretty awesome. I hope the dinosaur came in handy with the demo.
This was just too funny. Perhaps the little lady should go to one of her girly conferences more often. LOL
velociraptors?? have I taught you nothing??
Ryan,
When you are done with the velociraptor, can I please have it? I have a kitchen to finish demo in and then rebuild, and I really think it would come in handy. Maybe when I’m ready with the cabinets, I’ll let you put that branch in the kitchen. I really want to have the outdoors inside, especially in the city where everything is a square. More definition in my space, please!
I think the landlord *might* have a problem with that modification. I’m not sure the green would be considered a neutral color. Just make sure he doesn’t see it until Fall when the leaves turn brown and drop off.
OK Ryan, my heart missed three beats before I realized that you were fooling. Thanks for the laugh! Signed, Your Landlord