When it comes to living spaces in rental units, shelves are one of my favorite things to install. They’re [relatively] easy to hang, inexpensive, and they can really allow you to add interest to a wall without major commitments. If you get bored of what’s on that wall, you simply change out the objects and artwork you’re displaying, without having to patch holes and hang new picture hooks.
When it came to my living room, I knew I wanted to install some shelves for the few display items I own. The “fourth wall” as I’ve come to refer to it was unpainted, patched, and bo-ring!

Before: Definitely boring and way too symmetrical.
Again I ask you – why is it so easy to tell others how to decorate their rooms, yet so difficult to make a decision for your own space?
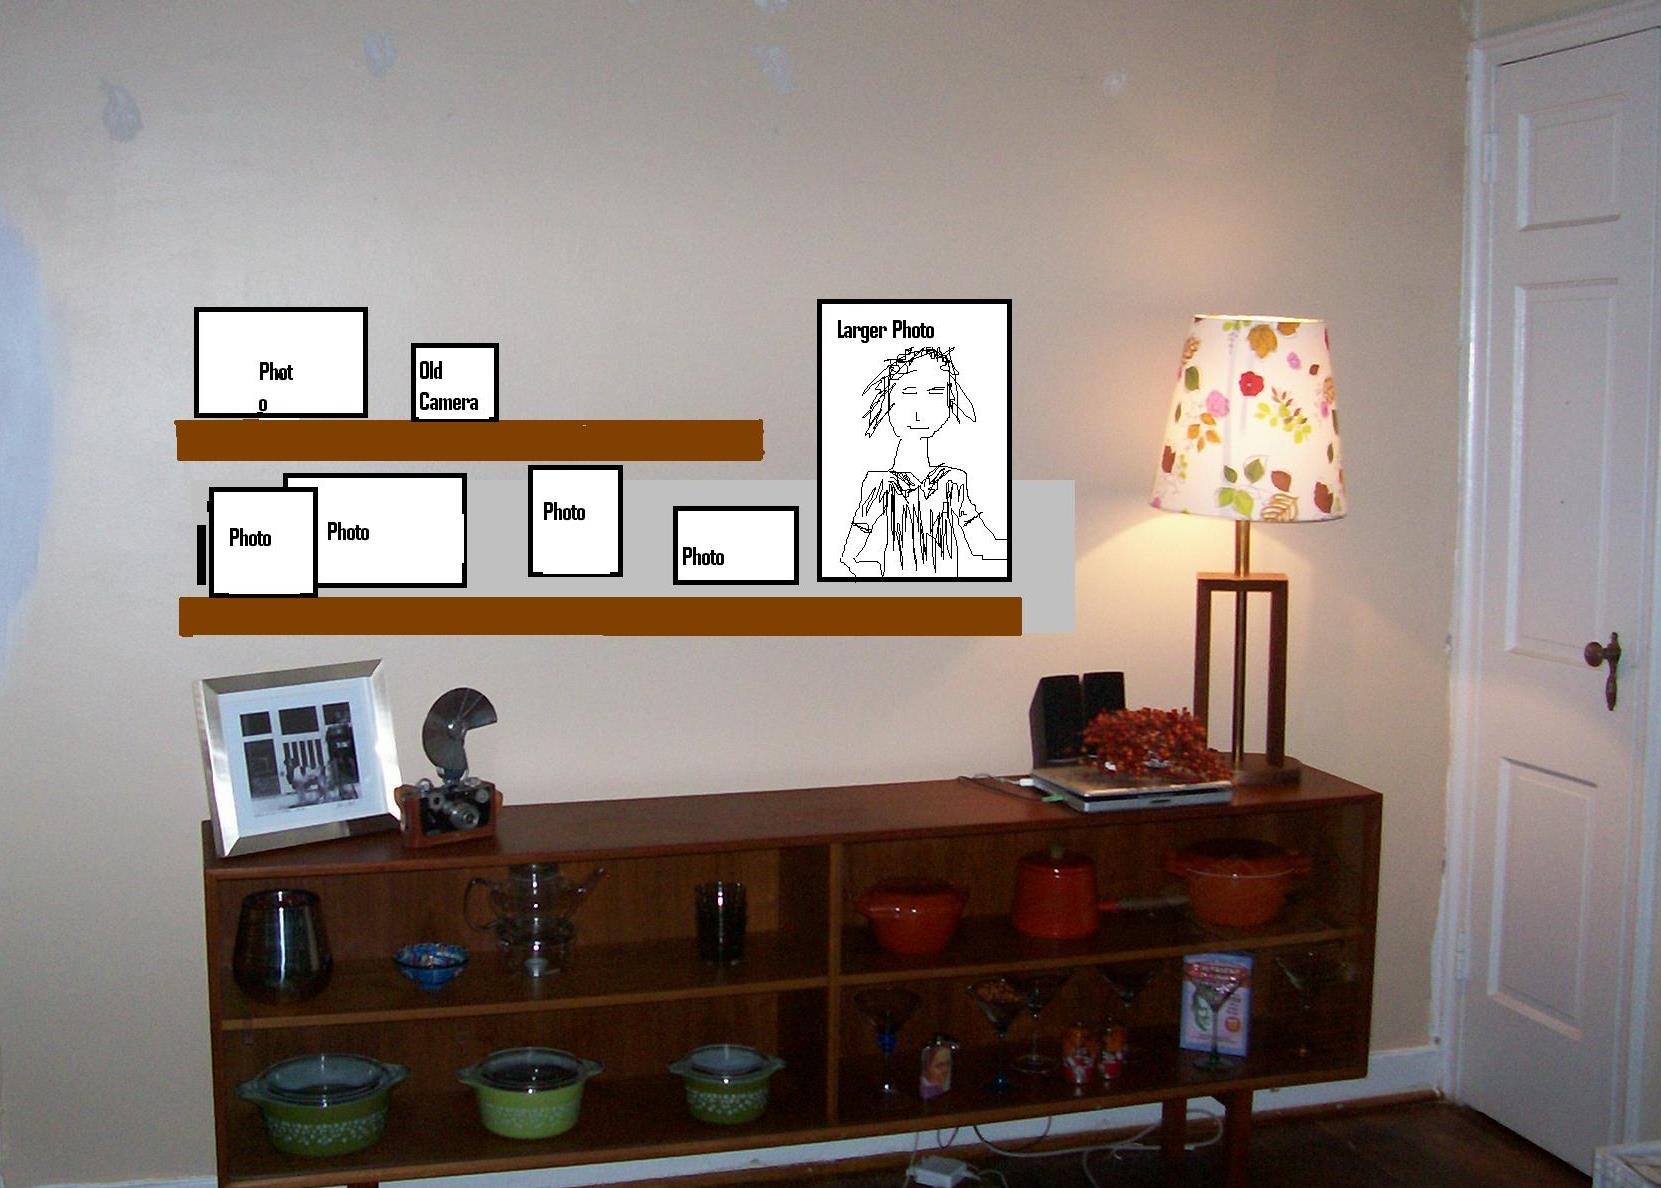
In September I used MS Paint to sketch this gorgeous little mock-up of a shelving idea, then I
polled my readers on their ideas for the wall. I got some great ideas, yet I
still could not make a decision and stick with it. I really wanted floating shelves that matched the wood tones of my credenza, but shelves of that color didn’t seem to exist. And some of my blogfriends informed me of their disappointing experiences with floating shelves such as the Ikea Lack style.

This was the possible plan.
Then one day at Ikea I spied it. A solution to my shelving snafu. The Marginal shelf. A new style of shelf for Ikea, it was almost-floating, looked much sturdier than the Lack shelves, and came in a rainbow of wood tones.
But life got hectic, between work, fostered kittens, and visits from friends and family, and it wasn’t until this last weekend that I was able to implement the plan.
Saturday was spent painting the wall and going to Ikea en route to my neighbor’s awesome aquarium wedding. On Sunday, when I faced the painted wall and faced the daunting concept of sinking 20+ anchors into the wall (they’re serious brackets), I second-and-third-guessed myself. Using my trusty little painter’s tape-approach to shelf planning, I mapped out a couple options. Here’s one:

Shelf prep: Planning the shelf locations and item displays prior to attacking wall with drill.
Finally satisfied, I grabbed the drill, then discovered that Ikea no longer includes hanging hardware. Sigh. I ran to target for screws and anchors, then grabbed the drill again. Those 20 anchors were going in and there was no turning back. One hour later, and a screwdriver jab to the finger, I was part way there.

After one hour and one teensy injury, I was halfway done hanging two shelves.
After another hour, I was done. Finally! It felt so good to finally have four finished (for now) walls in the living room! I’m glad I waited, though, until I found just the right shelves. The yellow-brown wood, as it’s called, really matches my mid-century modern furniture.

Great success. . . two hours later.
Overall, things went as planned. . . but there’s one funny part. That wall with the shelves is supposed to be a dark taupe accent wall. Except it’s not. I have NO idea how that happened. I guess that’s why you’re supposed to do a test section before committing to a whole wall of paint.


3 Comments
Great idea to do a mock up of your plan first. How many times have you had a picture in your head of how something would look only to find you don’t like it later.
I’ll have to save that idea.
[…] a few assorted branches and brought them in to add some more festive holiday ambiance to my living room shelves. That’s better, thouh I may add more. (Is there such a thing as too many greens at […]
Yes, I am agreeing with you. It’s really too easy to tell
others how to decorate their room buts it’s really too difficult make a
decision for your own space.