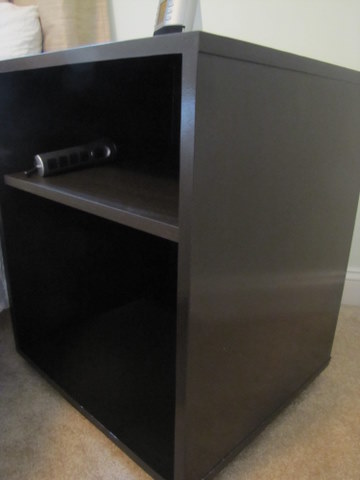
It is with great excitement relief that I announce to you today: Our nightstands are built. Finally.
It only took us from June 28th – August 27 to build them.
My project was inspired by the Madison nightstand at West Elm. I sketched plans for building it, but then Ana at Knock-Off Wood read my mind, and posted plans for a similar nightstand. We used her instructions, with modifications. It was a hell of a ride, but that’s a topic for this afternoon’s post.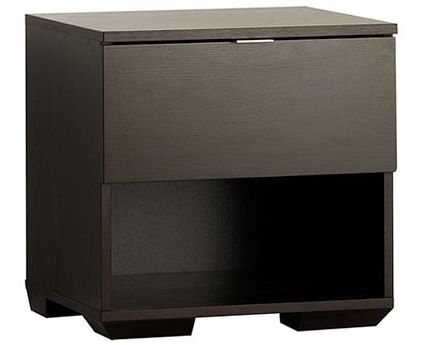
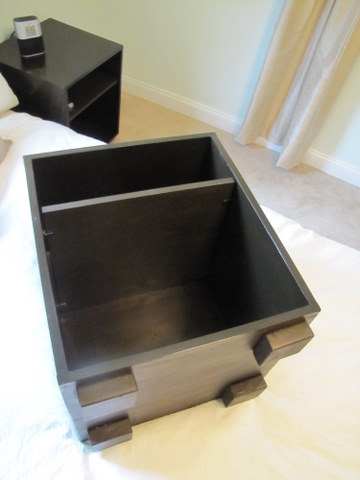
Wanting to keep things simple for our first furniture-building project, we left off the drawer. (I’ve already made some storage bins to substitute.) But we kept the cute little chunky feet:
Even though I can see even the teensiest flaw in it (and probably some imaginary ones, too), when my parents visited they said they looked great. The final coats of semi-gloss polyurethane really gave the pieces a nice, smooth, somewhat shiny finish.
Despite all my whining during the process, I’m glad we built them. The West Elm ones are made of particleboard, and (if Ryan’s bed is any indication) they don’t always hold up well over time. Plus, I’m trying not to purchase products from retailers unless they hold their manufacturers to good ethical standards. (Verdict’s still out for me on the Williams-Sonoma corp.)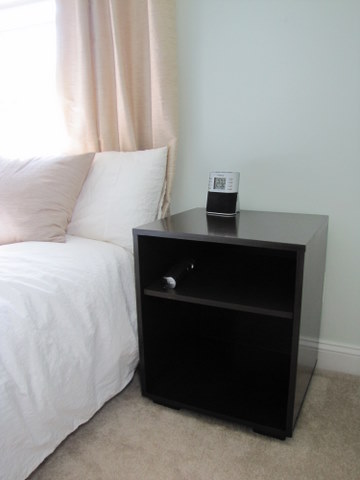
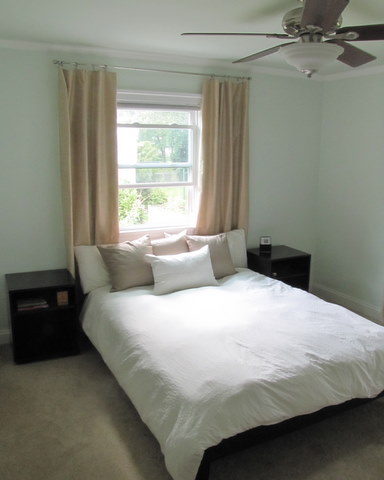
As far as the bedroom is concerned, I’ve got a question for you: How much space do you leave between the side of the nightstand and the side of your bed? I need to decide this before installing the wall lamps over the nightstands.
I hope you’ll come back later this afternoon to read the step-by-step trials and tribulations of this project! And if you’re new to the blog, you can check out the earlier highlights from this bedroom makeover journey:
- The bedroom “before”
- The choosing of the fabric
- The making of the curtains
- The making of personalized bedroom art
Sharing at:




7 Comments
I love the peaceful colors in your room. The nightstands look fantastic! What an accomplishment…I can’t wait to read the instructions:)
I don’t have a definitive answer about the placement of the nightstands, except place them where you like them, and play around with the placement of the lamps. Infact, you may want to determine the lamps’ location first, then the nightstands. Anyway, just do what you think looks prettiest for the room.
VERY cool! You’re becoming quite adept at cabinetry!
The West Elm table looks kind of squat and blocky. I like your tables better!
[…] a better place, through simplifying, upcycling, and shopping for fair trade goods. Check out her bedroom progress and her friendly tweets. « Decluttering Around Here: Project 3 Update Subscribe […]
[…] did. But that’s only because I was busy helping my mom with things. As demonstrated by our nightstands, I’m not afraid to roll up my sleeves and grab a power tool (or […]
[…] finally finished the bedroom night stands – and after the ordeal of building and finishing them, it was quite a relief. The bedroom […]
[…] “floating” nightstands (the ones we built last summer are way bigger than we need in our […]