Kitchen & Dining, Living Room
The Great Gray Paint Debacle Comes To An End!
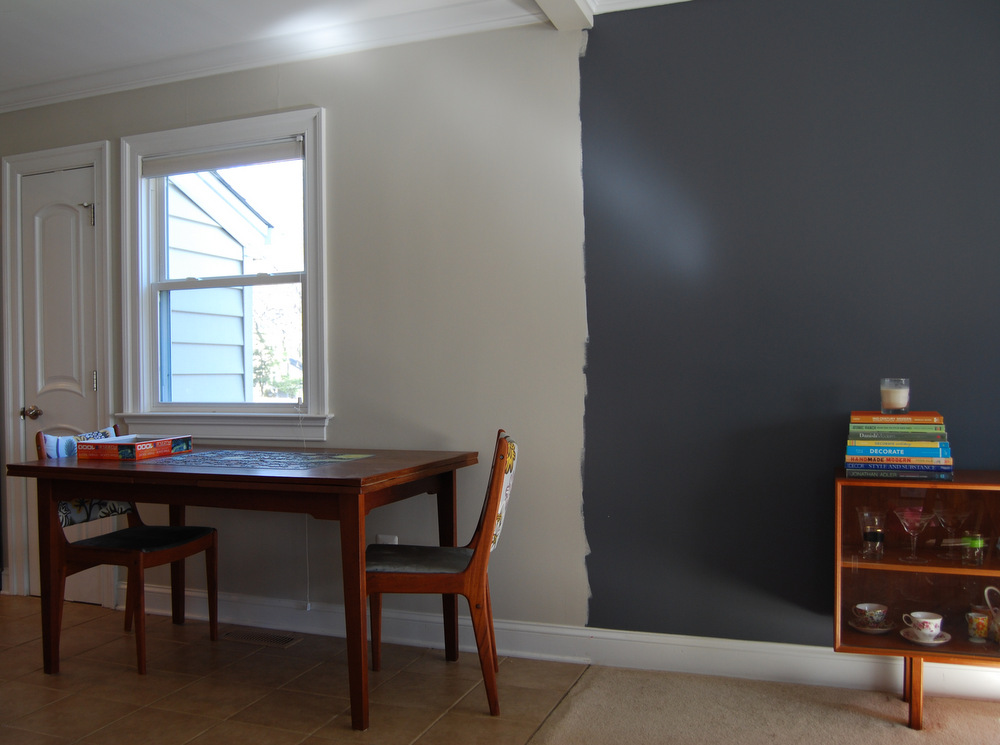
On Monday night I finished painting our walls in the final choice of light gray paint. I’d finished the first coat Sunday,…
11:39 am
On Monday night I finished painting our walls in the final choice of light gray paint. I’d finished the first coat Sunday,…
11:39 am
My moods have been on a roller coaster ever since we started this “simple” painting project a week ago.…
1:41 pm
What was supposed to be a quick weekend painting project to kick off the new year has become the…
11:01 am
On New Year’s Weekend of 2014-15, Ryan and I discussed changing the paint in our living room. We’d enjoyed…
10:00 am