Update: Like this project? Then you’ll definitely want to check out my new-and-improved version here!
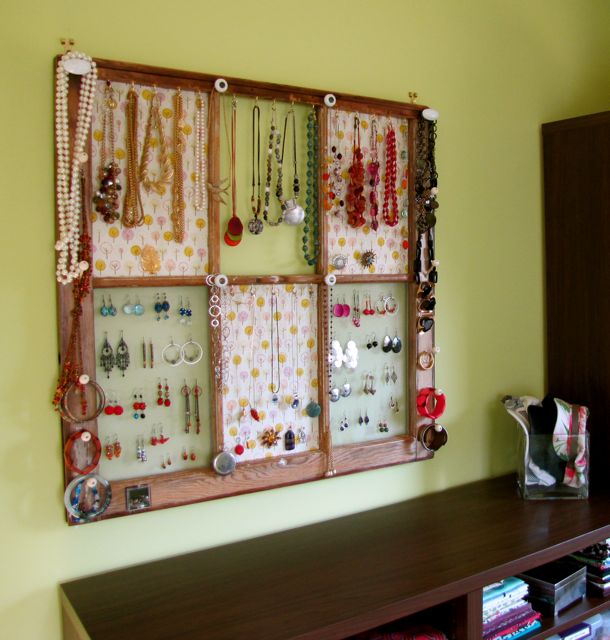
Remember my window-frame-turned-jewelry-display? Of course you do, how could you not? Well it’s time for a detailed tutorial. Here’s the down and dirty on how I turned that ratty old window frame into the Coolest Jewelry Storage Ever.
Supplies Needed
- An old wooden window frame
- Metal window screening
- Foam core board
- Fabric or decorative paper
- Screw-in cup hooks
- Old cabinet knobs
- Skinny strips of craft wood (I got mine at Michael’s)
- ModPodge
- Tiny tack nails
- 2 – 4 Triangle strap hangers (or other hooks for back of frame)
Tools Needed
- Old scissors
- Glue gun
- Old paintbrush
- Hammer
- Drill (optional)
If you have any questions, or if this is confusing, please ask in the comments!
Repurposed Window Jewelry Frame Tutorial
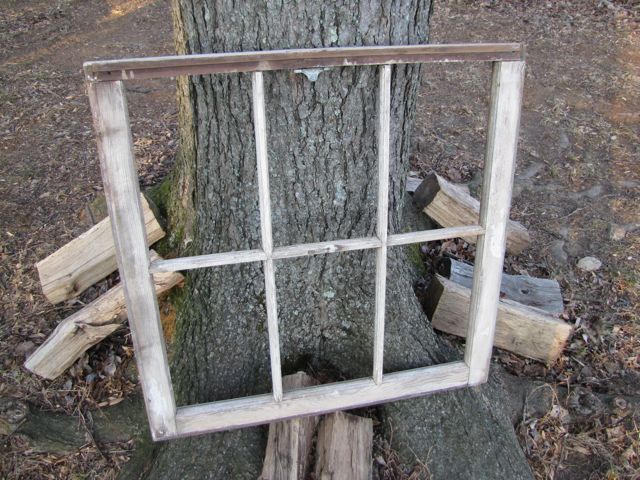
1. Find an old wooden window frame. Rattiness optional.
2. Clean it up, sand it down, and paint it if you want to. At least swab it with a good coat of polyurethane to seal it and protect it. *If there were glass panes, after you remove them, be sure to use pliers to pull out the little metal spikes that held them in. But be careful – they’re sharp!
Note on Poly Sealant: Because the wood was so old and splintery, I thought it best to sand it down and seal it with poly. Unfortunately the poly took away the gorgeous, weather-beaten white patina of the wood, and made it look like regular stained wood. If you want the white look, you’d probably have to whitewash it after sanding it down.
Lead Paint Warning: Old windows may contain lead paint. Exercise caution when refinishing them.
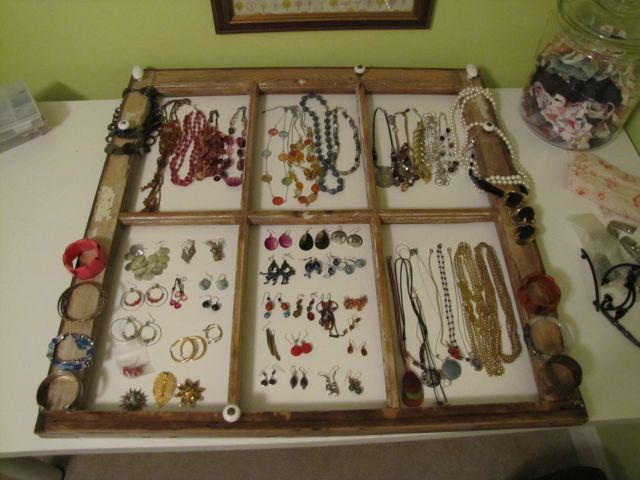
 3. Is it dry? Good! Figure out which squares will have window screening for earring storage, and which will have fabric-covered foam core board panels for decoration & functional space. (Remember, you can stick pins in the foam core boards to provide extra hanging bits for little pendants and pins.) I figured out what kind of storage I needed where by laying all my jewelry out around the frame ahead of time:
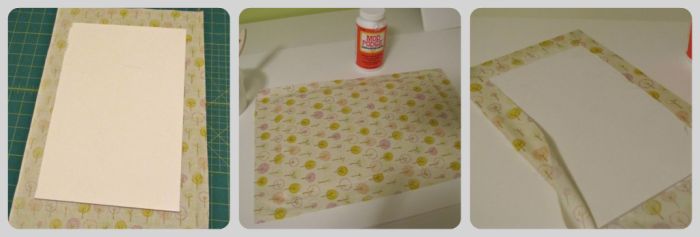
4. Create the fabric-covered panels of upholstered foam core board. Take the fabulous fabric you’ve chosen (or decorative paper), and use ModPodge to adhere it to the board. I chose this process: brush a coat of MP on the board, then press the board to the back side of the fabric, then wrap the edges over the board, using more MP to adhere them well. Set aside (preferably in a pet-hair-free place) to dry.
5. Prepare to install the window screening panels. But watch out, because no matter how hard you try, you’re probably going to get some metal splinters . I recommend having a current tetanus shot for the sake of full legal disclaimer.
6. To get this screening business started, cut a spare piece of cardboard to the size of the square opening you’d like to fill. This is your guide.
7. Cut the window screening. Cut the screen an inch wider than the guide, on every side. (Regular scissors worked for me, but be warned it will make them dull.)
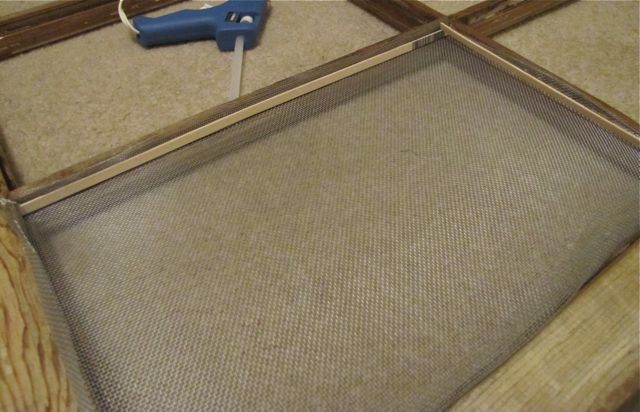
8. Insert one piece of screening where you want to attach it. But before you try to attach it, just fold the edges so that it fits as well as possible. (This is probably where the splinters will start.)
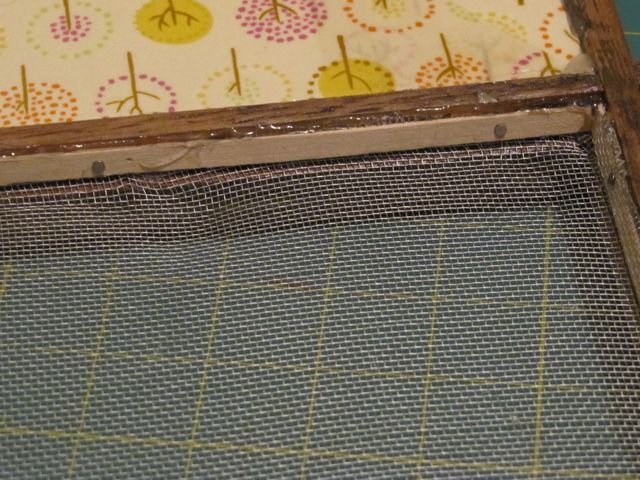
9. Once the screening is in place, cut pieces of the skinny craft wood to insert on top of the edges of the screen. You’re using them like this, to help brace the screen inside the window frame:
10. Carefully pull one of the the screen & wood strip edges away from the frame, and run a quick line of hot glue down the side of the frame. Then press the wood & screen against the glue so that both the screen and the wood strip are adhered to the side of the frame. Repeat on each side.
11. Once the glue has dried, use little tack nails to secure the wood strips to the sides of the frame, thereby ensuring that your screen is held in well.
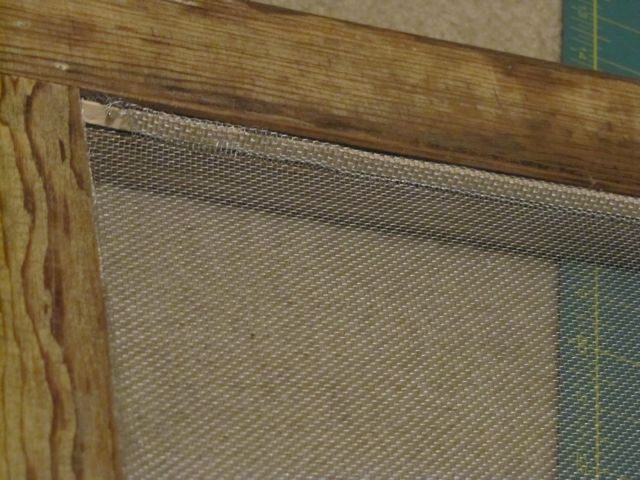
12. Fold any remaining bits of screen over the wood strips. (Again, splinters may ensue.)
13. Add the fabric-covered foam panels, using hot glue to hold them in place. After they are glued in, you can add some extra hot glue to the backside of each corner if you want a little extra security.
14. Install the little metal cup hooks. To do this, mark the spots where you want them to go, and simply twist them into place. If they’re hard to screw in, use some pliers to help.
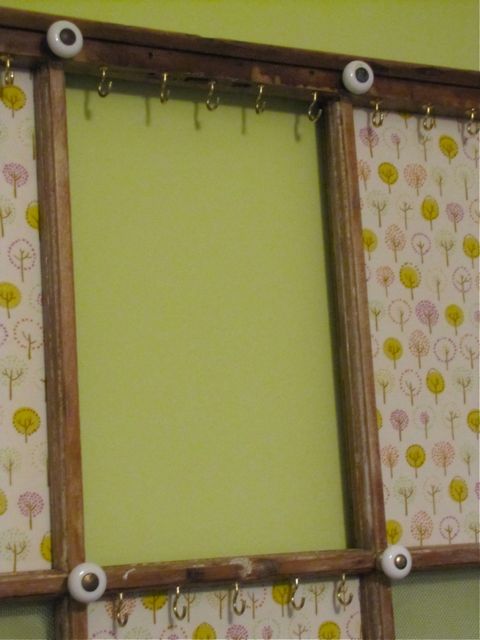
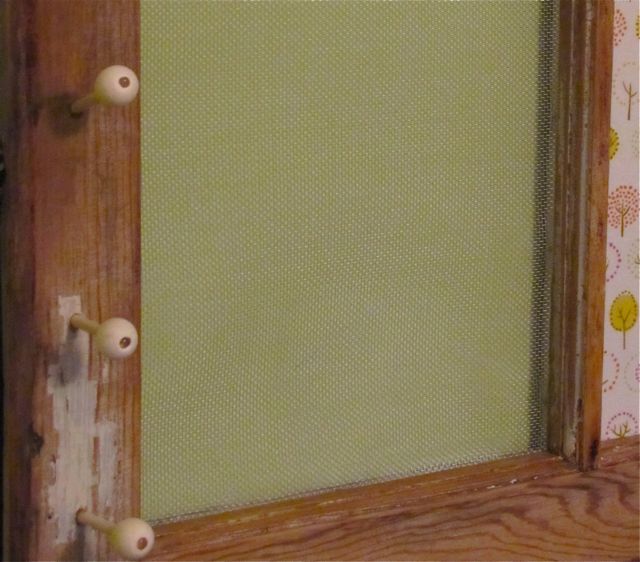
15. Because I also had a few old cabinet knobs, I added them to the intersections where the vertical pieces of the frame met the horizontal pieces, as well as on the top two outer corners of the frame:
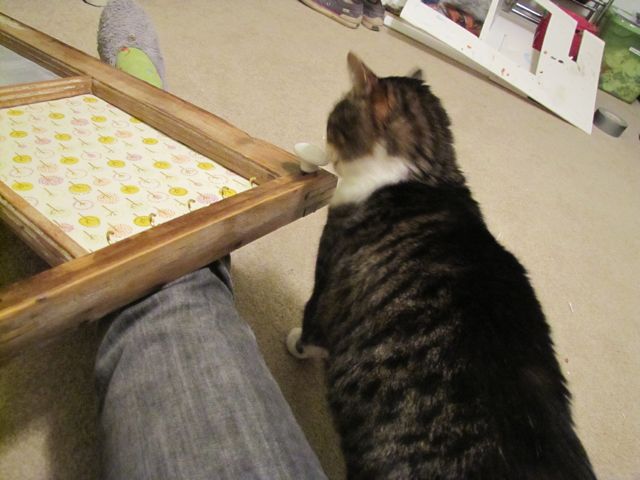
16. Obtain less-than-helpful assistance from the cat. As usual. “No, Doctor, it’s not time for me to feed you dinner. I already did that tonight. Twice.”
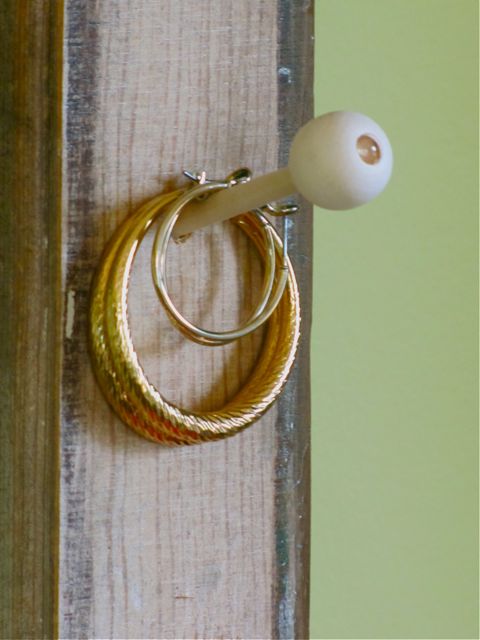
17. DIY some extra knobs, if necessary. Becuase I ran out of knobs, and I wanted to hang chunky bracelets on the outer sides of the frame, I drilled a few holes at a slight downward angle, and hot-glued pieces of dowel rod into them to form my own knobs. I wasn’t satisfied with the boring ends, so I went to the woodworking aisle at Michaels, and found a little packet of round wooden bits with holes in the middle. They fit perfectly over the ends of the dowel rods, so I glued them on.
18. Install Triangle Strap Hangers or D-Ring Strap Hangers (I got mine in the framing section at Michaels) on the top back of the frame, so that you can hang it securely on your wall. And with that, you’re done!
PS: Want to see the rest of my studio makeover? You can check out the beginning of my studio makeover, find details on the patterned dry erase board and cork board, and see how I used vintage jars to store my thread.
PSS: And if you’re still wondering where I was earlier this week, just hop over here to see the lovely ladies with whom I spent my long weekend!
I shared this project at A Beach Cottage’s “Good Life Wednesday Blog Party“!



127 Comments
[…] Tutorial: theborrowedabode […]
[…] Tutorial: theborrowedabode […]
[…] use of a window frame to display and organize jewelry is one of my favorite uses. Theborrowedabode.com has a tutorial on how to make a nice looking […]
[…] THE BORROWED ABODE The next time you wonder what to do with all your jewelry, look around the house and see what organizers you have lying around undiscovered. You may be surprised at what you find. RESOURCES […]
[…] Hang the frame in your bedroom or closet to allow you to store jewelry. The wire creates an accessible place to hook your earrings and hang your necklaces — much better than a dark and dusty drawer. Before you start […]
[…] Step-by-step instructions can be found here. […]
[…] Un cadru vechi de ferestră poate fi suportul perfect pentru a aranja bijuteriile. Tot ce trebuie să faceți este să-l repoziționați puțin, să-i adăugați niște țesături pentru un efect artistic suplimentar. Instrucțiunile de asamblare le găsiți aici. […]
[…] Las instrucciones paso a paso las puedes encontrar aquí. […]
[…] Bron: http://theborrowedabode.com/2011/01/tutorial-window-frame-jewelry-display/ […]
[…] Upcycle the old windows also for smart jewelry organizers! After a short process of reconditioning, install custom hooks to a reclaimed window frame and employ it as a fab jewelry organizer! theborrowedabode […]
[…] Tutorial: The Borrowed Abode […]