I’m back with Part 2 of how I built my mid-century modern style sofa table. Today we need to talk about staining and sealing freshly-built furniture – and how to do it right the first time so you don’t ruin the piece you worked so hard to build!
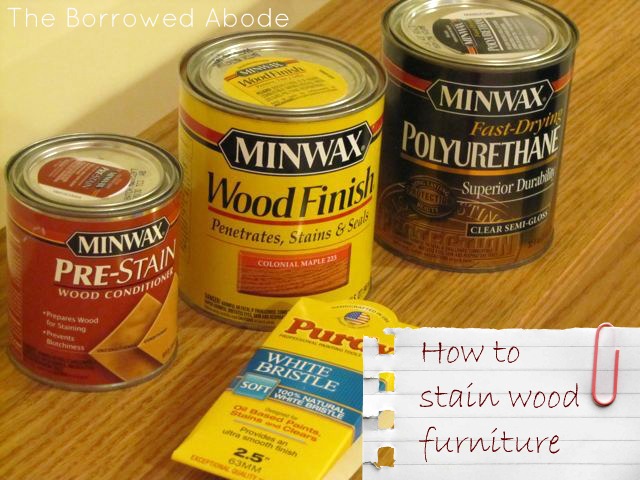
Remembering my very disappointing results when I stained our home-built nightstands a dark espresso, I decided to do a little research on wood staining before diving in to staining this table.
I found the information on the Minwax website – Wood Finishing 101 – particularly helpful. If only I’d read this years ago! It turns out that some woods take stain better than others – and the cheap pine (or not-so-cheap pine veneer) that so many of us build with is one of the worst surfaces for taking stain evenly. Go figure.
New-found knowledge in hand, I followed these steps with awesome results.
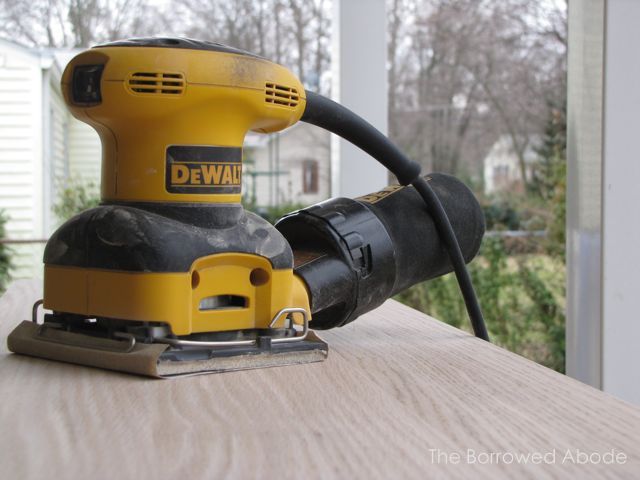
1. I sanded down the table with extra-fine-grit sandpaper one last time. Even the legs got a quick once-over.
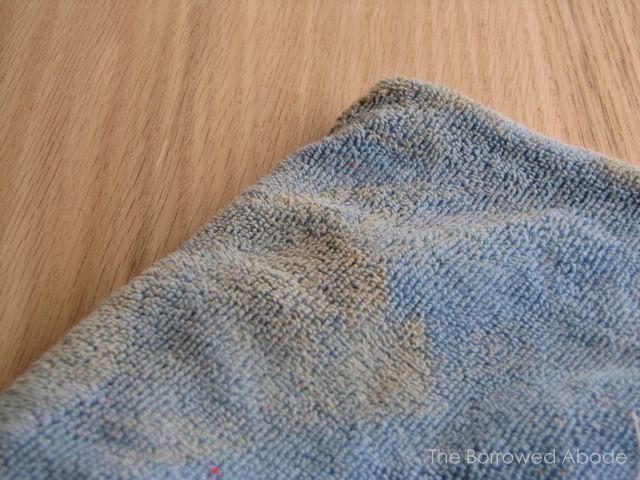
2. Because having a clean, dust-free finish is essential to a good finishing job, I wiped the table down several times with microfiber cloths. They removed even the finest dust left over from the sanding job.
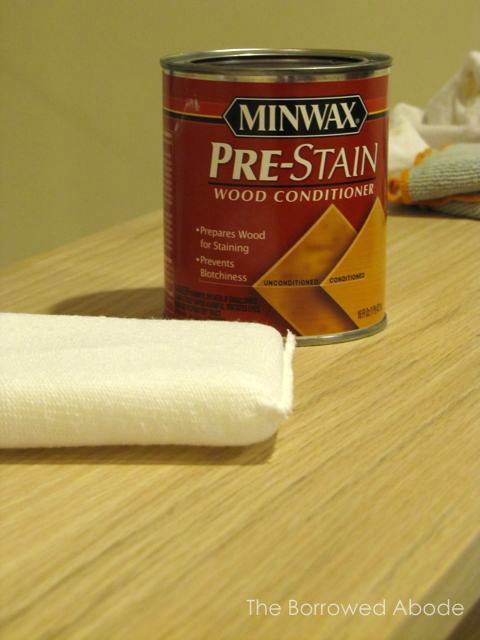
3. Though the table was built mostly of red oak, which was one of the best woods for absorbing stain easily, I didn’t want to take any chances. I used a staining sponge to apply Minwax Pre-Stain Wood Conditioner, an oil-type substance that is supposed to ensure an even application of stain.
After 5 minutes I wiped off the excess, as instructed by the can.
4. Stain had to be applied within 2 hours of applying the wood conditioner. I chose the Colonial Maple color from the MinWax line. We were trying to match the table to the other 1950’s wooden furniture in our living room.
I used a staining sponge to apply the stain in the direction of the grain. After waiting about 5 minutes, I used a clean, soft rag and a little pressure to wipe off the stain – again, in the direction of the grain – so that no excess stain was left on the wood surface.
The stain looked crazy orange as I applied it, but it dried to the perfect color.
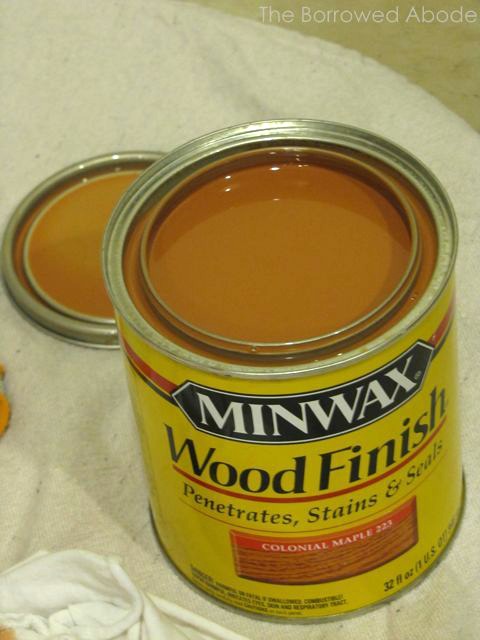
5. Choosing a Sealant: In the past I’ve had a lot of trouble applying polyurethane. Bubbling as I apply it. . . then drying with bubbles in tact – or brush streak marks showing up in the dried finish.
Consequently I spent a ton of time researching how to apply polyurethane before diving in to this final task. I was terrified of messing up my beautiful red oak creation!
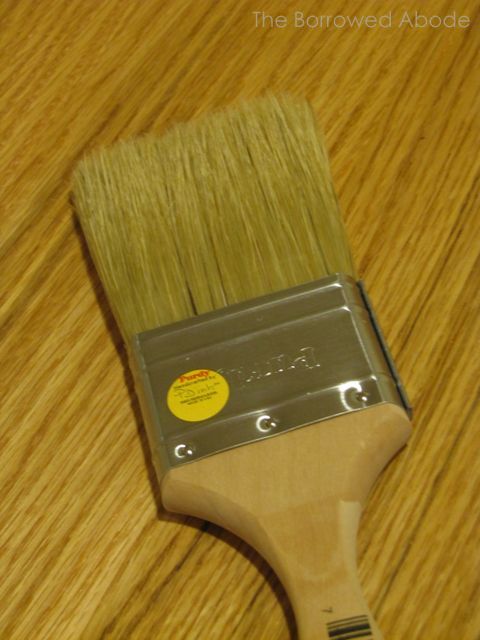
The MinWax Guide to Clear Finishes website has a good description of each type of sealant, as well as recommended brushes or tools for applying it. After reading through, I decided on the Fast-Drying Polyurethane – which should be applied with a natural bristle brush.
6. I opened the can without shaking it and stirred it gently to mix it up. If you shake or agitate your can of stain you will get bubbles in your finish! Not cool!
I applied three very thin coats of sealant, brushing it on only in the direction of the grain, and waiting 4-6 hours between coats as suggested on the can.
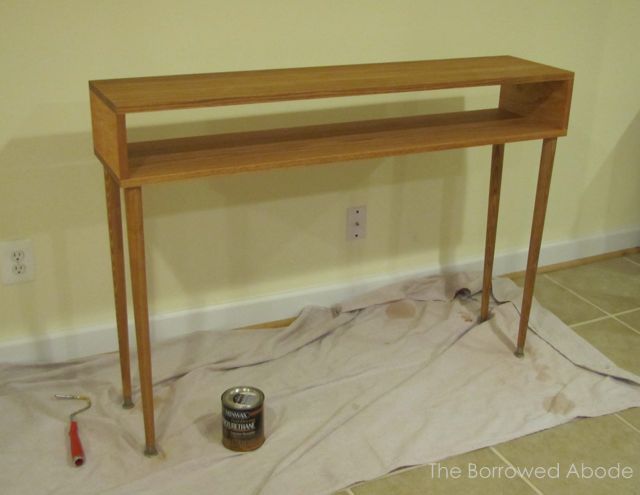
Then I waited patiently for 2 days to ensure it was fully dry. That was tough!
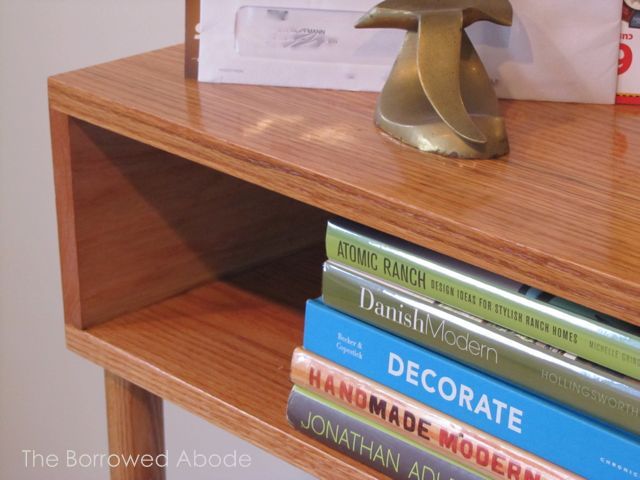
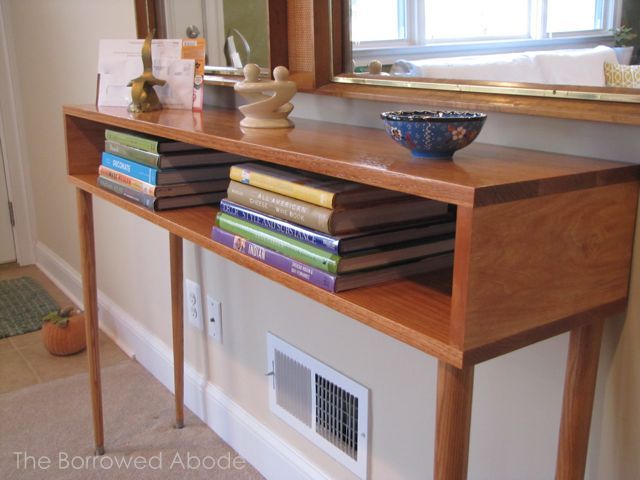
When I finally hauled the table upstairs, I was thrilled to see how well the “Colonial Maple” wood finish matched the vintage mirror!
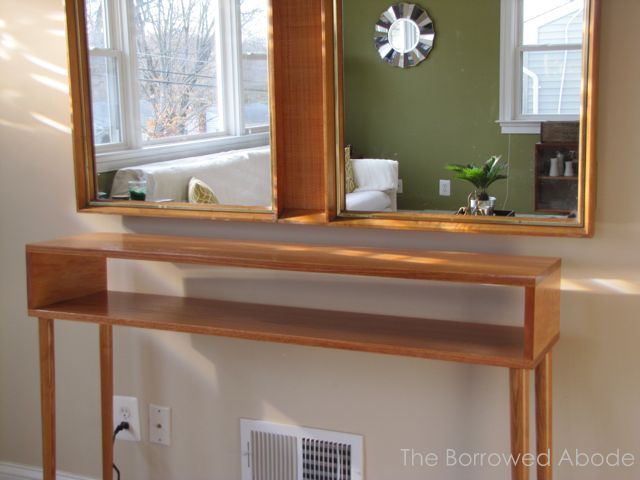
Overall I was really pleased with how beautifully the finish turned out. The boards are so glossy and vibrant, and the grain of the red oak just looks amazing! It was totally worth splurging on oak instead of cheap pine.
Supplies Used:
- MinWax Pre-Stain Wood Conditioner – $6
- MinWax Wood Finish – $5
- MinWax Fast-Drying Polyurethane – $8
- Staining Sponges – $2
- Purdy White Bristle Brush (Made in the USA – woohoo!) – $8
- Sandpaper, Microfiber rags
Lessons Learned for Next Time:
I wish I’d sanded and stained the boards before assembling the table. It would have been much easier.
Also, never again will I mix woods on a building project that’s going to be stained. The poplar boards for the table sides – which only saved me a few bucks in the long run – didn’t grab the stain as nicely as the red oak, so the sides aren’t nearly as pretty as the top and bottom boards on the table.



3 Comments
Great job! I have the inspiration to finally begin working on my dresser today.
[…] up – I’ll share the overview of the staining and finishing process. It’s too much to cover in one post. […]
[…] followed the same staining and sealing process I detailed in my mid-century modern sofa table tutorial, only this time I used a Dark Walnut Minwax […]