A DIY Backdrop for Large Product Photos
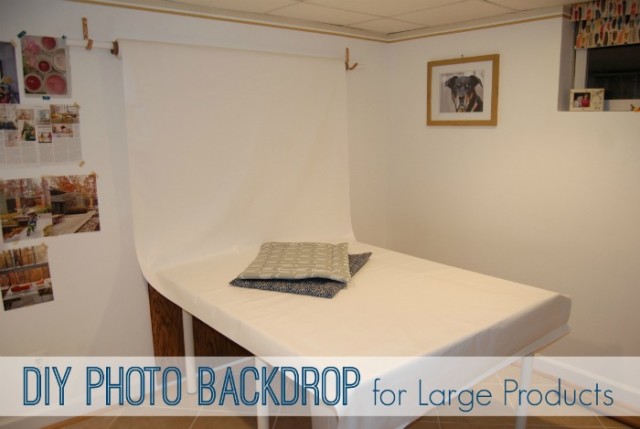
When you run a handmade business, it’s important to have crisp and clean product photos. There’s tons of tutorials on creating small lightboxes for products like jewelry, ceramics, or purses. However, solutions for large products – like my dog beds – are harder to find!
Since I make dog beds and pillows for Janery, a piece of foam core board does not provide a large enough white background.
I’ve been trying to improve my product photos for years, starting with painting the walls of my studio bright white, then buying this inexpensive studio lighting kit, and then buying a piece of white vinyl to use as a base for products.
With that gear, my setup looked something like this:
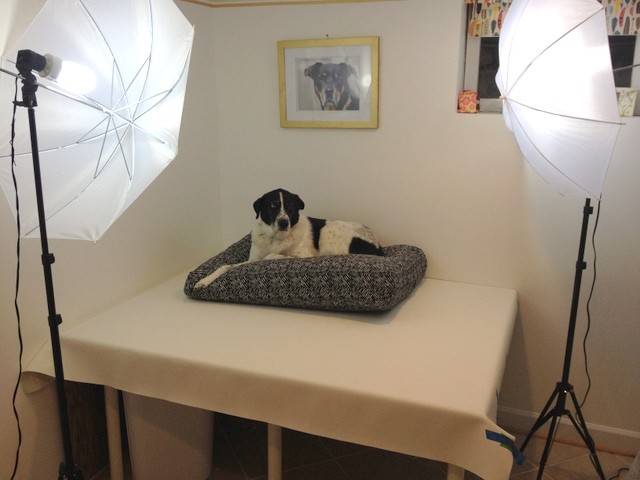
It wasn’t bad, and that vinyl / light combo served me well for the last year. However, I always had to roll out the vinyl on the table and nudge the table up to the corner to get a good white background.
The cumbersome nature of rolling it out somehow stopped me from taking photos as frequently as I would have liked. I wanted to create a simpler solution, one that was bigger than the white piece of vinyl.
I came up with the idea to hang a bolt of vinyl on the wall so I could pull it straight down onto the table or floor, and have a seamless transition from horizontal to vertical. The vinyl aspect was important because I could easily brush lint off of it.
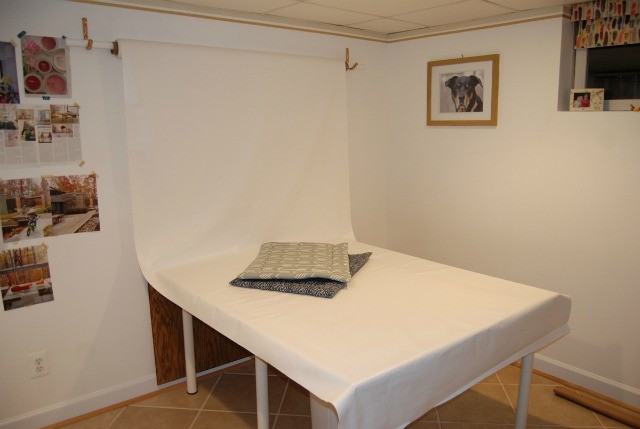
This weekend Ryan and I finally installed it, using two garage hooks, wood screws, and a large (1.5″) wooden dowel rod – all from Home Depot. The vinyl is an 8-foot bolt from Fabric.com The total cost of supplies was about $40.
The garage hooks were an ugly gray, so on a whim, I sanded them to rough the surface, then painted them gold using some gold leaf paint I had on hand.
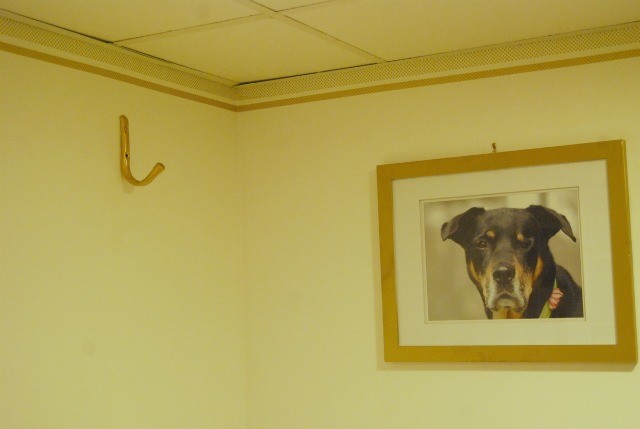
Pardon the bad lighting, a result of nighttime photos!
I painted the edges of the wooden dowel rod white so that it would look better, not that it really matters.
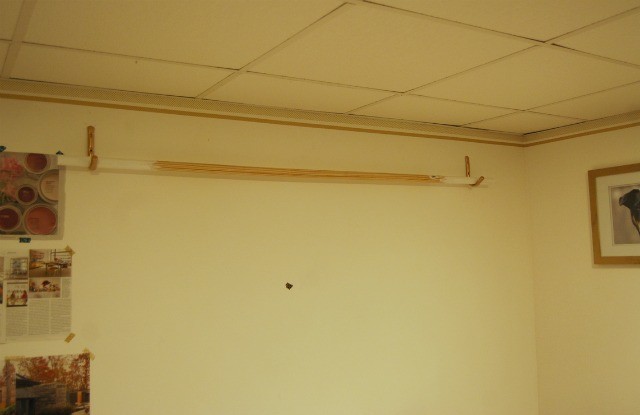
Once the hooks were installed, I slid the bolt of vinyl over the wooden rod and set it on the hooks. The vinyl can now be pulled down onto the table – or the floor – easily, and rolled right back up when I’m done.
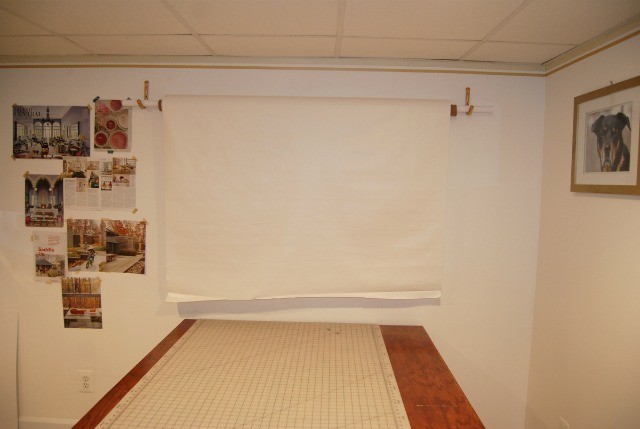
As a bonus, when I need to cut fabric from a bolt on my DIY bolt rack, I no longer have to roll the rack into the studio. I simply remove the white vinyl from the wall holder, and put the bolt of whatever I’m cutting on it.
I’m really happy with this solution for both fabric cutting and product photography. This week I’ll be taking all new product photos for the Janery website, which is actually launching soon!


No Comments