Decorating a nursery? This easy-off decorative waterproof changing pad mat is a snap to make and super easy to switch out when things get messy during a diaper change.
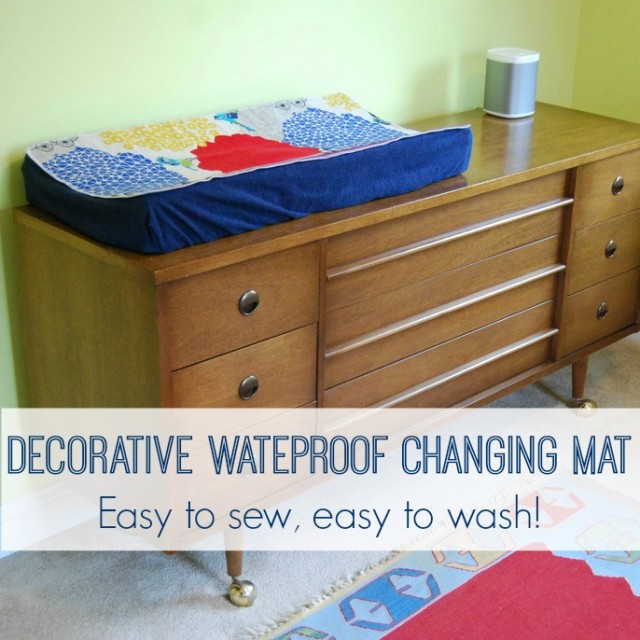
When I was busily preparing for our baby’s arrival, my friend Katie warned me that “babies pee a lot, so skip the changing pad cover.” Katie was absolutely right, but I’m stubborn when it comes to décor. I didn’t like the look of changing pads without the cover; I wanted mine to blend into the nursery.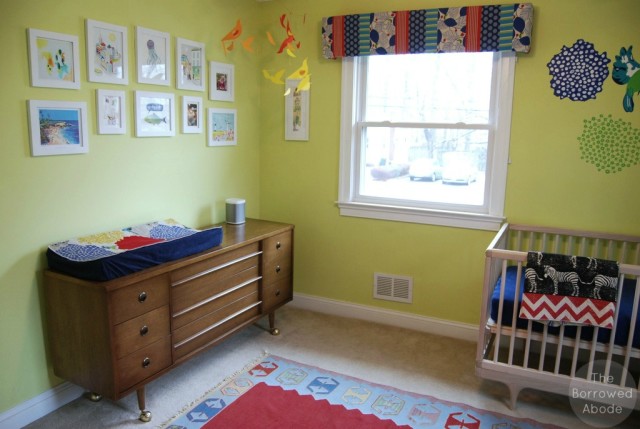
I knew Katie was right, though, so I devised a compromise : a decorative, waterproof mat to lay on top of the changing pad. It is easily switched out during a messy diaper change . . . and let me tell you, we got plenty of practice testing my idea during the first few weeks of parenthood!
I made my mats using my serger, but for I just made and photographed a version for those of you who only have a regular sewing machine.
Decorative Waterproof Changing Pad Mat Tutorial
Sewing skill: Easy!
Time required: 30 minutes or less
Supplies needed (makes 2):
- Sewing machine or serger
- Thread
- Waterproof crib sheeting (1 yard)
- Decorative fabric, pre-shrunk in the wash (1 yard)
- Scissors or rotary cutter
- Iron
The size of the mat will vary based on the size of your changing pad.
1. Place your changing pad on top of the waterproof crib sheeting and trace the base of it onto the fabric. Arrange it so that you can get two pieces out of the yard of crib sheeting. Cut it out. Cut two identically sized pieces out of the decorative fabric.

2. Cut rounded corners if you prefer the look of them over square, pointed corners.
3. Pin the decorative fabric to the crib sheeting, wrong sides facing out. Using a 1/3 inch seam, stitch around the edges, but stop about 3 inches before you get to where you started. You need to leave an opening so you can turn the mat right side out.
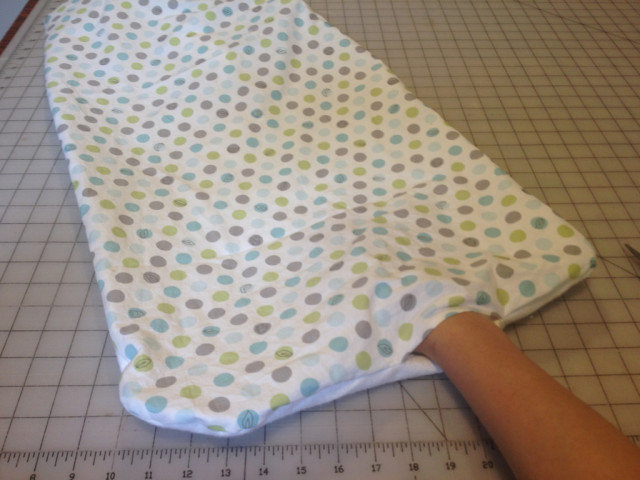
4. Reach into the opening and pull the fabric out through the opening until all of the fabric is right side out. You may need to reach inside with a chopstick or scissor ends to poke the corners out just right.
5. Set iron to lowest heat setting, then press the edges of the mat until they are flattened.
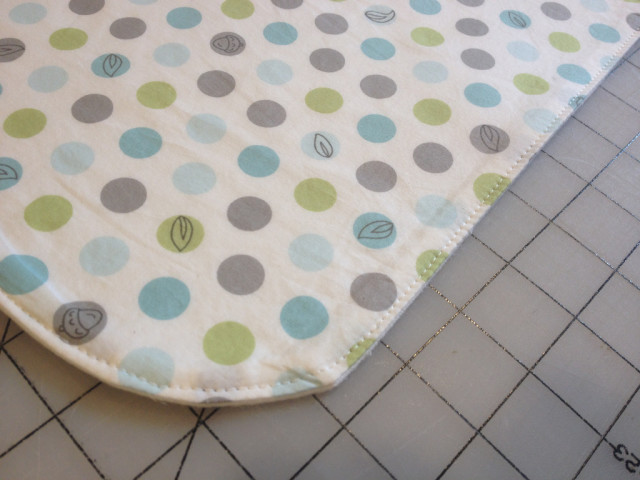
6. Topstitch around the edge of the whole mat with a ¼” seam and voila – you’re done!
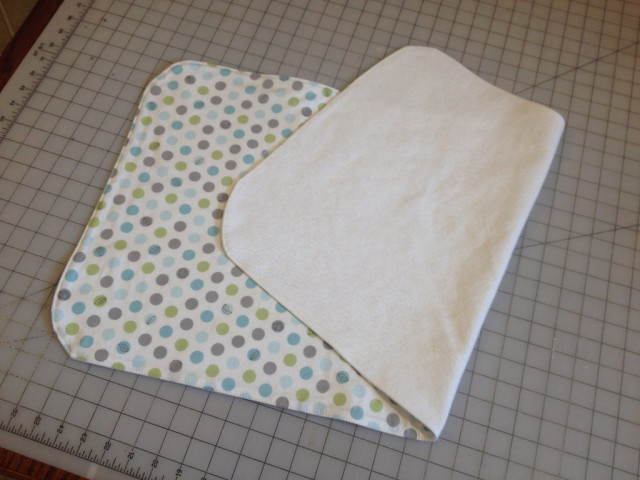
Serger Version:
1. If you’re going to be using a serger on the edges, cut rounded corners when you cut out the waterproof crib sheeting. When serging, rounded corners are easier than sharp corners.
2. Pin the crib sheeting to the decorative fabric, right sides out. Use coordinating thread and a rolled edge stitch (or a regular serger stitch) to serge around the edges, attaching the two fabrics together. Leave a long thread tail when you finish, then pull the thread tail through a needle and pull it back under the existing stitch to hide it.
You’re done!
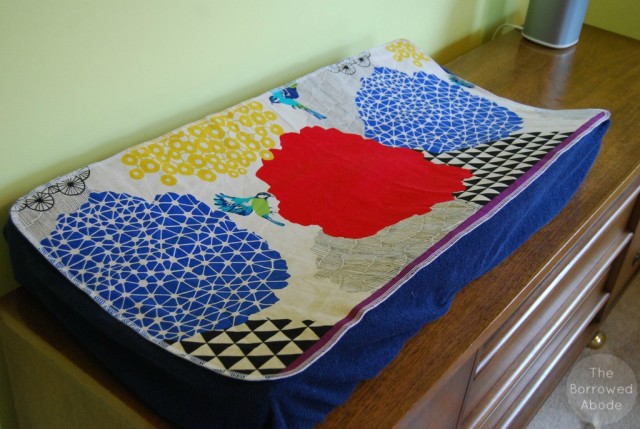
It doesn’t matter if you use a serger or a sewing machine – either way you stitch it, this is one easy project that can be whipped up in a matter of minutes. It makes life easier while keeping the nursery as pretty as you want it to be!
PS: Want to see more nursery projects? Click here!


3 Comments
Thanks for this!!! I love this idea. I’m running wild with a Doctor Who Themed nursery now!
Dina – Awesome! I’m happy I could help! That sounds like an awesome nursery theme. I loved that show!
PS: Waterproof pads are also helpful to have under you if you’re breastfeeding in bed at night. I learned that early on 🙂 But if you’re not, then just disregard!