When my best friend admired the way I used shadowboxes to store jewelry on my bedroom wall, I knew I had the perfect Christmas gift idea for her. But I wanted to make her something a bit more glamorous rather than just giving her a shadowbox.
Here’s how I made a coordinated jewelry storage & display board for her blue and brown bedroom. All it took was a thrift-store art frame, a scrap of fabric, old buttons, spray paint, and leftover wood! Any of you ladies could do this with a simple power tool or two, but I was fortunate to have the help of my dad. We I call him Pops.
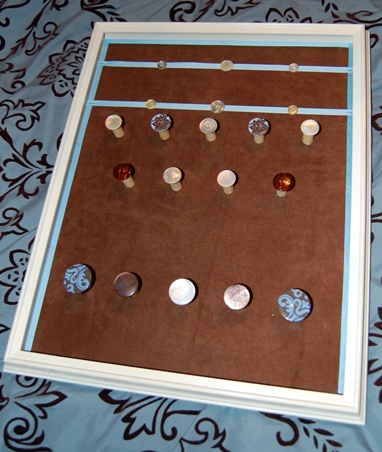
The plan: Paint frame, affix upholstered board to back of frame, install cute knobs for necklace storage, as well as earring storage. Here’s how it went down:
First, while Pops cut one of his scrap boards to fit the frame, I spray-painted my beat-up old art frame to a nice, clean white. My dad complained “why do you have to spray paint everything??”
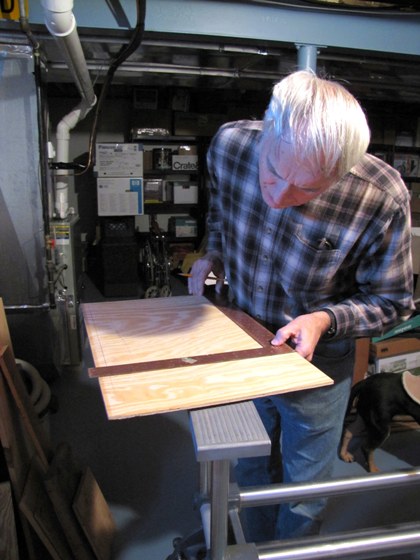
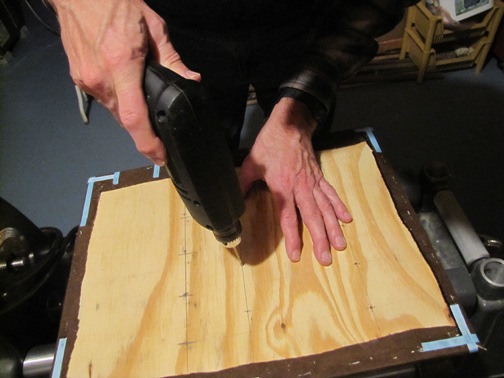
I used a staple gun to wrap the board with a brown micro-suede fabric scrap. (I knew that my stash of leftover fabrics would come in handy!) Before attaching the board to the frame, I measured out and marked where each of the necklace knobs would go. Pops drilled holes through the back of the board to hold the knobs.
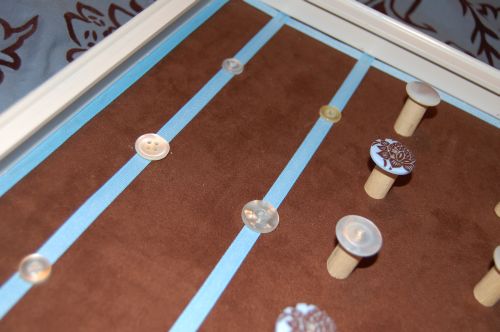
Next issue: I didn’t actually have any knobs. But Pops had a solution: he cut an old dowel into a bunch of equal pieces, then used his drill-press to put screw holes in them. Once the dowels were screwed to the front of the board, I hot-glued an assortment of old buttons to the fronts of the dowels, creating the knobs for hanging necklaces and bracelets:
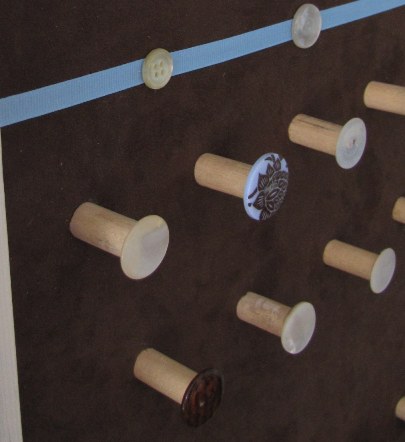
I also used ribbons to create earring holders. Before installing the board in the frame, I’d stretched two lengths of ribbon across the board, stapling it to the board every few inches. I hot-glued small buttons over the staples to keep it cute. This way earrings could be hooked over the ribbon in sections.
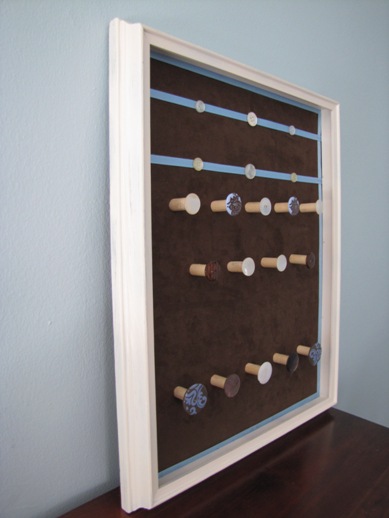
Finally, a view of the finished project. I attached the board to the back of the frame with “glazing points” – special little fasteners made just for attaching the backing to the actual frame. They’re available at both craft and hardware stores.
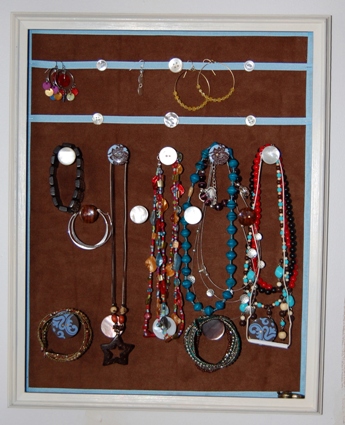
The verdict? Crysty loved it and put it to good use. Now it looks like next Christmas I should give her more earrings to store on it!
PS: I think it’s so totally awesome that I’m posting this as I soar across the country in an airplane. That’s why I have to mention it. Yep, internet on the airplane. I’ll be in Colorado for the next 5 days while my East coast peeps get pounded with snowstorms. Sorry guys!
*******
Linked to Frugalicious Friday over at Decor Mamma. Hop on over to see all the other great ideas shared there!


6 Comments
What a fun idea! I remember seeing your shadow boxes last time I was there, but this is really fun. Your dad must get a kick out of being a feature on your blog, huh? Enjoy Colorado! 🙂
Robin, I don’t even know if my dad saw that blog entry yet! However, he does read it regularly (unlike my mom) so maybe he’ll get a kick out of it 🙂
I love this! You know I am similarly space challenged and my jewelry is currently in a clump.
Christine, maybe we should make an organization solution for your jewelry!
What a great idea – I will have to bookmark this one! Thanks for linking up to Be Inspired last week.
Chelsea
[…] light coming in from the window. Next to the mirror I hung my shadowboxes which, as I mentioned in this post, are my new favorite way to store and display […]