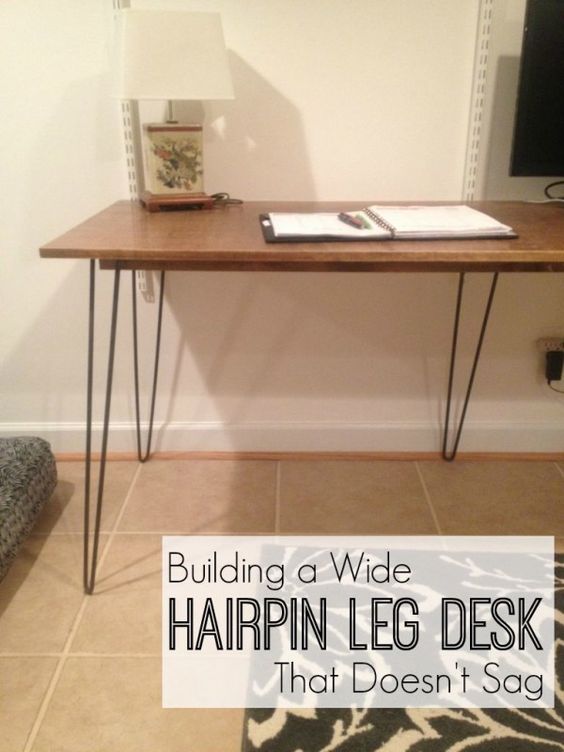
This weekend I finished building a 6-foot modern hairpin leg desk for my office, and I have some tips on how to build it and prevent sagging across the long table top. This isn’t an official tutorial because there are so many good ones out there already.
The desk turned out great, and the long design gives me plenty of space to spread out my papers when I’m working.
If you’re interested in the construction details of the desk, read on. If not, just enjoy the photos!
My Trick for Preventing Sagging:
To prevent the 6-foot length of the desk top from sagging, I put a leg in the middle, by the back. I also framed the underside of the desk top to add a little more strength and stability, sort of like a torsion box. A torsion box is built like a grid of tiny squares to keep large flat surfaces from sagging or warping. It’s what Ikea uses in a lot of their furniture! It’s really cool, so if you’re interested in woodworking, read more about it here.
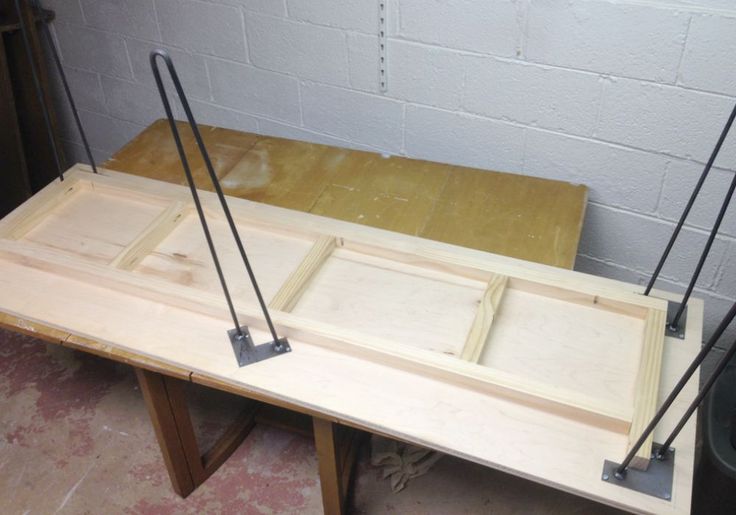
Building the frame:
I used 2” x 2” boards and my Kreg Pocket Hole Jig and wood glue to build the frame that would bet attached to the underside of the desk.
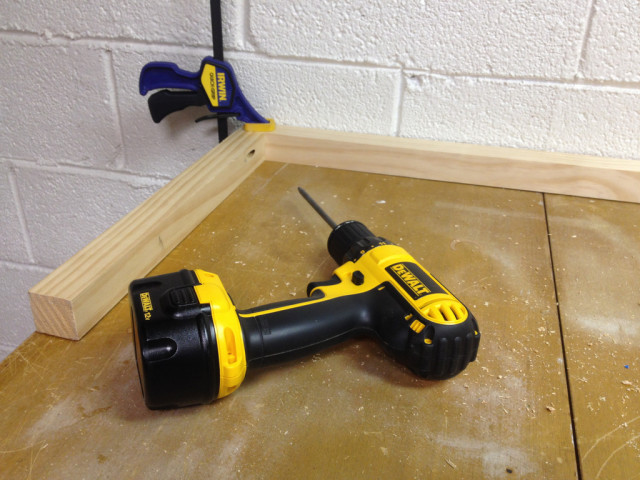
After the frame was built I attached it to the underside of the desk using the Kreg. If you don’t have a pocket hole jig, you could just screw everything together from the outside.
*The Kreg Jig works on boards up to 1 ¾” in width, so I had to improvise to make it work. I could (and should) have used thinner boards.
I designed the frame to fit right inside the table legs, so it’s about 3 inches in from the edge. I didn’t want the frame starting at the edges of the desk top because I wanted the desk to have clean, simple lines – like a simple board on legs.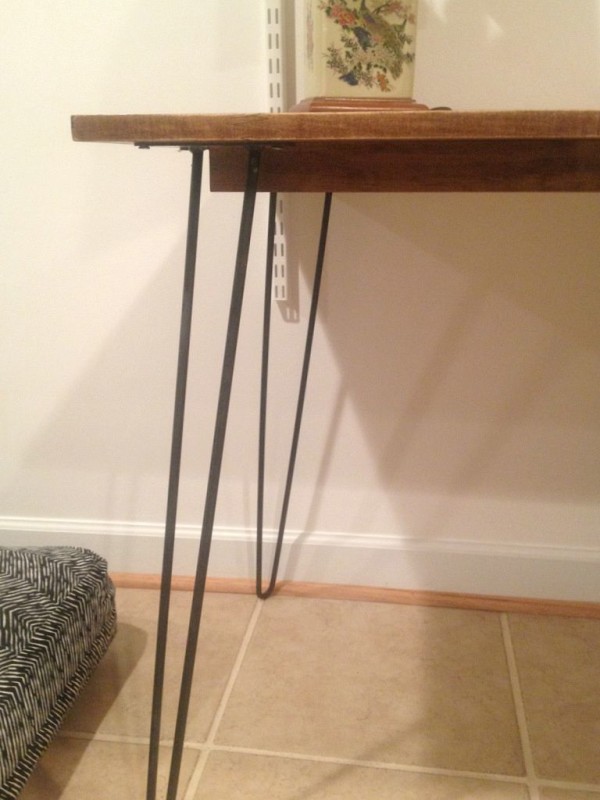
Finishing:
The desk top is a ¾” birch veneer plywood. I trimmed the edges of the plywood with Band-It wood veneer edging. It’s so easy to use – you iron it on, and if your placement is off, you can reheat it with the iron and try again.
I sanded the table lightly because the top is only a thin layer of veneer. I sanded the edges more heavily to even out where the top of the edge trim met the table top and bottom. The result is an almost flawless look of real wood edges.
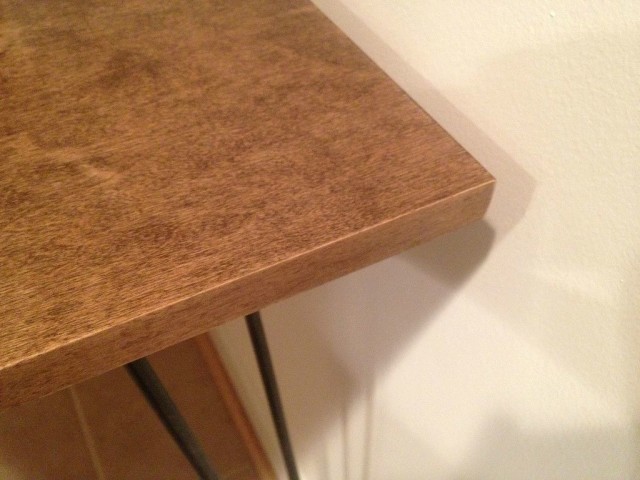
Finally, I stained and sealed the table using my process of wood conditioner, then stain, then polyurethane sealant (done outside because of fumes). You can read all about my wood finishing process here.
Don’t skip the step of sanding in between coats of poly sealant. I used extra-fine grit sandpaper, and the result is a sleek, smooth surface.

Now that I finally have a nice, big workspace, the next step in the office is underway. I’m making my own wooden shelves to hack the Elfa wall unit behind the desk, just like I did in the nursery.
Looking for good building tutorials? My favorite resources are Ana White, Sawdust Girl, Pretty Handy Girl , Fine Woodworking, and Popular Woodworking.



9 Comments
Perhaps a silly question but did you screw the tension box support to the underside of the tabletop or did you glue it? Cant note from the photos.
Hi Kareem – I used my pocket hole jig to screw the tension box to the bottom of the table, but I also used glue for extra strength. I put a line of glue along every board.
The photos aren’t loading. 🙁
I just discovered this! Thank you and I hope to have it resolved soon.
Still no photos?
Sorry about that! I have uploaded them now. My site was hacked a while ago and the photos were permanently removed. It’s been a slow process to find them and add them back again.
Where did you find the legs for this?
Hi Erin,
I got them on Etsy and there are a TON of great options there!
I like Aretha photo bombing😉