I’m super stoked to share this little coaster-making tutorial with you all.
As hinted at in a previous post, once I figured out a foolproof way to create cheap and charming coaster gift sets, I really went on an obsessive coaster-making roll.
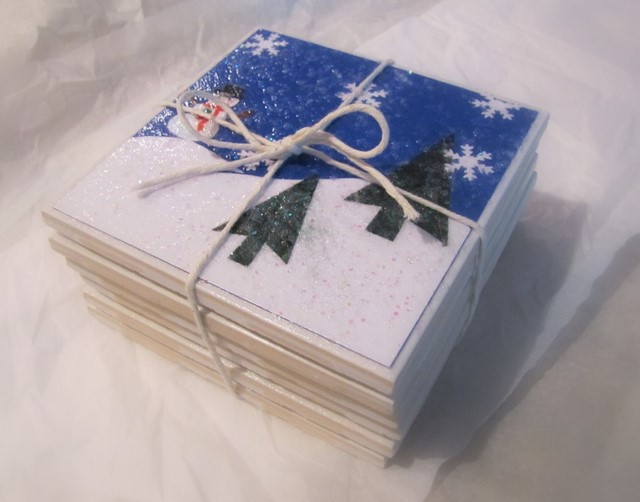
1. Start with a set of white, ceramic 4-inch tiles from the hardware store. Cut decorative scrapbook paper, photos, fabric scraps, or old greeting cards into 3.75-inch squares to fit on the tiles. Then brush a thin layer of Modge Podge onto one tile.
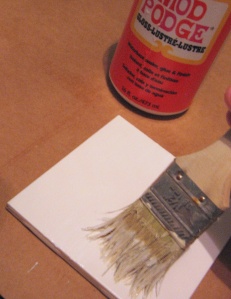
2. Lay a square of paper on top of the tile, smoothing the paper down from the middle to the edges and ensuring that it adheres to the tile with no bumps or wrinkles. Brush a thin layer of mod podge over the paper, especially on the edges where the paper meets the tile. Quickly wipe any drips off the sides of the tile, then set that tile aside to dry.
(Note for pet owners: be sure to do this in the most hair-free area of your home; otherwise you’ll have to spend time picking tiny pet hairs out of the damp coasters. Ick!)
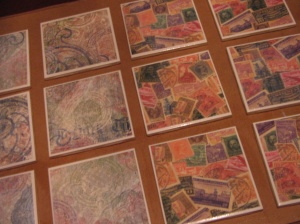
3. Let the tiles dry for an hour and then apply another coat of Modge Podge. Let dry overnight.
4. The next day, apply two coats of polyurethane sealant for waterproofing. (Polyurethane sealant is found in the wood stain aisle of your hardware store.)
5. While the coasters are drying, cut 3.5″ squares of felt. Once the tiles are dry, turn them upside down and use a hot glue gun to adhere the felt backing to the rough bottoms of the tiles.
6. Stack the finished coasters and tie with a string or some raffia. Ta-dah!
I got a bit more creative with my snowman coasters, cutting out white paper to look like snow, green paper like trees, and applying small die-cut snowmen to the scenes:
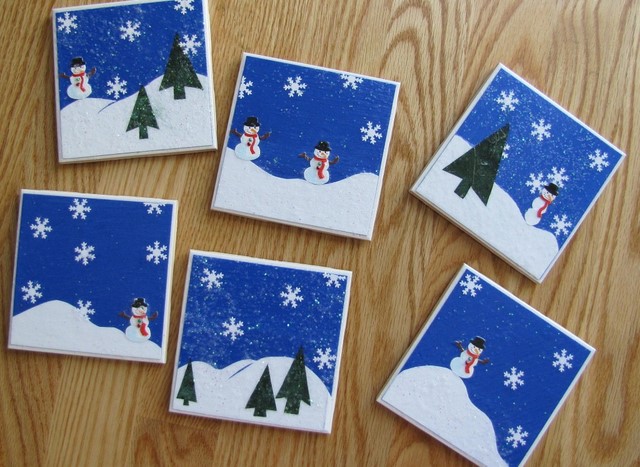
So that’s how I made some cheap and charming coaster gift sets. For a peek at some of my other Thrifted Christmas projects, check out Part 3. Another fun idea, the Felted Sweater Totes, did not get done, but I plan to make them later – because they’re always a handy gift.


5 Comments
These are great and I love that you can do new ones for new themes any time. THANKS FOR SHARING AND HAPPY NEW YEAR
Jackie: I must admit I haven’t seen how the ModPodge holds up to a lot of moisture. Some people I know recommended sealing it with a polyurethane coating (like you’d use to finish furniture) so that might be a good idea.
As a first hand recipient of the coasters as a Christmas present, I have to say that they are absolutely without a doubt GORGEOUS!! I love the coasters, and they look fantastic on my coffee table!! Thanks, Jane!!
I also made some DIY tile coasters as gifts this Christmas! I added a coat of clear enamel to mine to really waterproof them.
seven thirty three – DIY tile Coasters
Visiting from Kimba’s!
[…] source […]