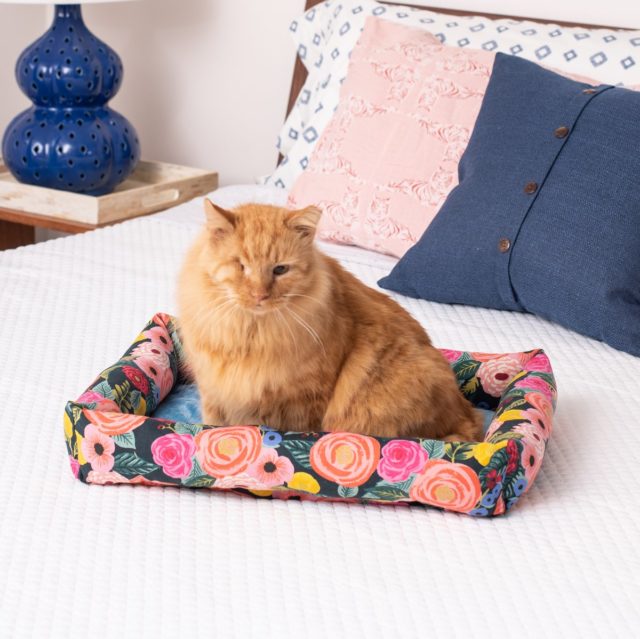
If you’re selling your handmade products online, clear and pretty product photos are key to increased sales. But how do you get those awesome images if you’re not a pro with the camera? I’m sharing my secret today, in the hopes that it will save you the time I wasted.

Psst: Before we get started, I’d like to remind you that this is not a sponsored post.
This summer I launched an independent website for my pet bed and home decor business, Janery. After selling for several years on Etsy, launching my own online store was the natural “next step” to take Janery to a more professional level.

I was ready to launch it more than a year ago, except for one huge roadblock:
My product photography was terrible.
Ok, so maybe it wasn’t terrible, not anymore. I’d worked on it over the years, first getting a better lighting kit, then taking photos against the white wall of my studio, and then finally DIYing a large white backdrop. I’d even played around with my camera settings a little. But no matter what I did, I couldn’t get product images with a bright white background and well-balanced, realistic color.
My online customers don’t have the luxury of picking up and inspecting my products. They’re forming opinions based on the images on my screen.
Despite knowing this, I was about to settle for less-than-ideal photos for the new website, because I had delayed so long that I said “Jane, you just have to launch this.”
A week before launch, I discovered companies that provide this photo editing service for you. After reading reviews on several, I tried out Mister Clipping. They offer a variety of image editing services and were able to do what I needed for Janery.
I uploaded photos in large batches, then used these instructions (based on recommendations I found):
“Make the background 255 white. Keep the hard shadow under the product and fade the long shadow. Spot product and fix damaged areas. Correct for distortion. Deliver Full resolution jpegs with no compression.”
24 hours later, my edited photos were ready to download from the service. I was very happy with the results. 62 photos edited for under $200, and all I had to do was select them, upload, wait one day, then download.
Check out the difference it made:

After the edited photos were loaded to my website, it took only a few more days to be ready for launch. I could have kicked myself when I realized the one thing holding my business back for more than a year was lack of proper photos.
I’d like to leave you with this lesson learned: Sometimes it’s better not to DIY everything for your business. Paying a professional to help where your skills are lacking is worth it, if you spend that time saved on the parts of the business you know and love.


2 Comments
I love all of your business posts! They are very helpful and inspiring. I’ve had my business since 2012 and found your blog on pinterest this year and it is great! Thanks for sharing your experience and tips! 🙂 ~ Liv from Liv’s Bags
Hey Liv – thank you so much for taking the time to tell me! Makes my day! 🙂