

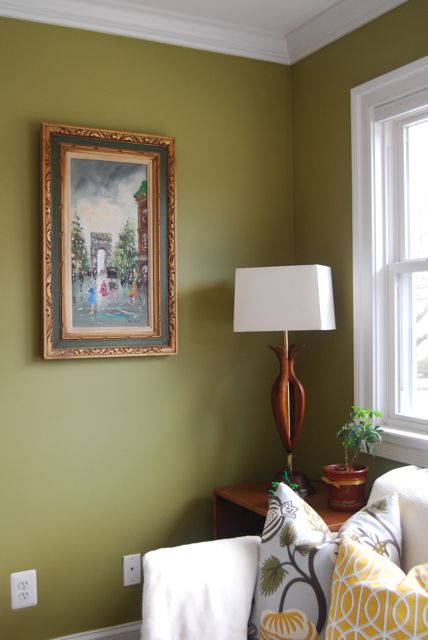
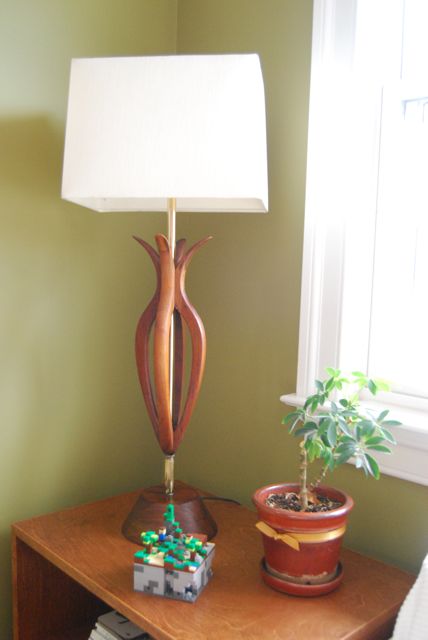
You may have seen a fabulous vintage lamp hovering in the back corner of my living room photos for the last few years.

Sure, it looked great, but want to know a dirty little secret? IT NEVER WORKED. The cord was broken.
I know how long it’s been broken because Ryan and I bought it at an antique store during the first month of our relationship. Ladies, that was over 4 years ago, and I bought it for a steal, knowing that I was “going to fix it.”
FOUR YEARS to fix a lamp? I’m so ashamed! 🙂
In January I told you that I was tackling unfinished tasks as part of my “personal happiness project.” I carried that goal into February, and then March, because apparently I had more unfinished tasks than I realized.
Well, rewiring this lamp was one of the sweet, sweet victories for March.
I wanted to explain it for you, but I didn’t take enough detailed photos and I know nothing about wiring. My little brother really showed me how to do it, and this HGTV article does a great job of sharing the steps.
Regardless, here’s my 5-second version:
 I unscrewed the parts of the lamp so I could remove the old cord. I threaded a new cord through it and attached it to a new socket (see below).

I am still thrilled with myself for fixing it. The new socket is so shiny and gold! 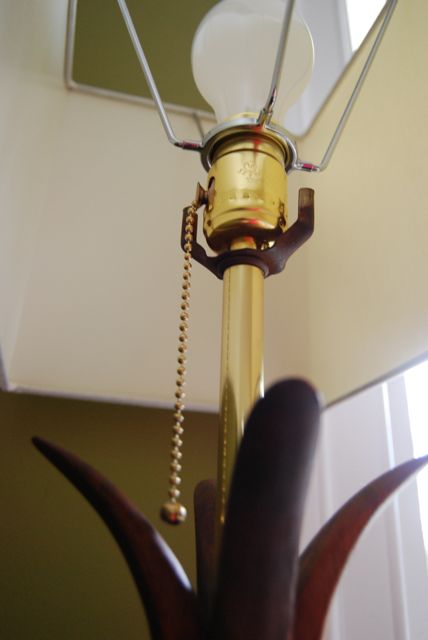
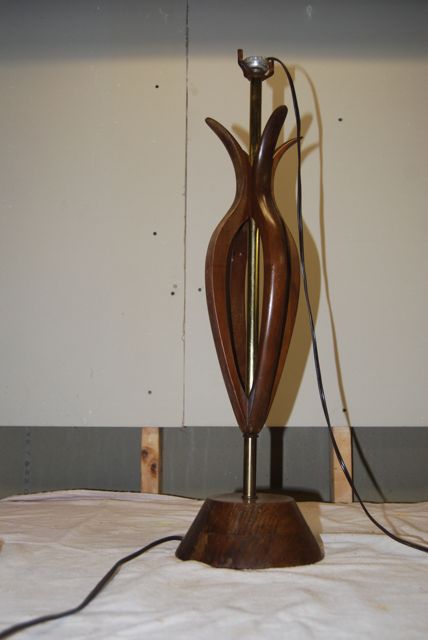
I also took some time to refinish it. I used Brasso to polish the metal parts I could reach, and then I sanded down the old, rough, and kind of fake looking varnish. Before:
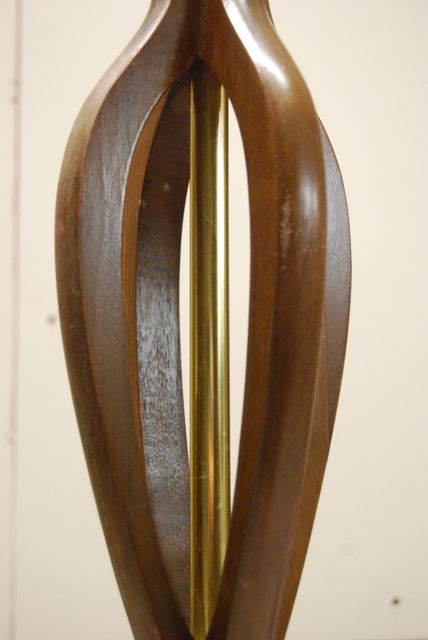
Then I rubbed in some Teak Oil to give the wood a natural finish. Teak Oil hardens in the wood rather than on the outside, so it helps preserve it without creating a shiny coating that can chip.
After: So warm and velvety.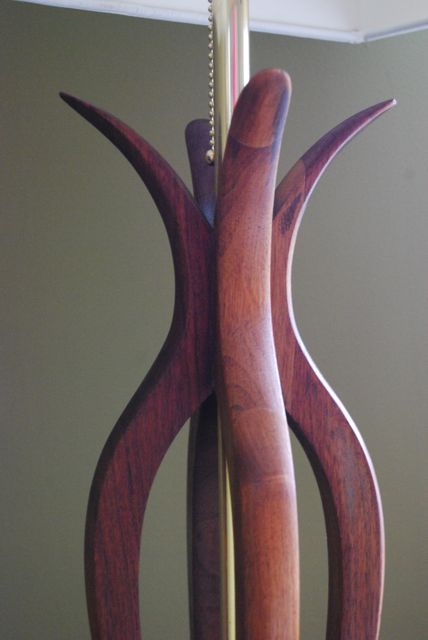 When I plugged that baby in and turned it on for the very first time, it felt so good to see it glow! I felt pretty silly when I realized this project only took about 20 minutes to complete.
Do you ever procrastinate on a project only to finally do it and realize how easy it is?


4 Comments
Haha. I have unfinished projects all over my house but money is my main reason for not finishing… that and I’m horrible at picking paint colors. I want gray walls but they always turn out blue… it so depressing! LOL.
I’ve never been brave enough to thrift but I really love this lamp!
Gray is so tricky, so I totally understand!!
Money is definitely another reason for not finishing – I can’t imagine what it would cost if I dove in to finish every single thing I want to be done with. Great point!
Don’t worry you are definitely not the only one. Yesterday, after almost 2 years I finally got some of my books off the floor onto a shelf.
Thanks for sharing with us. It makes me not feel so alone in the procrastination project world.
What brand of Teak oil did you use and is it smelly?
Hi Tonya! I’m glad I’m not alone in the procrastination department too 🙂 I use Watco Teak Oil and yes. . . it is pretty smelly until it dries. I did it in the house but only because I could do it in the basement work room. If you don’t have a removed space like that, I’d recommend doing it outdoors.