This week I’ve been busy as a bee, balancing sewing for many customer orders with some important wedding planning . . . like finishing up the wedding invites!
It’s been a ton of fun taking my massive new sewing table for a spin. Cutting from large bolts of fabric is a walk in the park; so easy that I find myself wondering why I didn’t give in to a huge table ages ago! But the icing on the cake came when I shipped a dozen orders. I lined up the receipts on that 7-foot table, put the ordered products on top of them, and *still* had space left over to package each one up. Yes, ladies and gentlemen, Janery is now a much more streamlined organization.
I couldn’t hep but snap a few camera phone pics to share my new packaging style with you all. (Why I didn’t just hop upstairs and grab the real camera is a mystery to me. Oops.)
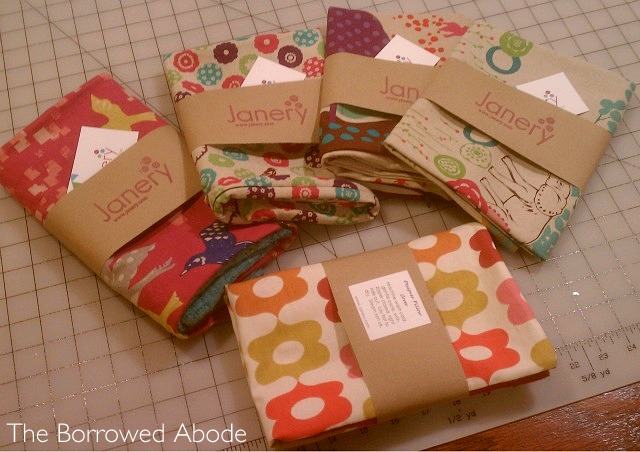
For months I’ve been struggling to find a simple and affordable packaging style that works for me. When I first launched Janery, I shipped my pillow covers in tissue paper. But it didn’t feel polished. Just because my products are handmade doesn’t mean the packaging can’t be professional looking.
My packaging needed to corral the product while also containing the “care instructions” for the pillow covers. I tried slipping an extra strip of paper in that had washing directions printed on it, but it started to feel like too many things were being slipped in loosely.
After trying several ideas, I settled on the design you see above: Simple strips of recycled brown kraft paper are stamped with my logo on the front, then wrapped around the pillow cover, and held together in the back with a square sticker that has the pillow cover’s care instructions printed on it. The newer stickers I’m printing now have a space where I can write the name and size of the pillow as well.
I kept this super cost-effective by buying a big long roll of the brown paper in the “moving and packing” section at Staples. For $6 I got yards and yards of the stuff – much cheaper than buying a box of pre-cut kraft paper. I cut it down into smaller sheets, then used my paper cutter to make the strips.
The stickers I use are Avery brand, printable, and they’re about 2 inches square. My custom logo stamp was made by Sugarskull7 on Etsy, and my actual logo was designed by Jen at IHeart Organizing.
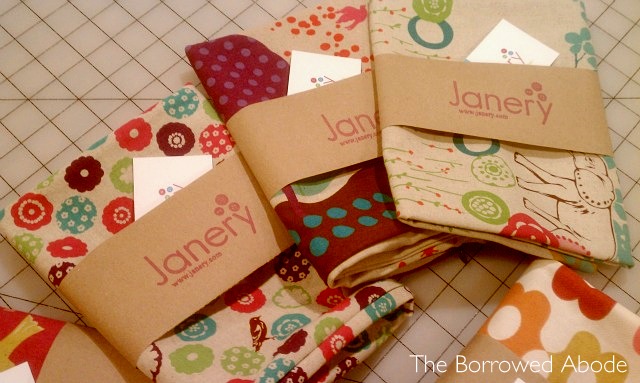
I know there’s nothing genius or groundbreaking about this, but I’m pretty pleased with it. If you’d like to do something similar, please feel free to copy this idea!
Now I just need to figure out a nice, professional way to wrap up the massive dog beds. If anyone has genius ideas on how to package a 3 ft by 4 ft padded bed, I’m all ears!
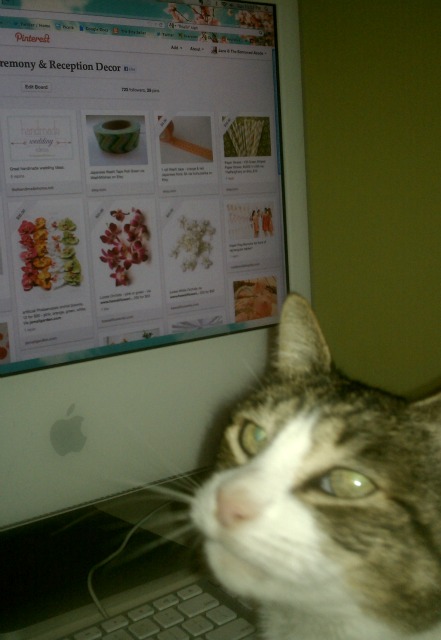
And now for something completely different: look what I caught my cat doing online the other day. He’s planning our wedding!
Happy {Easter} Friday! 🙂


3 Comments
Love the simple packaging! It looks professional and lets the product shine.
That really is very sweet of your cat to try to help you out. My cat just likes to watch things like The Guild online (see recent blog post for pictures).
Love the packaging! So simple, but completely perfect.
I have no idea about what to do with the dog beds, but I do have to compliment you on your packaging. I think it’s absolutely brilliant! It highlights your logo wonderfully – and in a form that could easily be stored by the client for future reference.