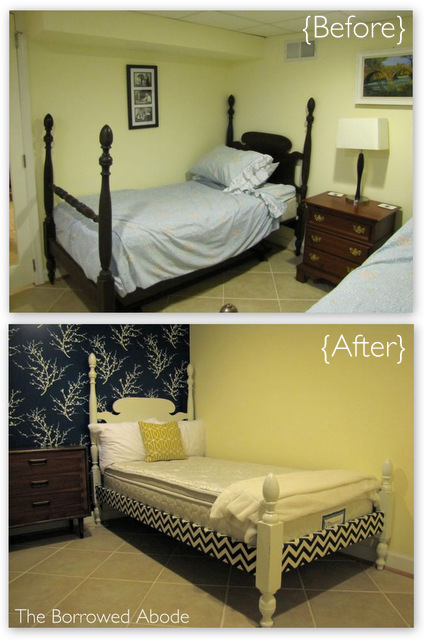
Ok, so I wrote a detailed post about how I transformed the guest bed frames, but it was so long that I decided to pull out the details on the painting process and share them separately. Here’s how I gave my best shot at a professional-grade paint job on the bed frames:

Re-Sizing: First, Ryan helped me re-size the tall footboards, which would have made the very tiny room feel too cramped in their original size.
Sanding: I sanded the wood frames really well to remove all the old, chipping varnish. I briefly considered re-staining them, but there were a lot scratches and dents that needed filling with wood putty.
Priming: I used Zinnser Oil-Based primer, recommended by Kate at Centsational Girl. It did a great job of masking the blotchy, dark stain of the wood. If I went back in time I’d do two things differently: I’d apply the primer outside, to avoid filling my house with horrid fumes. I’d also use the spray Zinnser on the curvy bed posts, because it took forever to brush it on.

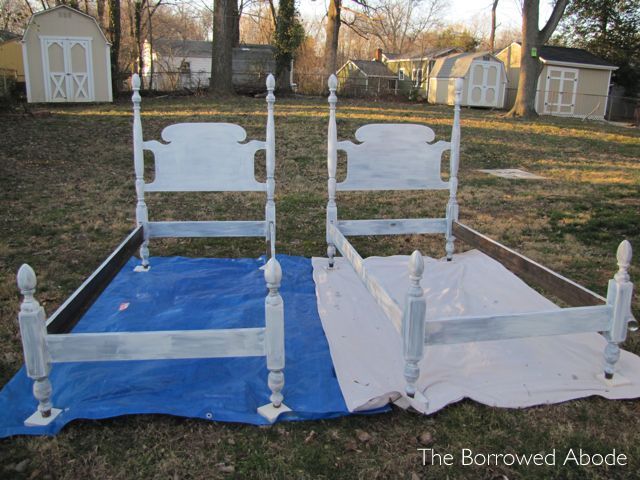
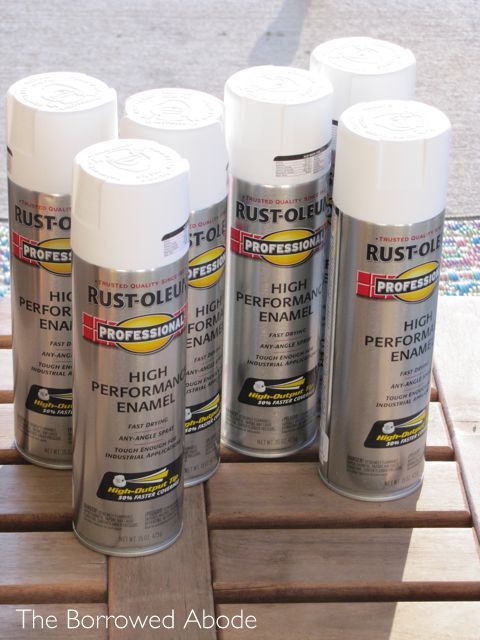
Painting: I spent several evenings and weekends hauling the beds out into the nicer weather, applying coat after coat of white spray paint. The rumors are true, you have to apply very thin coats in order to get a smooth, drip-free finish. I used Rustoleum High Performance Enamel, which claims to provide “superior coverage and hiding. . . in heavy-duty and commercial environments.”

After going through about 6 cans of spray paint between the two beds, and still not having complete coverage, I tried the brush-on version of the Rustoleum, but hated the texture and application of it. It was very hard to apply it smoothly, so I switched back to the spray version. In the end I think I used 11 cans of spray paint.
*I did lightly sand down the frames (using extra fine grit sandpaper) in between the final coats of spray paint. It helped me achieve a much smoother finish.
Sealing: I lightly sanded the painted surfaces again, then applied semi-gloss Minwax Fast-Drying Polyurethane, in spray form because that was much easier to apply to all the curvy posts. This had to be done in moderate weather to ensure good drying, so it didn’t happen until early March.
And with that, the three-month bed painting process completed. The side rails still weren’t finished, but I had special plans for them. You’ll find all the details for that in the next post.


No Comments