

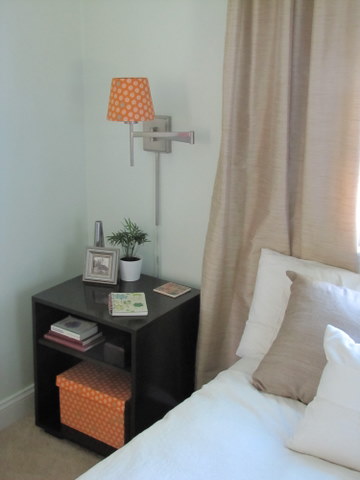
If this morning’s post on using wall-mounted lamps to brighten up your small space had you running to the store, here’s the breakdown of how I actually installed them. it can be tough to get them level, but I think these tips help: Before installing wall-mounted lamps, be sure you’re at least somewhat committed to your furniture placement. If you’re a renter like me, you probably live in fear of putting too many holes in the walls. That’s why I waited to install my lamps until I had completed the saga building of the nightstands. Once the nightstands were in place, however, it was much easier to determine the ideal placement.
How to install wall sconces and keep ’em level:
- On the lamps I chose, the swing-arm is attached to a mounting bracket that has two holes in the back of it. Those holes slip over screws and lock the lamp into place on the wall.
- To ensure I drilled the holes into the wall correctly, I made a template. I placed some paper over the back of the mounting bracket and marked where the holes were. (They’re the eyes in the drawing. Smiley face optional.)

- Once I had a template created, I taped it to the wall (using painters’ tape) and used my level to make sure the two drill holes were level.
- Then I drilled each hole in the wall (using the size drill bit suggested by the manufacturer).

- I hammered in the wall anchors (use them!) and then drilled the screws in until they were almost flush with the wall.
- I then slipped the lamp onto the screws and jiggled it until it was locked. This part was a bit tricky and it scratched up my wall. !%$#%#$

- I repeated this process for the second lamp, scratching up the wall again – despite my best efforts not to. Then I stood back to admire my work.
Hope this helps, and happy hangin’ !


No Comments