One of the easiest ways to spiff up a rental apartment is to ditch the plastic blinds and replace them with something – anything – prettier. Here’s how I instantly upgraded my windows, taking them from trashy to classy in one afternoon on a tight budget.
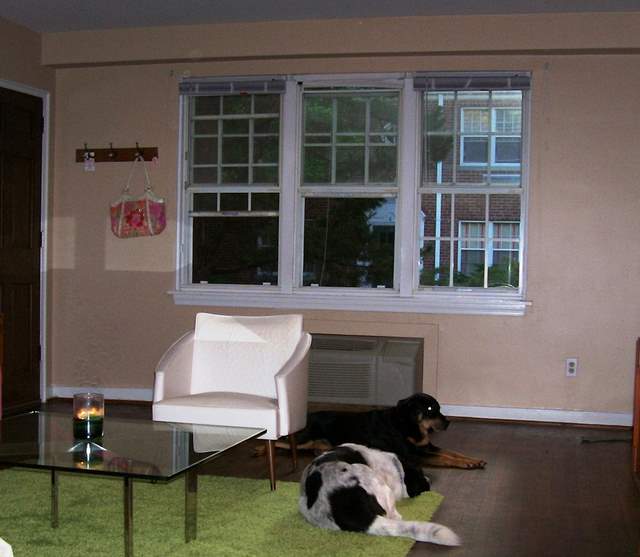
Check out how bare and ugly my windows looked before I brought in the bamboo. Of course, we don’t need to discuss how the ugliness of the windows was only accentuated by my poorly-chosen “neutral” paint. . . among other decorating disasters:
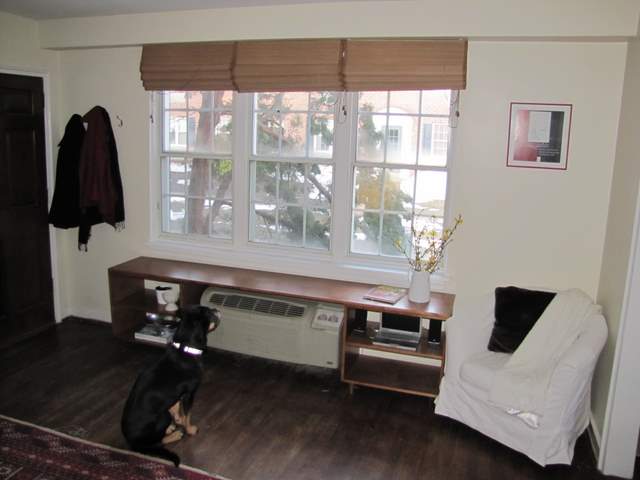
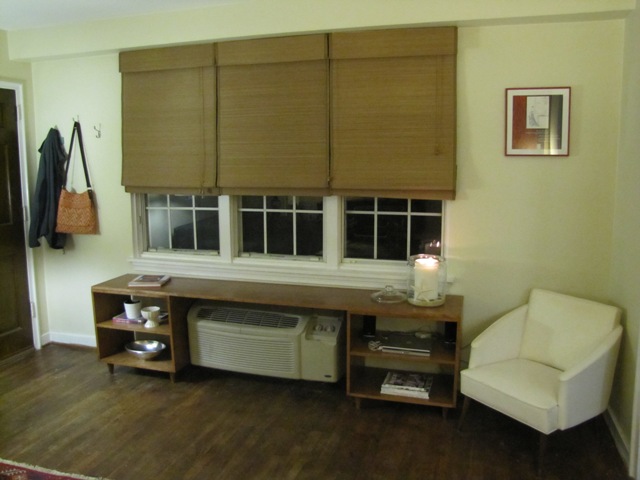
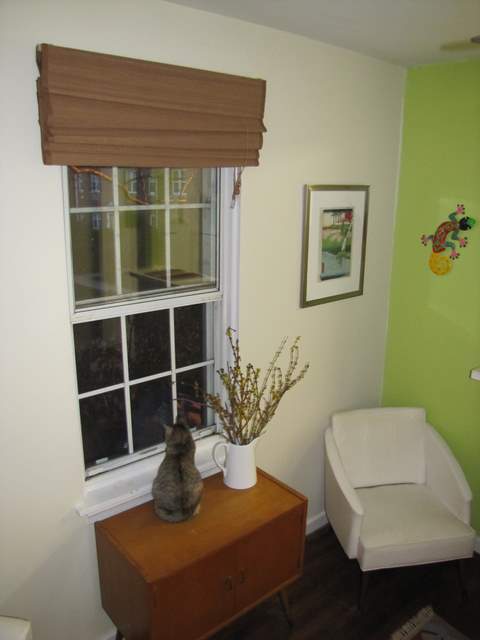
As soon as I installed those budget bamboo shades, it was like a different room. Of course, changing the paint helped, as did the addition of my custom-built furniture around the ugly wall heater.
And in the dining room-turned-office before:
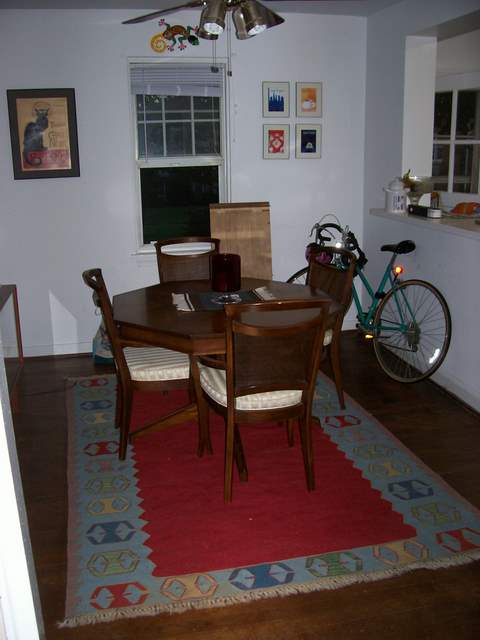
And after:
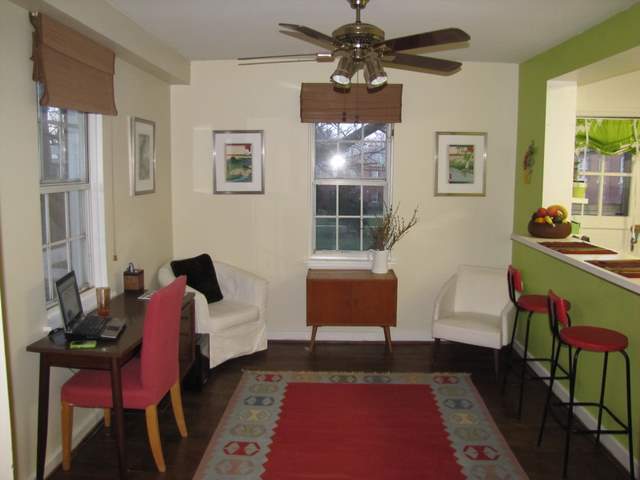
Roman shades can be installed inside the window frame (aka “inside mount”) or outside the frame (“outside mount”) to suit your style. They come in fabric, wood, bamboo, and a number of other options. I’ve got to say that I’d choose shades with outside mount any day, because it covers the possibly ugly window frame and gives the illusion of extra height if hung correctly. That being said, here’s the step-by-step on how to spiff up your rental windows with roman shades:
Choosing and installing Roman shades in your rental home:
- Measure each window. If you’re choosing an outside-mount, make sure you allow for the shade to extend a few inches beyond the window frame on either side to ensure the shade covers it well. Also measure the length of your window from the spot above the frame where you’d install them to the base of the window ledge.
- Shop around to find the best deal going. I looked on Amazon, Overstock, Walmart, Target, Ikea, and then some before finally snagging my shades at Bed Bath and Beyond on clearance. Be prepared to pay $20 -$40 bucks per shade.
- Remove the existing window treatments, saving and storing all parts and hardware for when you move out. Don’t worry, mini blinds don’t take up much room in a closet.
- Install your new, gorgeous, fabulous roman shades. All you need is a drill, a level, a screw driver, and a tape measure. Mark the holes and level carefully. You don’t want crooked shades!
Tips and tricks:
- Remember, if you want to create the appearance of taller windows, plan to install the shades a few inches above the top of the window frame.
- If you have a large window, or several windows side-by-side, shop around to see which is cheaper: one large shade or a combination of smaller shades.
- If you’re looking for wooden or bamboo shades, match their color to that of the wood furniture in the room for a warmer and more cohesive look.
- Save a little dough: choose unlined shades for a better bargain. There’s a DIY remedy for the privacy liner, which I’ll share Friday.
Installing custom shades may sound tricky, but trust me: It’s really simple. I had 5 shades installed in about 3 hours. It cost me about $175 in all – and it was worth every penny.


2 Comments
Forget the miniblinds…that heater/ac cover you put together (or bought) is genius! I have to of those ugly units in my place….but you have made your barely noticeable!
[…] to our office. But I did find time to belatedly share a project from Fall 2009 – when I made my windows classier with some cheap see-through bamboo shades, then lined them for privacy and insulation. (My […]